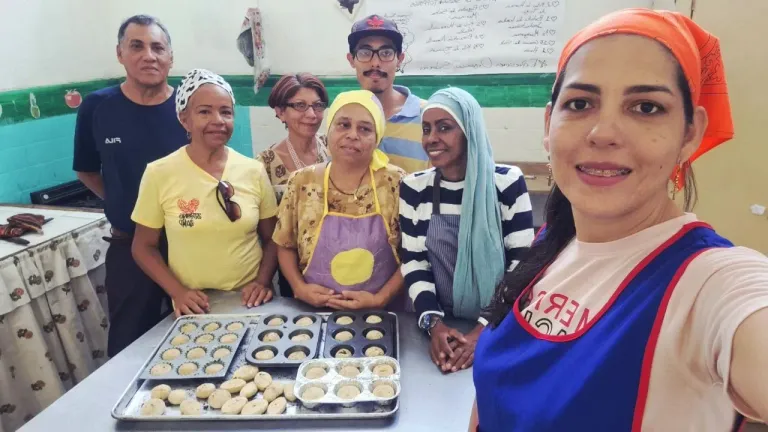

Saludos y bendiciones, mis queridos amigos de @hivefood, espero que estén pasando un excelente día. Hoy paso por aquí para mostrarles esta preparación que estuvimos haciendo recientemente en el curso, como lo son unos mini pan de orégano.
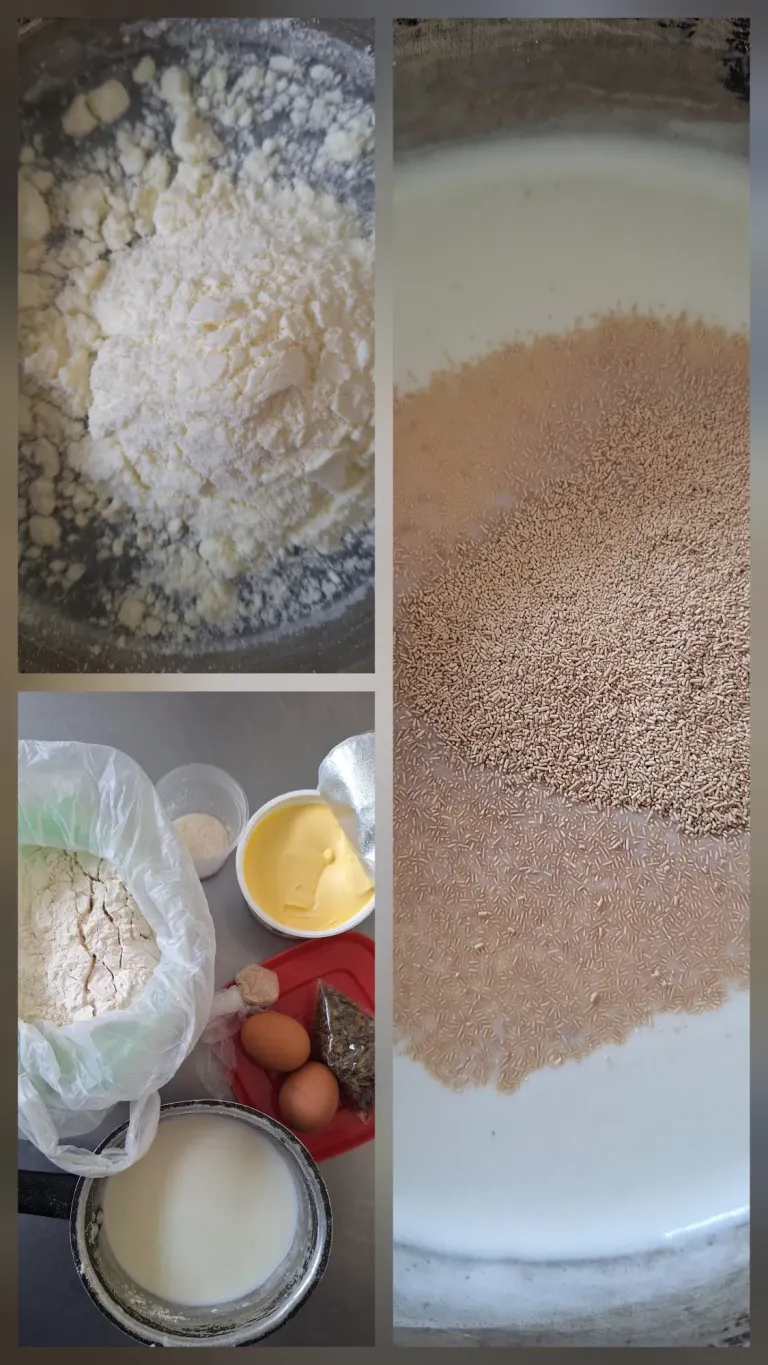
Tenía tiempo queriendo preparar estos panes, ya que me gusta mucho el sabor de esta especia. Los ingredientes que utilizamos fueron: un kilo de harina de trigo panadero, seis cucharadas de mantequilla, dos huevos, una taza y media de leche, dos cucharadas de levadura seca, una cucharada de azúcar, una cucharadita de sal.
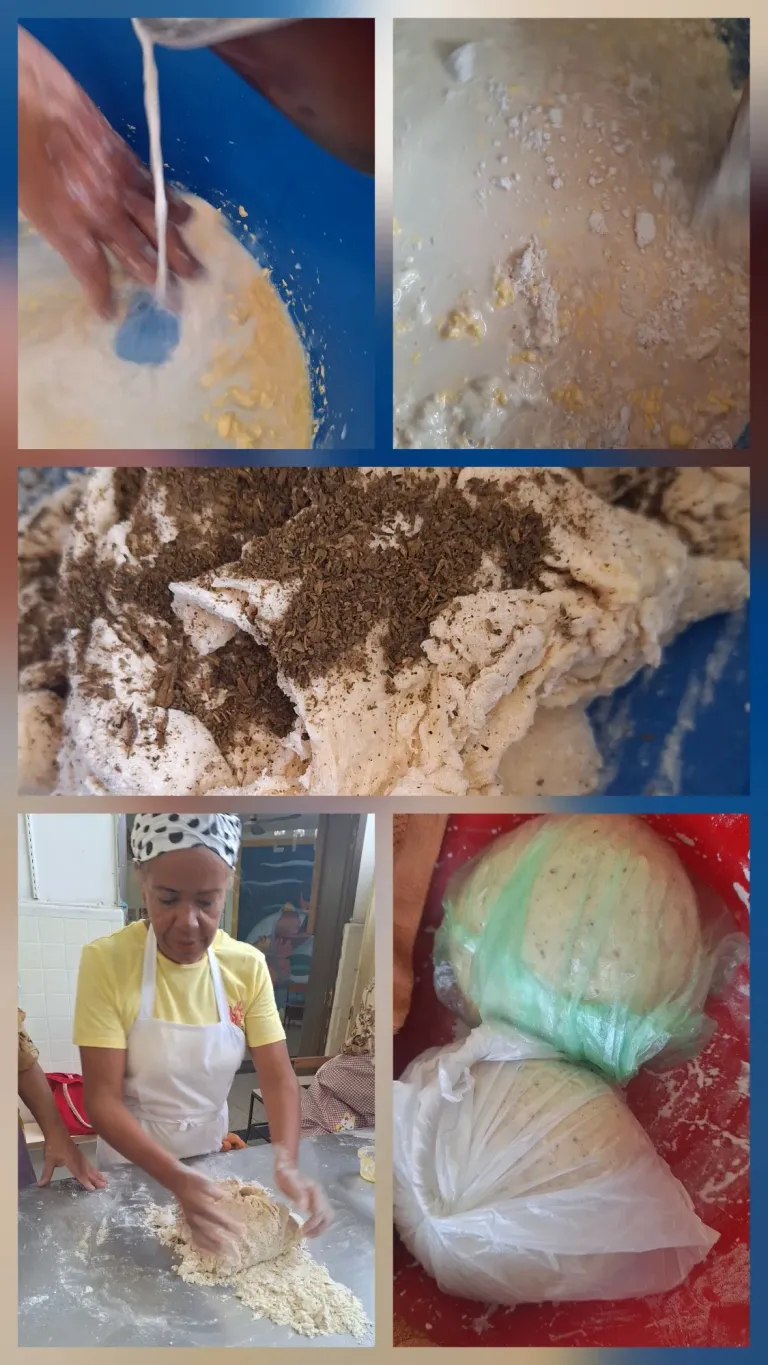
Empezamos a hacer la preparación activando la levadura en la leche con una temperatura templada ni muy fría ni muy caliente. Este es el dolor de cabeza de todas las recetas panaderas que se active. Les cuento que esta no se activó muy bien y por eso creo que no crecieron tanto los panes.
Luego en una taza fuimos agregando los demás ingredientes, como fueron los huevos, la mantequilla, el azúcar, la sal y se fue batiendo con las manos, para luego agregar la harina y la leche y así seguir amasando para que al final le pudiéramos echar el orégano, el cual primero pasamos por la cocina para poderlo poner más como un polvo.
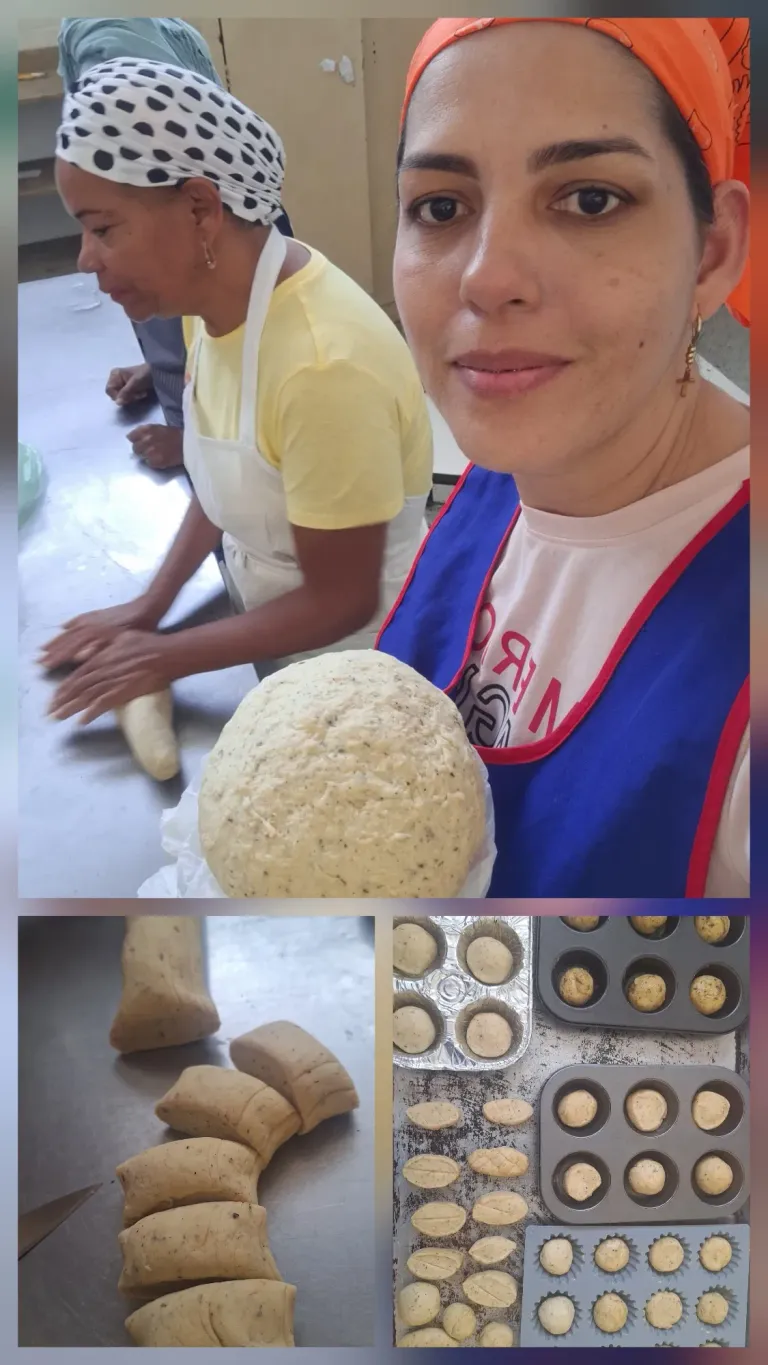
Una vez amasada, la mentimos a una bolsa plástica y tapamos por una hora, para que la masa levara o creciera y se pusiera más suave. Sin embargo, no creció mucho, la amasamos nuevamente y se hizo como especie de un pan largo y se fueron cortando trozos más pequeños que luego se fueron boleando y colocando en las bases de ponque, las cuales se engrasaron previamente.
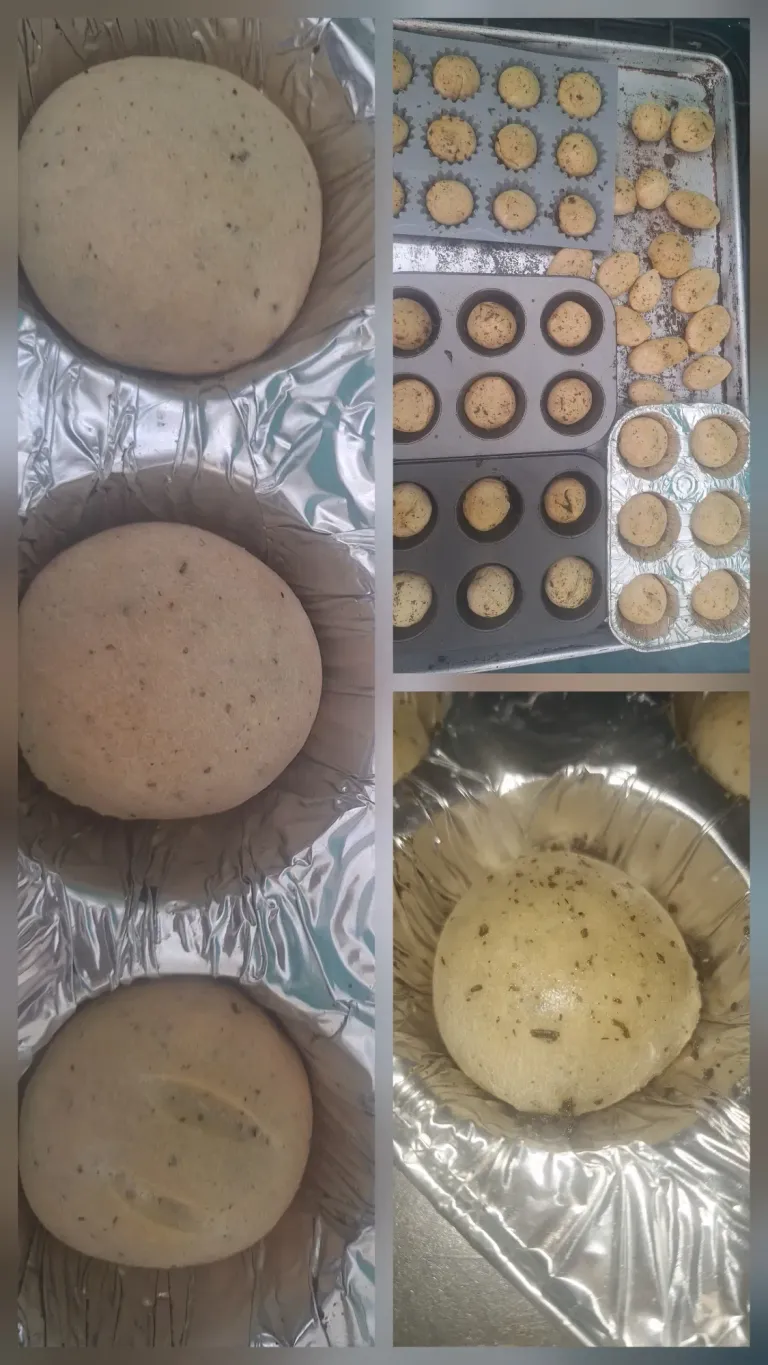
Se dejó reposar por media hora más y se llevó al horno. Una vez estuvieron listas, echamos por encima de los panes mantequilla con un poco más de orégano. Como ven, no crecieron mucho, quedaron prácticamente iguales como se echaron en la bandeja. Eso sí, de sabor, quedaron muy ricos y, aunque no crecieron tanto, se dejaban comer. No estaban tan suaves, pero tampoco quedaron duros.
No sabemos qué fue lo que falló, si le faltó más tiempo de levado o la levadura no estaba del todo bien. Aunque la compañera de clase que llevó la levadura la activó en su casa y sí se veía que estaba muy bien. Eso sí, la dejó por mucho tiempo; en clases no le dimos el tiempo suficiente para activar y echar en la mezcla.
Estos son los detalles que me gustaría aprender mucho más y por lo que empecé a hacer las clases, pero todavía hay muchos errores por mejorar. Pero si no hacemos el intento, ¿cómo lo podemos lograr? Así que seguiremos intentando uno y otra vez hasta que nos salga bien.
Bueno, amigos, esta es la experiencia que les quería contar. Nos vemos en una próxima oportunidad con una nueva receta que espero que sea todo un éxito, por ahí tengo unas cuantas por compartirles.

Mini oregano bread rolls
Greetings and blessings, my dear friends at @hivefood. I hope you are having a wonderful day. Today, I am here to show you something we recently made in class: mini oregano bread rolls.
I had been wanting to make these rolls for a while, as I really like the flavor of this spice. The ingredients we used were: one kilo of bread flour, six tablespoons of butter, two eggs, one and a half cups of milk, two tablespoons of dry yeast, one tablespoon of sugar, and one teaspoon of salt.
We began the preparation by activating the yeast in the milk at a warm temperature, neither too cold nor too hot. This is the headache of all baking recipes that require activation. I'll tell you that this one didn't activate very well, which is why I think the bread didn't rise as much.
Then, in a cup, we added the other ingredients, such as eggs, butter, sugar, and salt, and mixed them with our hands. We then added the flour and milk and continued kneading so that we could finally add the oregano, which we first ground in the kitchen to make it more powdery.
Once kneaded, we put it in a plastic bag and covered it for an hour so that the dough would rise and become softer. However, it didn't rise much, so we kneaded it again and made a kind of long loaf, which we cut into smaller pieces that we then rolled into balls and placed on the muffin tins, which we had greased beforehand.
We let it rest for another half hour and put it in the oven. Once they were ready, we spread butter with a little more oregano on top of the bread. As you can see, they didn't rise much; they remained practically the same as when they were placed on the tray. However, they tasted very good, and even though they didn't rise much, they were still edible. They weren't very soft, but they weren't hard either.
We don't know what went wrong, whether it needed more time to rise or the yeast wasn't quite right. Although the classmate who brought the yeast activated it at home and it looked fine. However, she left it for a long time; in class we didn't give it enough time to activate and add to the mixture.
These are the details I would like to learn more about, which is why I started taking classes, but there are still many mistakes to improve on. But if we don't try, how can we succeed? So we'll keep trying again and again until we get it right.
Well, friends, this is the experience I wanted to share with you. See you next time with a new recipe that I hope will be a success. I have a few more to share with you.
Mi blog es familiar, de mi día a día, en donde puedo subir fotos de niños u otras personas de mi entorno, NO autorizo a usar mis fotografías sin mi autorización.
My blog is a family blog, of my daily life, where I can upload photos of children or other people around me, I do NOT authorize you to use my photos without my authorization.
Dispositivo | Device | Samsung Galaxy A54
Fotos editadas en: |Photos edited in | CC Express for Picsart / Canva
Separadores hechos en | Separators made in | CC Express for Samsung
Traducción con | Translation with| DeepL
For the best experience view this post on Liketu