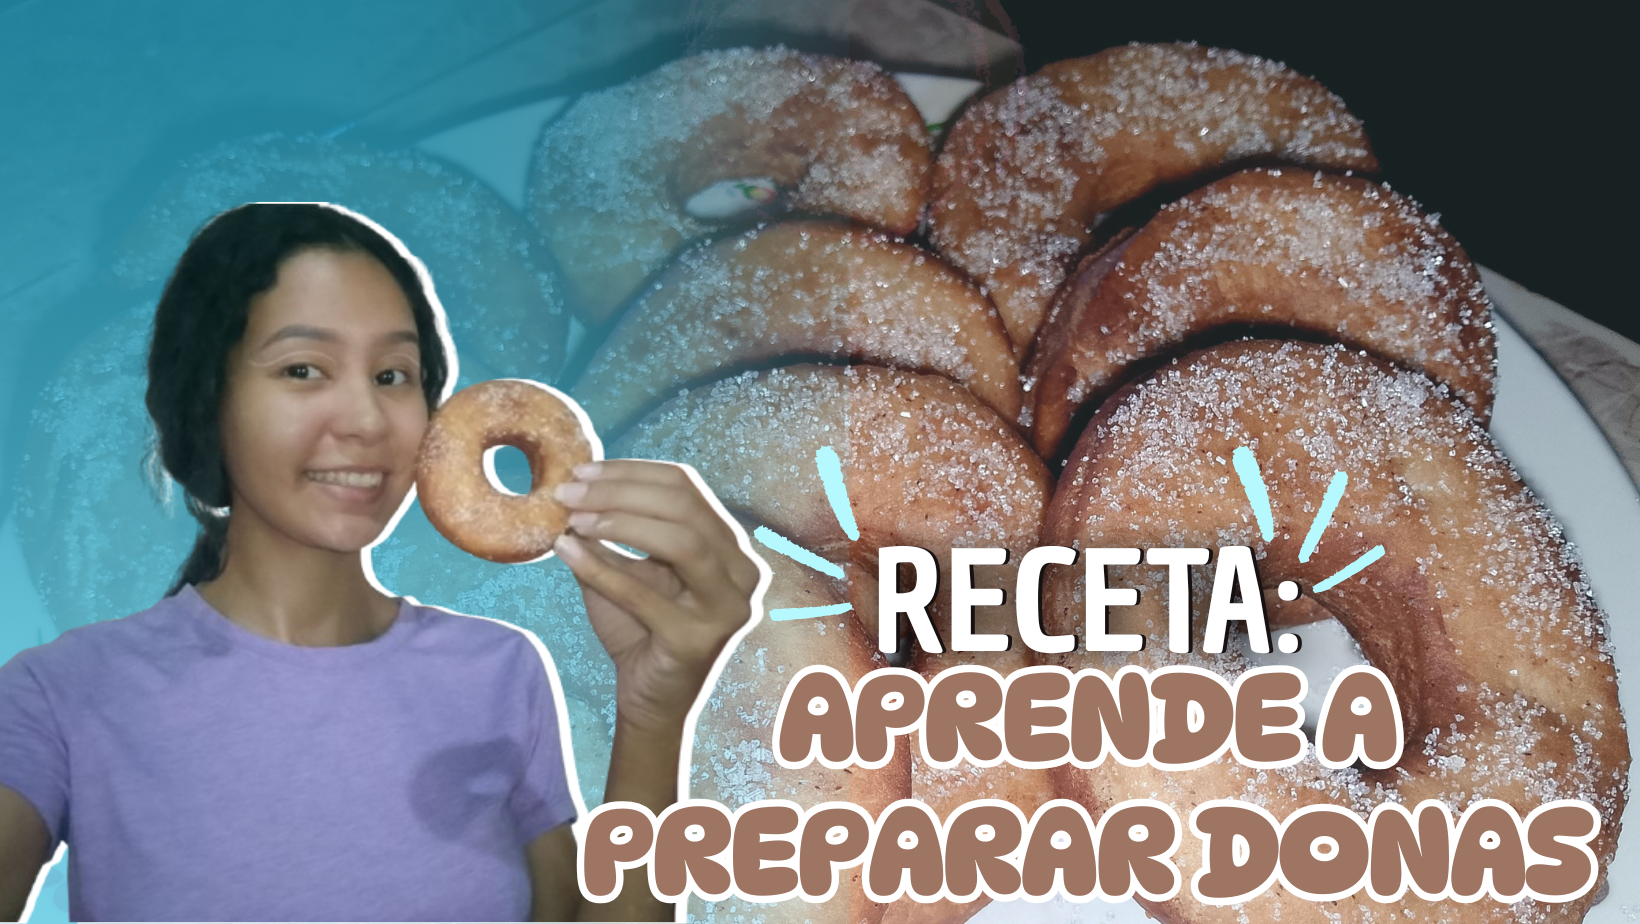
Hello, friends of Foodies Bee Hive! It's a pleasure to be here again. Continuing with my adventure of learning new recipes, this time I share with you a classic and delicious preparation that we've all tried at some point: donuts 🍩. I've wanted to make them for a long time, so I got down to work and acquired the ingredients for this new “culinary challenge”, because definitely everything that involves sweetness fascinates me. Here I will share everything step by step.
Without further ado, let's go to kitchen👩🏻🍳!
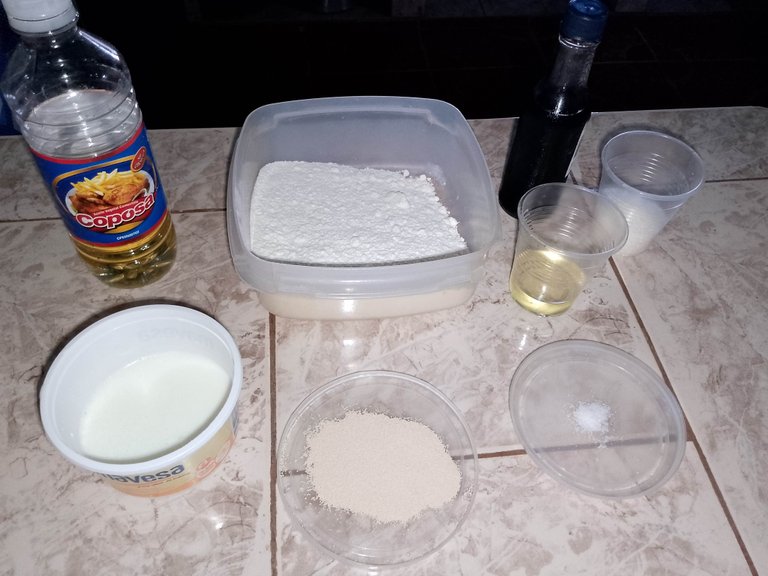
Ingredientes | Ingredients
- 200 gr de harina de trigo.
- 50 gr de azúcar.
- 10 gr de levadura.
- 1 pizca de sal.
- 100 ml de leche tibia.
- 30 gr de aceite.
- 1 cucharadita de vainilla..
- Aceite para freir.
- 200 gr wheat flour.
- 50 grams of sugar.
- 10 gr yeast.
- 1 pinch of salt.
- 100 ml of warm milk.
- 30 gr oil.
- 1 teaspoon vanilla.
- Oil for frying.
Preparación | Preparation
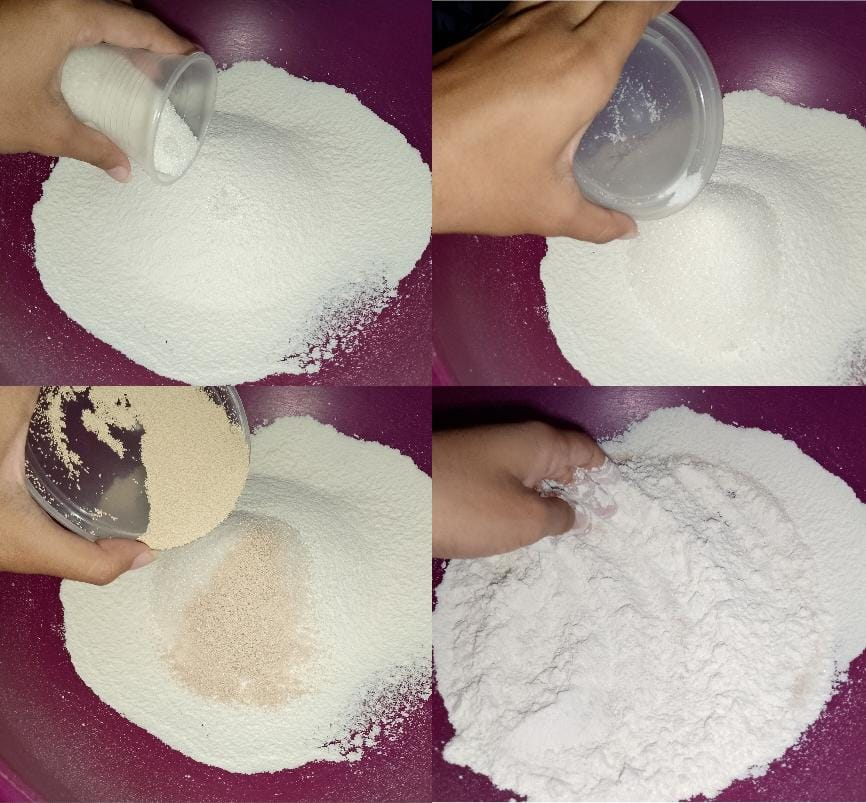
| Paso 1 | Step 1 |
|---|---|
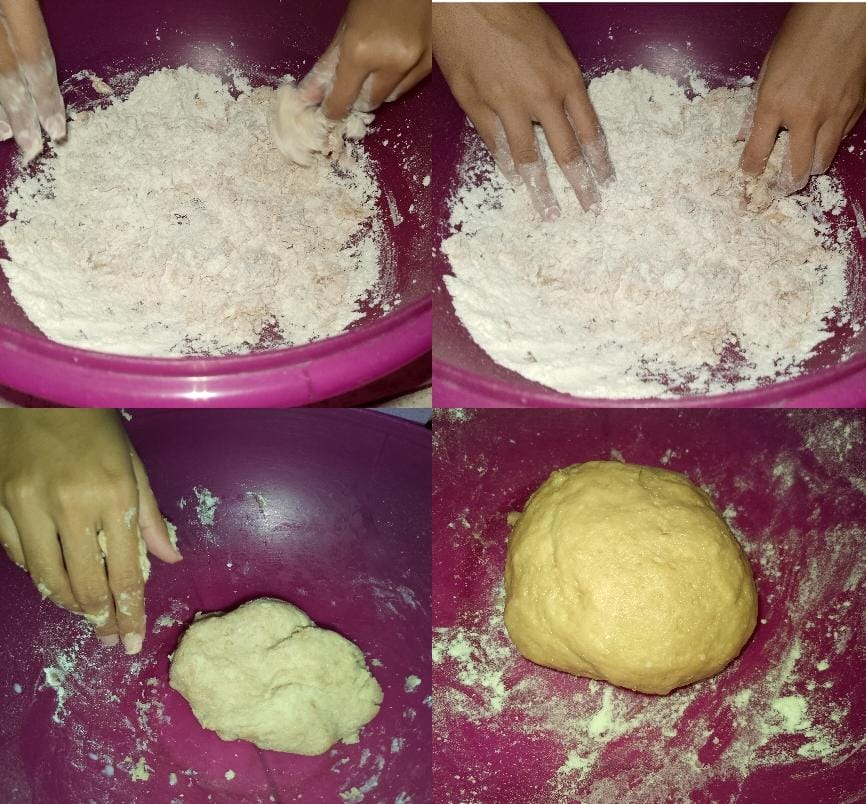
En un bol agregamos nuestra harina previamente tamizada, el azúcar, la sal, la levadura y removemos para juntar estos ingredientes. | In a bowl we add our previously sifted flour, sugar, salt, yeast and stir to combine these ingredients. |
| Paso 2 | Step 2 |
|---|---|
Hacemos un volcán en medio de la harina para agregar la vainilla, el aceite y la mitad de la leche tibia. | We make a volcano in the middle of the flour to add the vanilla, the oil and half of the warm milk. |
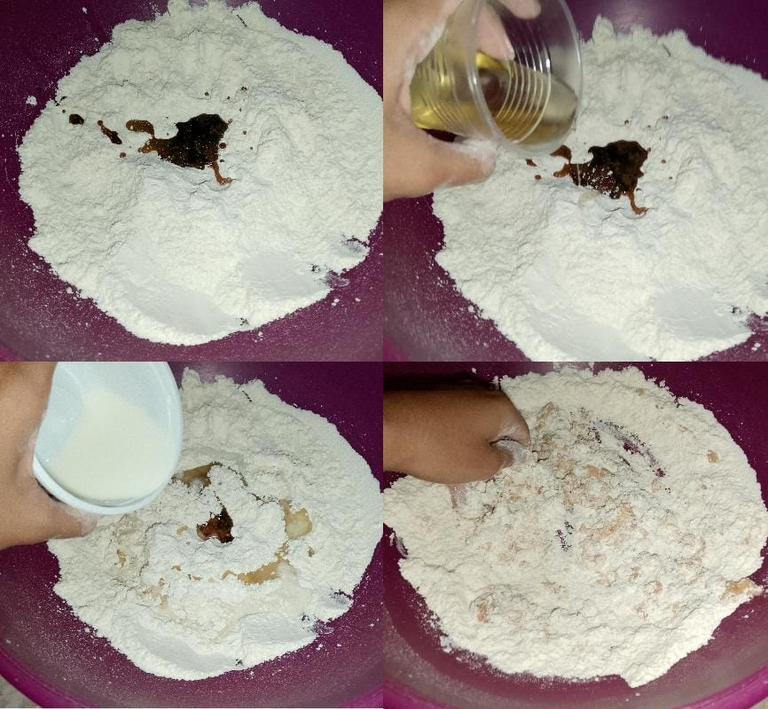
| Paso 3 | Step 3 |
|---|---|
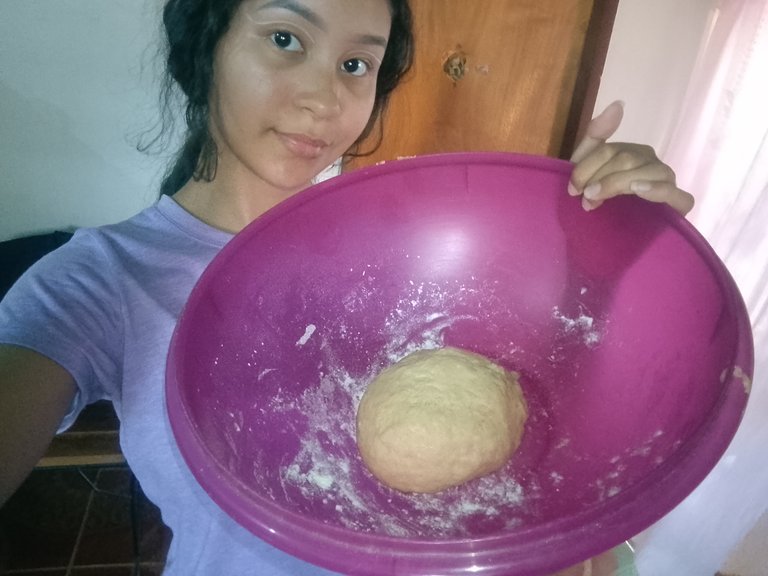
Aquí comenzamos a amasar y terminamos de agregar la leche, debemos ser pacientes para integrar estos ingredientes. Debemos amasar hasta obtener una masa homogénea y suave. Esto podemos hacerlo en el mismo bol. Luego la dejamos reposar por medía hora. | Here we begin to knead and finish adding the milk, we must be patient to integrate these ingredients. We must knead until we obtain a homogeneous and smooth dough. This can be done in the same bowl. Then we let it rest for half an hour. |
| Paso 4 | Step 4 |
|---|---|
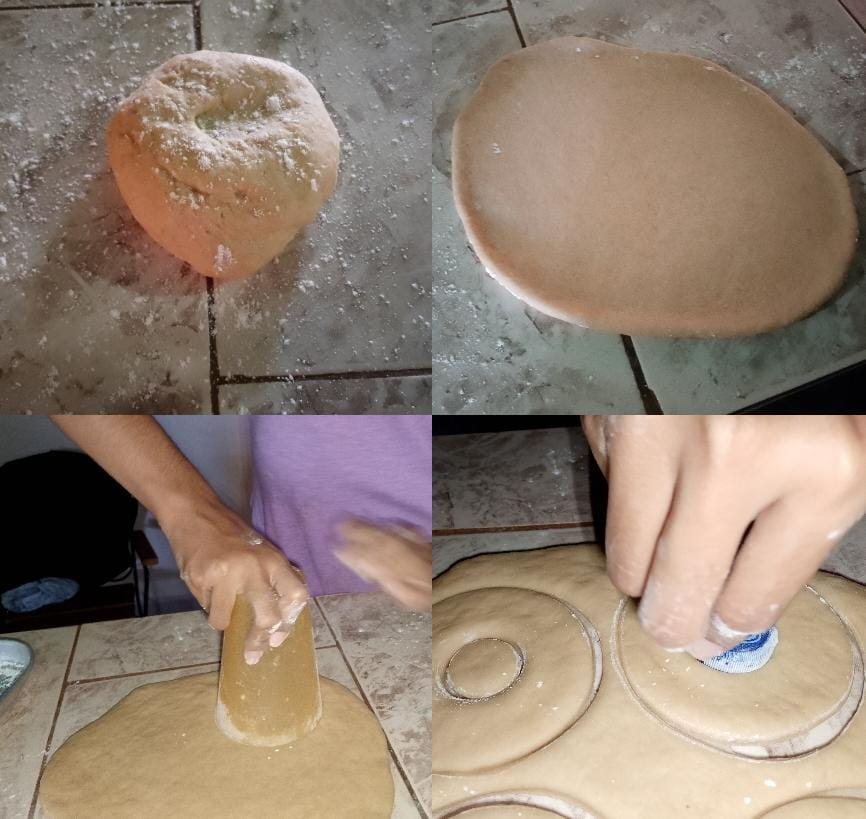
Una vez pasado el tiempo de reposo la masa ha crecido un poco. Procedemos a espolvorear harina en una superficie y con un rodillo estiramos la masa hasta que alcance un grosor de aproximadamente 1cm, pero preferí que fuera menos. Ahora es momento de cortar nuestras donas, en mi caso como no tengo cortador usé un vaso y una tapa de refresco. | Once the resting time has passed, the dough has risen a little. We proceed to sprinkle flour on a surface and with a rolling pin we stretch the dough until it reaches a thickness of about 1cm, but I preferred it to be less. Now it's time to cut our donuts, in my case as I don't have a cutter I used a glass and a soda lid. |
| Paso 5 | Step 5 |
|---|---|
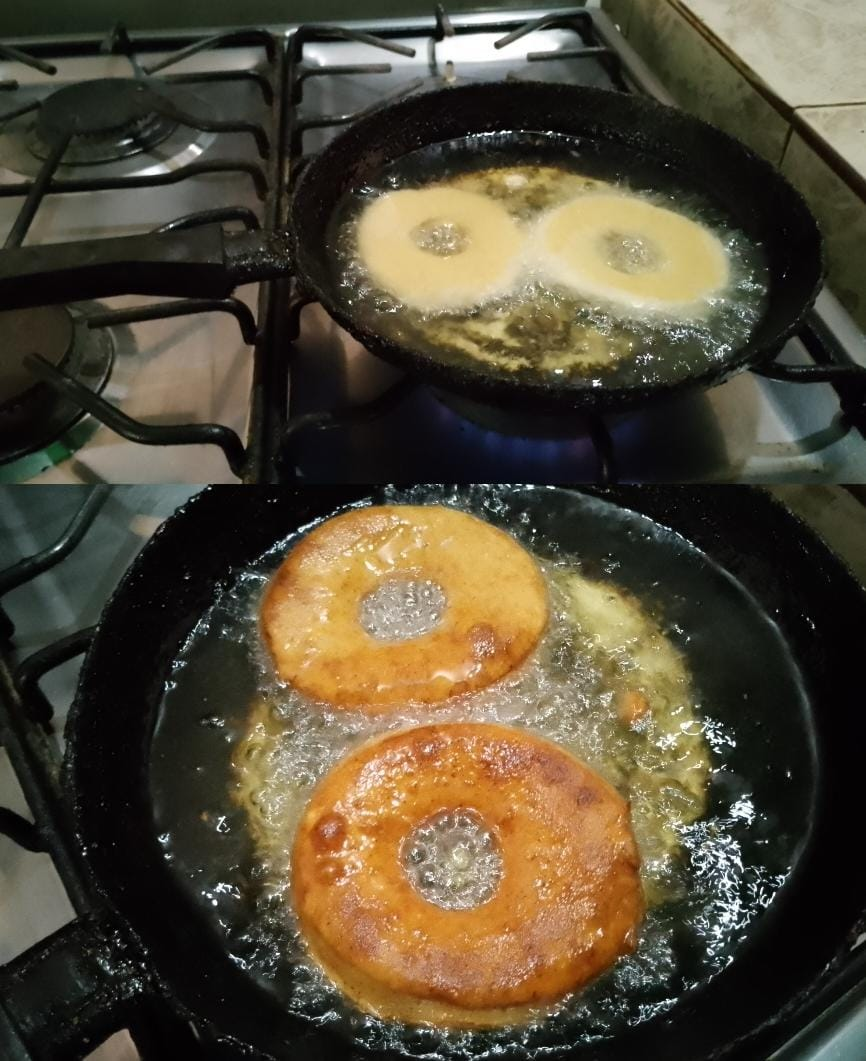
Una vez cortadas las llevamos las llevamos a freir en suficiente aceite. Cuándo esten doradas por un lado las volteamos. El tiempo de cocción es bastante rápido, así que debemos estar pendientes de que no se quemen o tomen un color demasiado oscuro. | Once cut we take them to fry in enough oil. When they are golden brown on one side, turn them over. The cooking time is quite fast, so we must be careful that they do not burn or take a too dark color. |
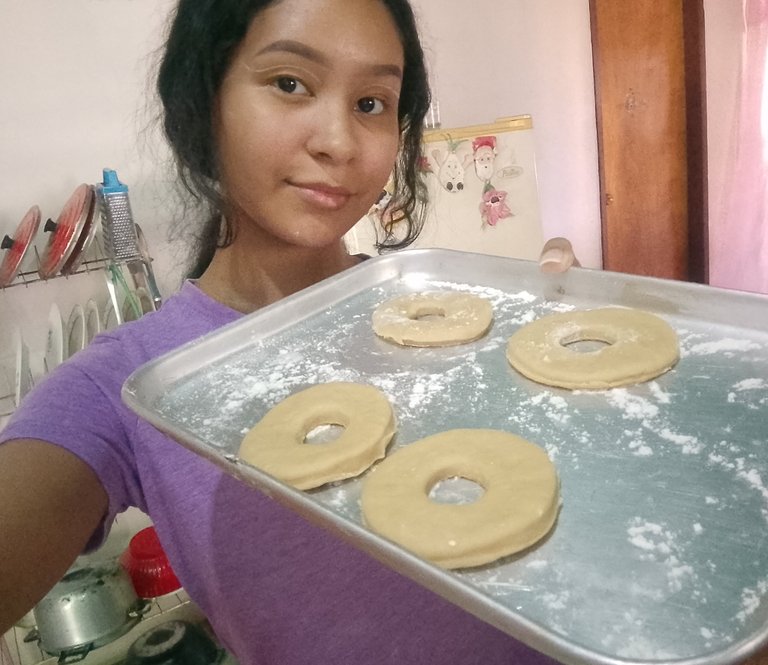
¡Y este es el resultado! | And this is the result!
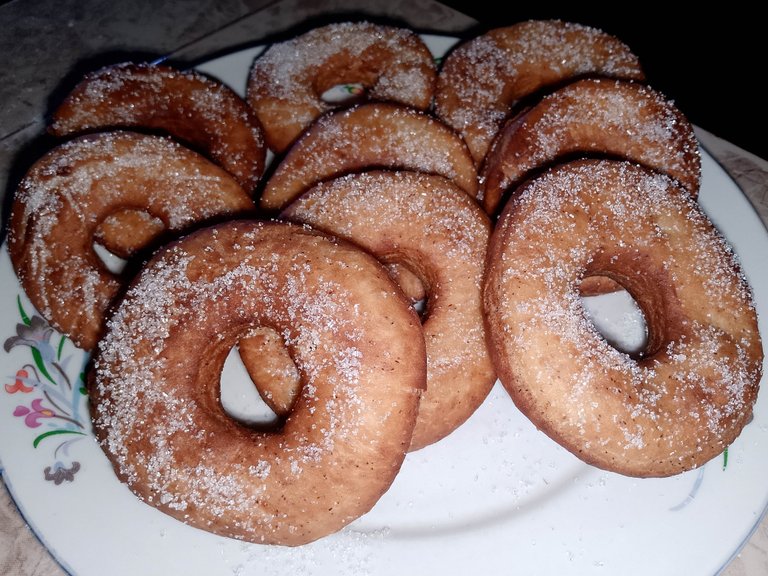
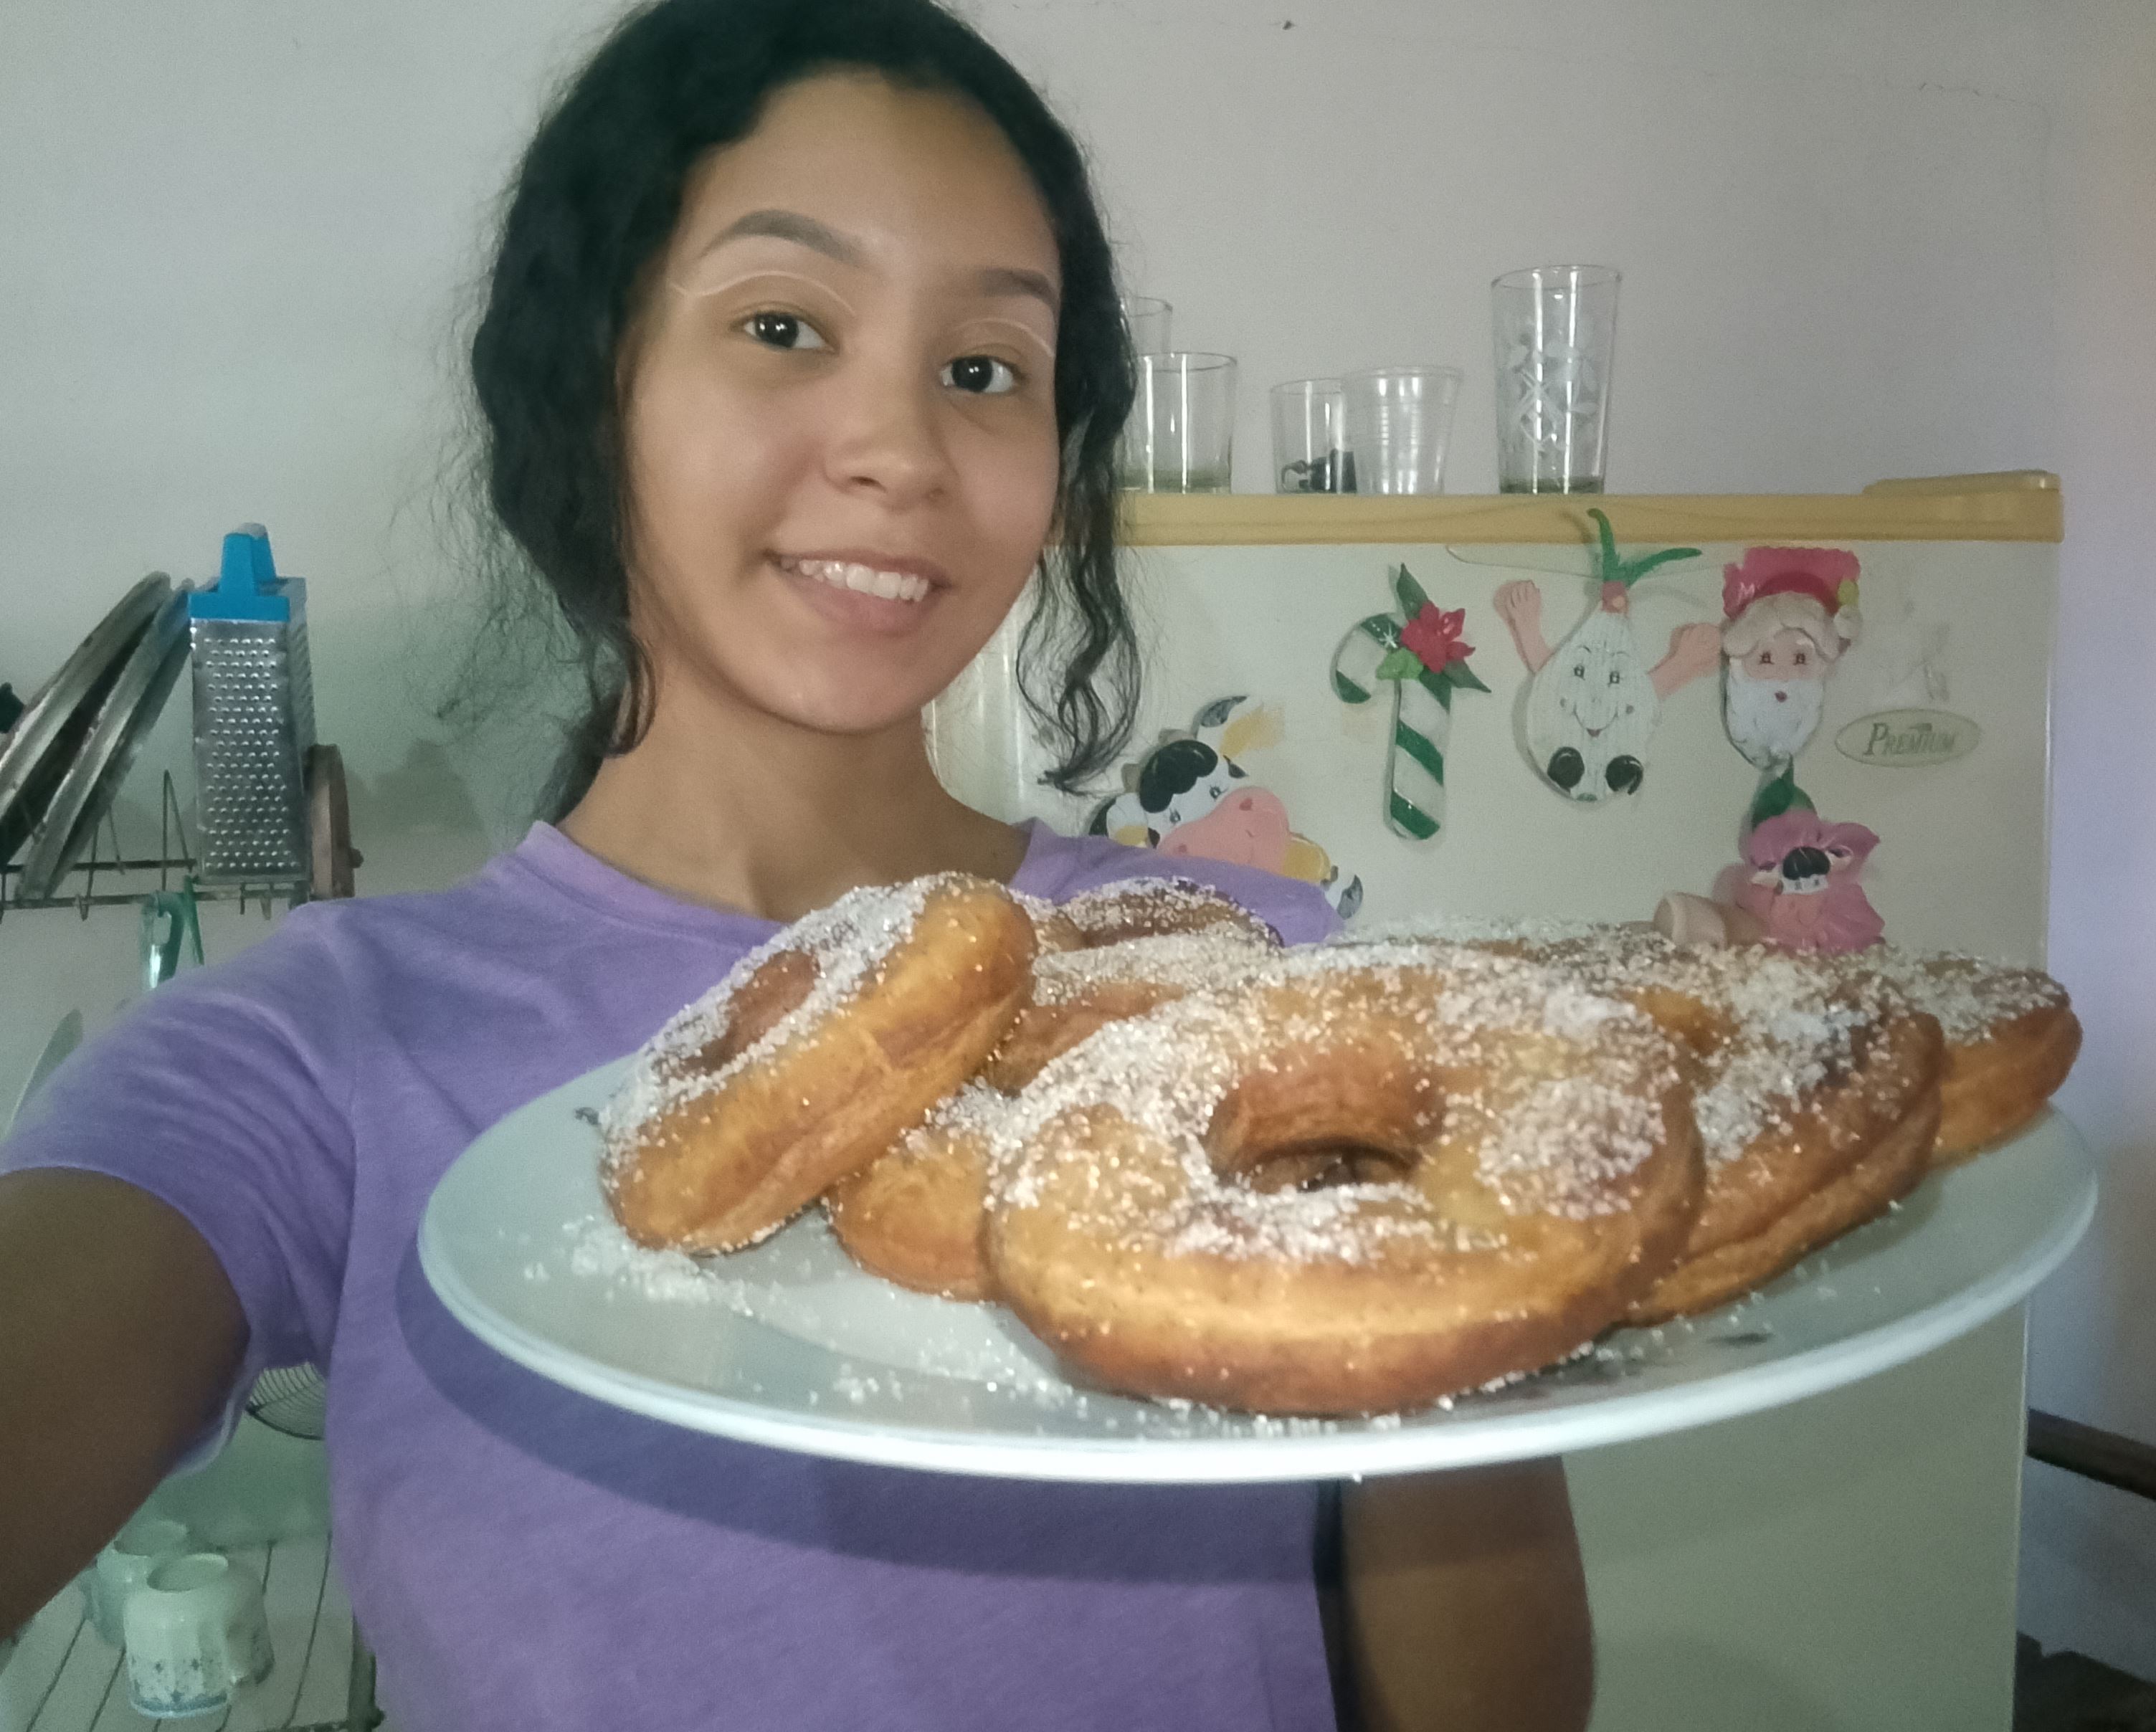
I personally decided to dip my donuts in sugar, but you can dip them in chocolate or decorate them as you like. Honestly, I was much more excited and satisfied that the recipe came out the first time, and if we talk about their flavor and texture, they turned out pretty good. They came out soft, fluffy and not at all full of oil.A total of 9 donuts were produced.
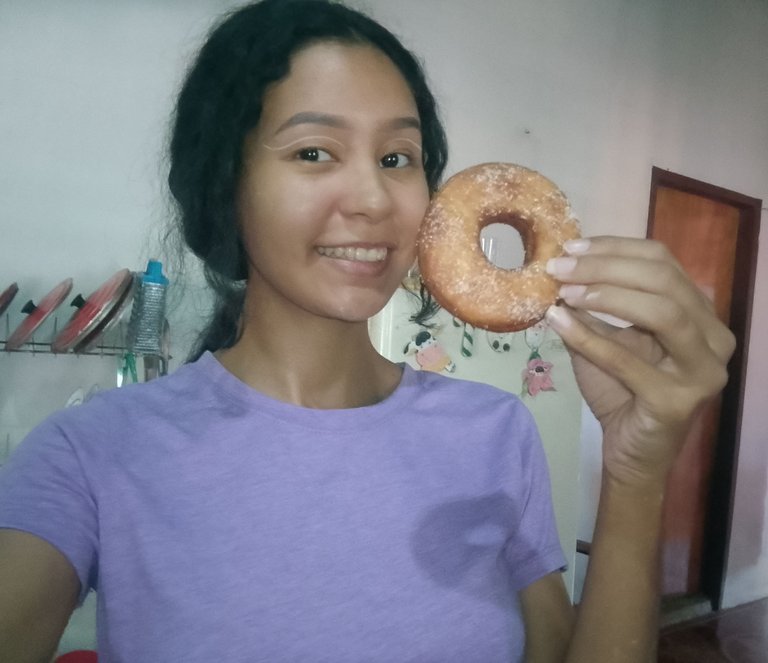
This is a recipe that I would definitely make again, and I love it precisely because of how “versatile” donuts can be: a sweet treat to kill a craving, a snack for the kids, a party treat, or even a good and delicious gift!
It has been a pleasure to share this with you, if you have any tips don't hesitate to let me know. And tell me, have you prepared donuts at home?
I hope you liked it. See you next time✨!