Hello, hello friends of Foodies Bee Hive!
Today I am very excited to share this recipe for Cheese Tequeños, which I consider to be one of the best foods of our Venezuelan gastronomy and the ones that add joy and spice to any party (because tequeños are a must at parties). They are incredibly delicious and the best thing is that once you get the hang of it, they are easy to make. Let's get in the kitchen!

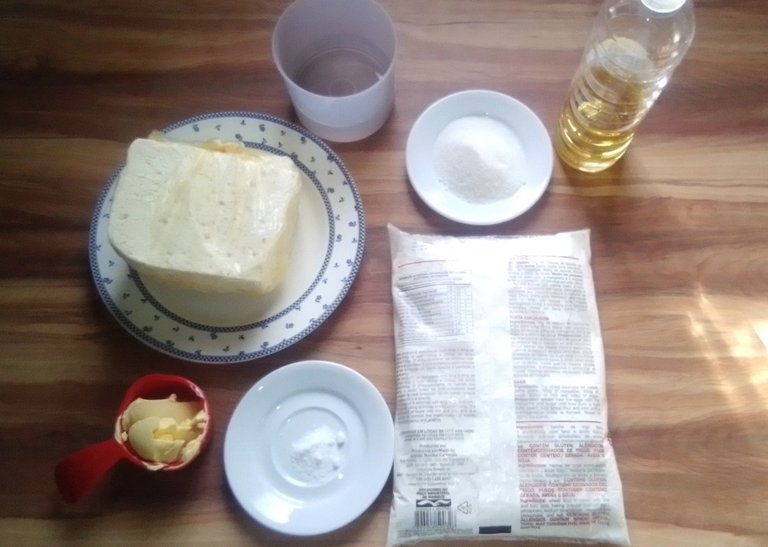
- 500 gr de harina de trigo leudante.
- 2 cucharadas de azúcar.
- 10 gr de sal.
- 50 gr de mantequilla.
- 210 ml de agua.
- 500 gr de queso.
- Aceite.
- 500 gr leavening wheat flour.
- 2 tablespoons of sugar.
- 10 gr salt.
- 50 gr butter.
- 210 ml of water.
- 500 gr of cheese.
- Oil.

| Paso 1 | Step 1 |
|---|---|
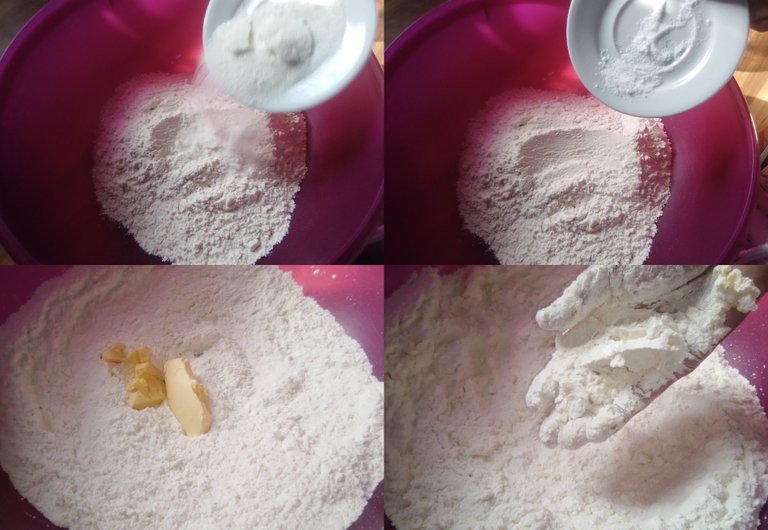
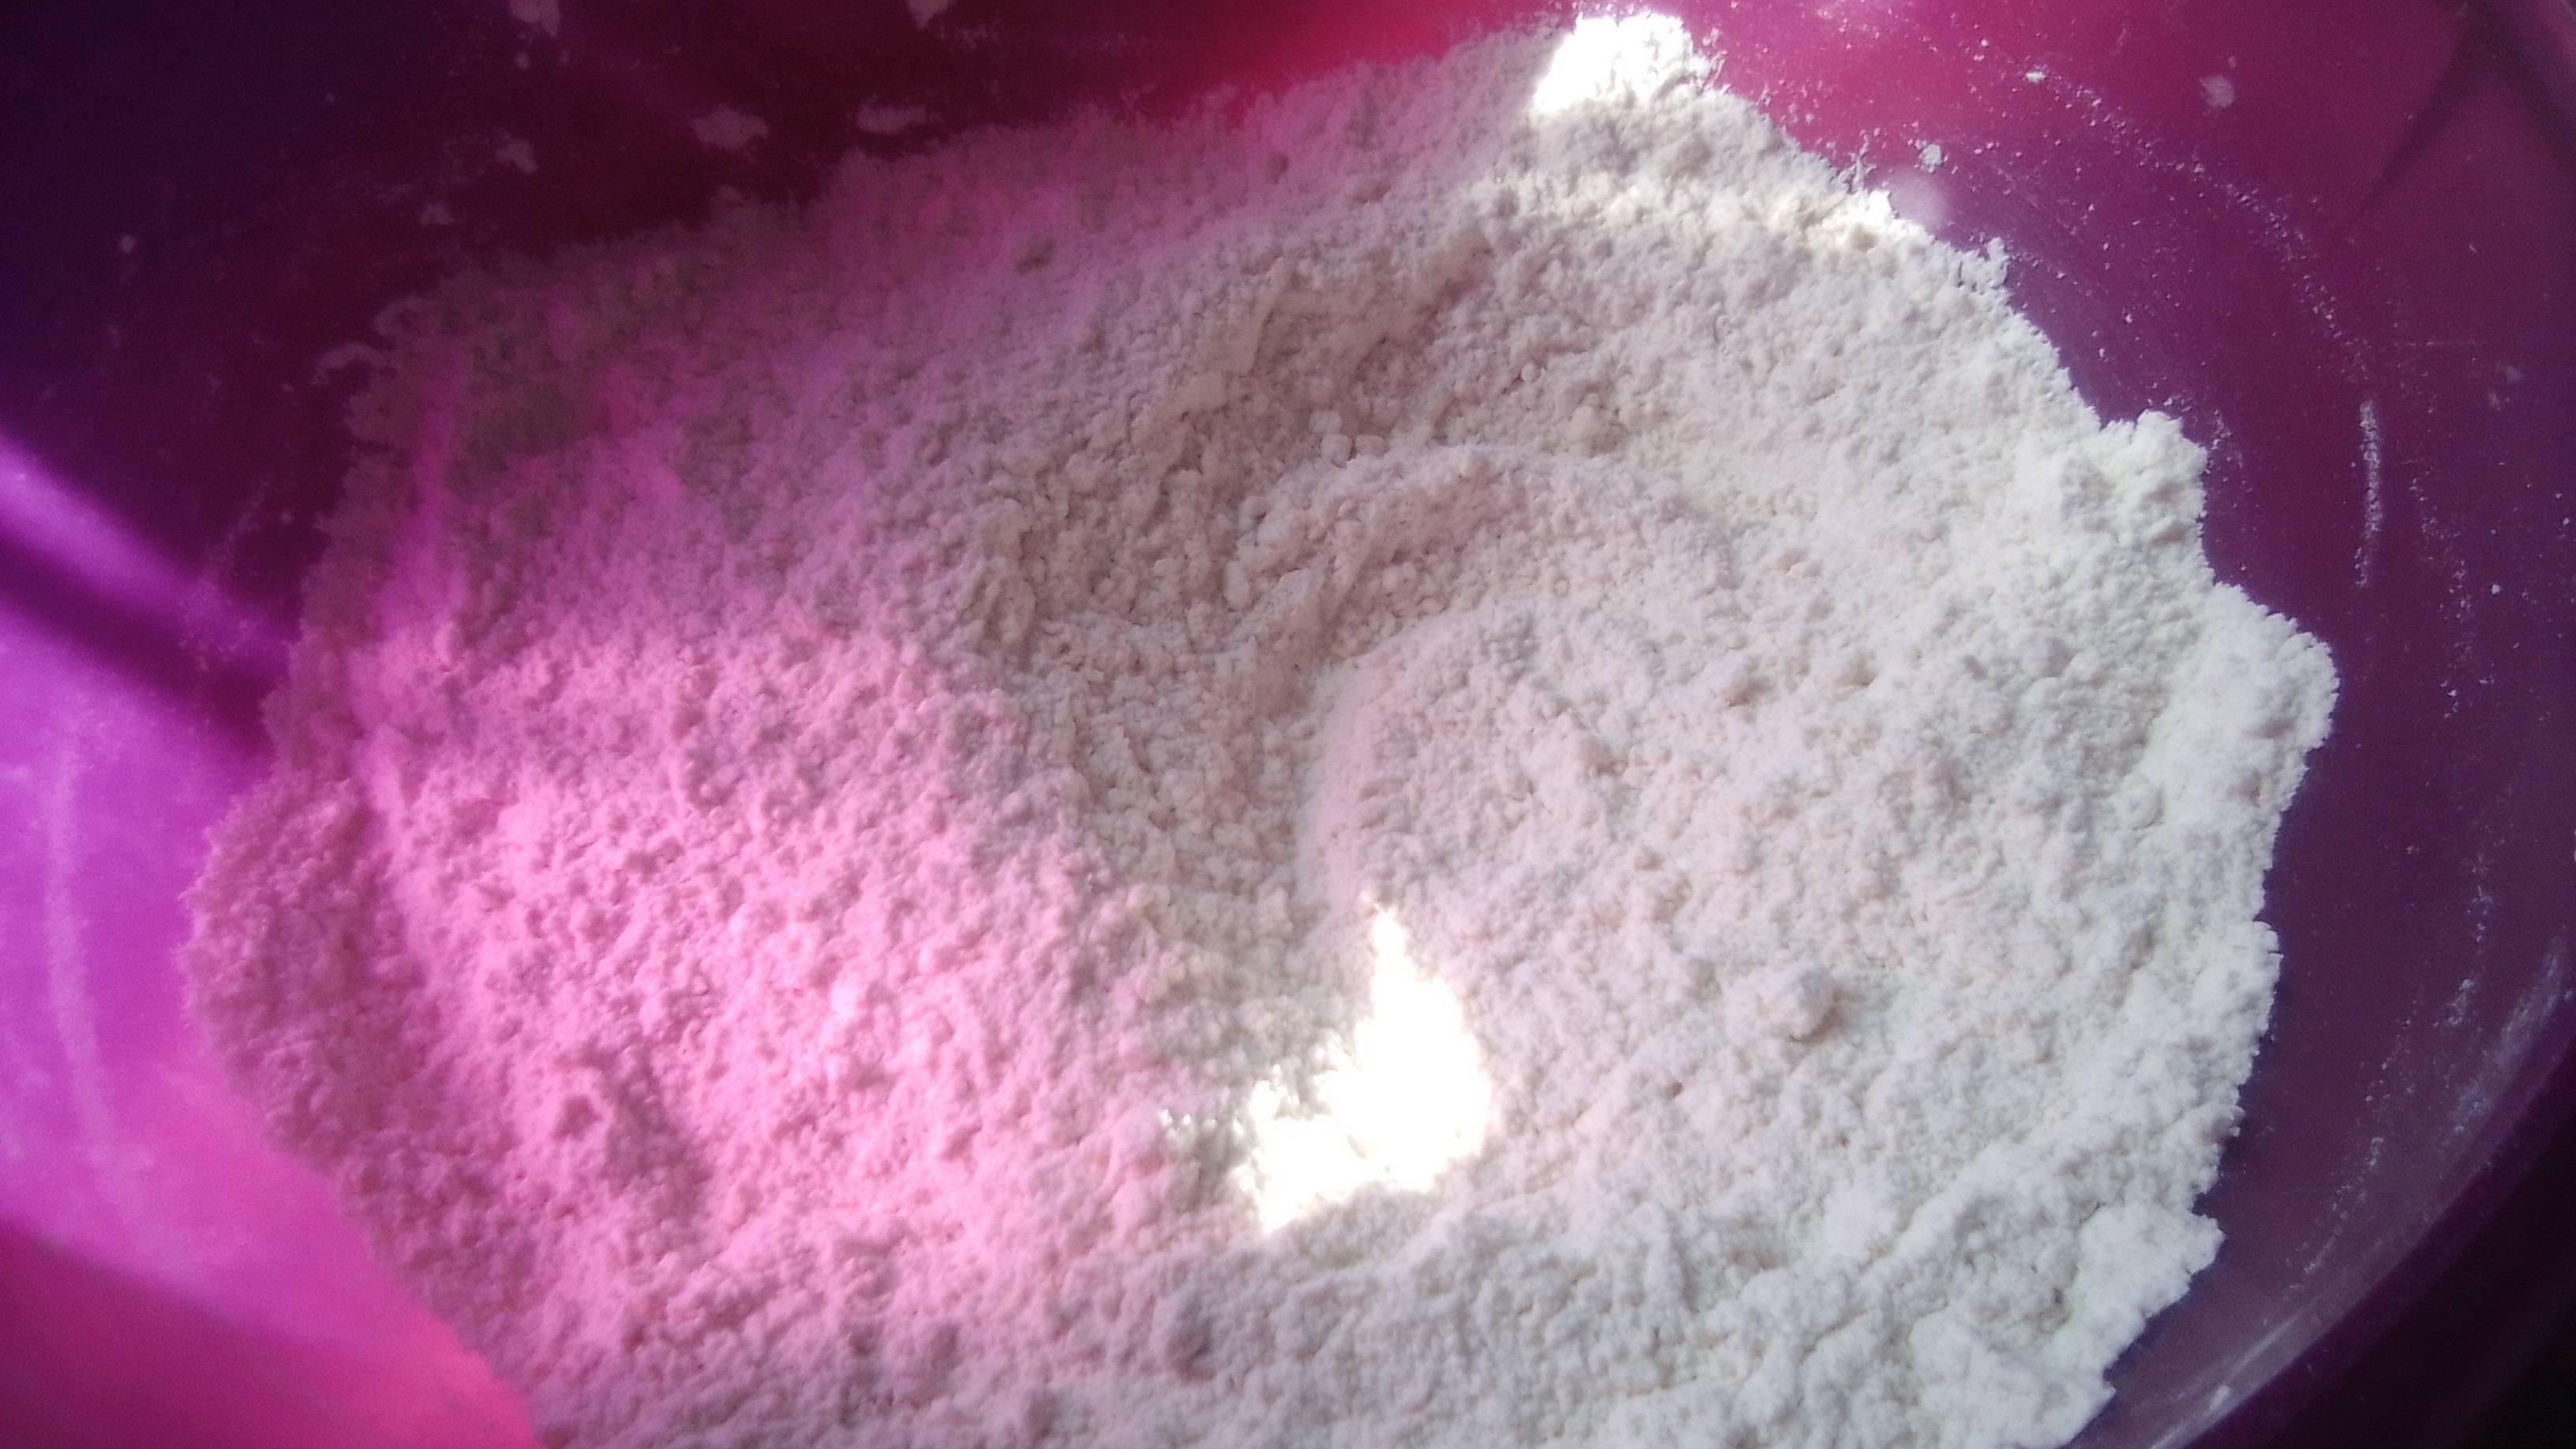
En un bol o taza grande añadimos la harina de trigo, la azúcar y la sal. Mezclaremos y procedemos a añadir los 50 gr de mantequilla, integrándola con la harina hasta que se forme un arenado. | In a large bowl or cup add the wheat flour, sugar and salt. Mix and proceed to add the 50 grams of butter, integrating it with the flour until a sandy mixture is formed. |
| Paso 2 | Step 2 |
|---|---|
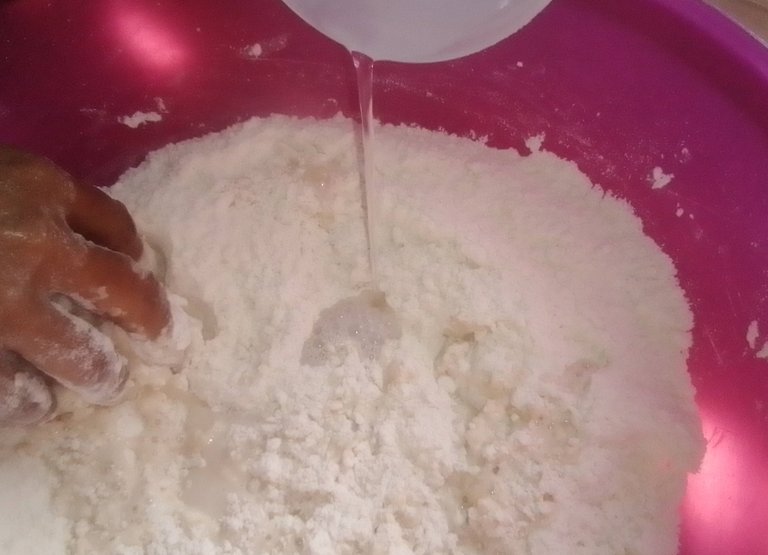
Ahora procederemos a agregar el agua y comenzamos a amasar hasta que los ingredientes veamos que los ingredientes han compactado un poco | Now proceed to add the water and begin to knead until the ingredients have compacted a little. |
.gif)
| Paso 3 | Step 3 |
|---|---|
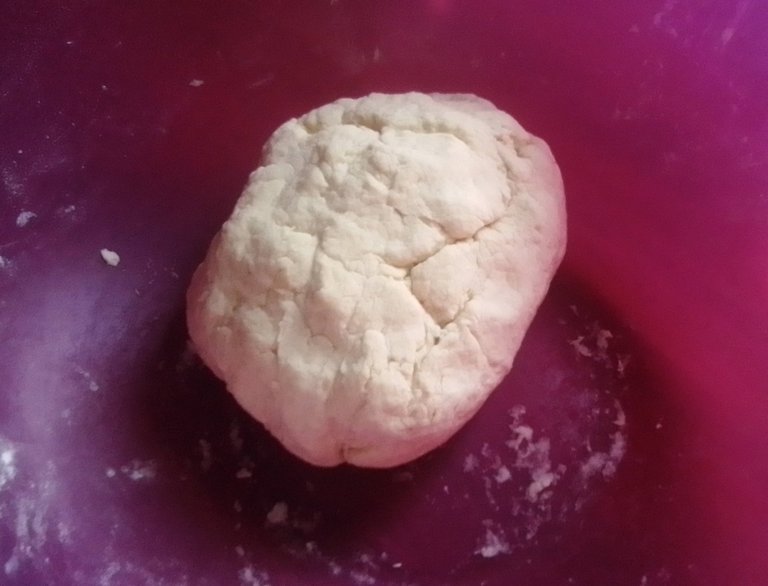
Pasaremos a seguir amasando en una mesa de tres a cinco minutos hasta que veamos que todo esté bien compactado, la masa esté manejable y se pueda forma una bola. No se debe amasar por mucho tiempo para no activar el gluten. Recuerden esparcir un poco de harina en la superficie para que no se pegue. Una vez listo, dejaremos reposar por unos diez minutos. | We will continue kneading on a table for three to five minutes until we see that everything is well compacted, the dough is manageable and can be formed into a ball. Do not knead for too long so as not to activate the gluten. Remember to sprinkle a little flour on the surface so that it does not stick. Once ready, let it rest for about ten minutes. |
.gif)
.jpg)
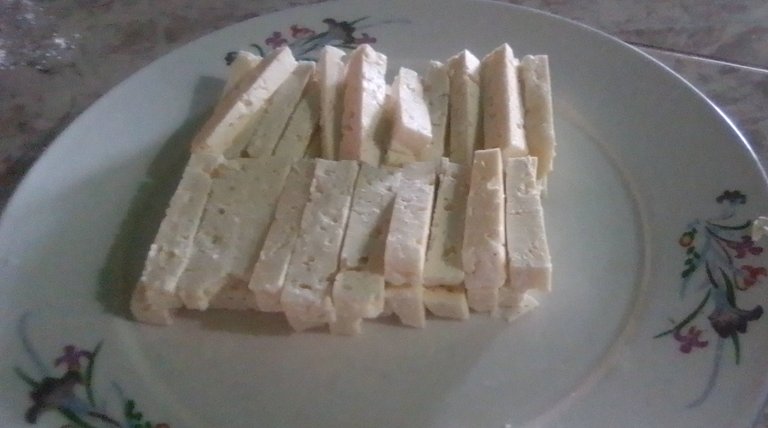
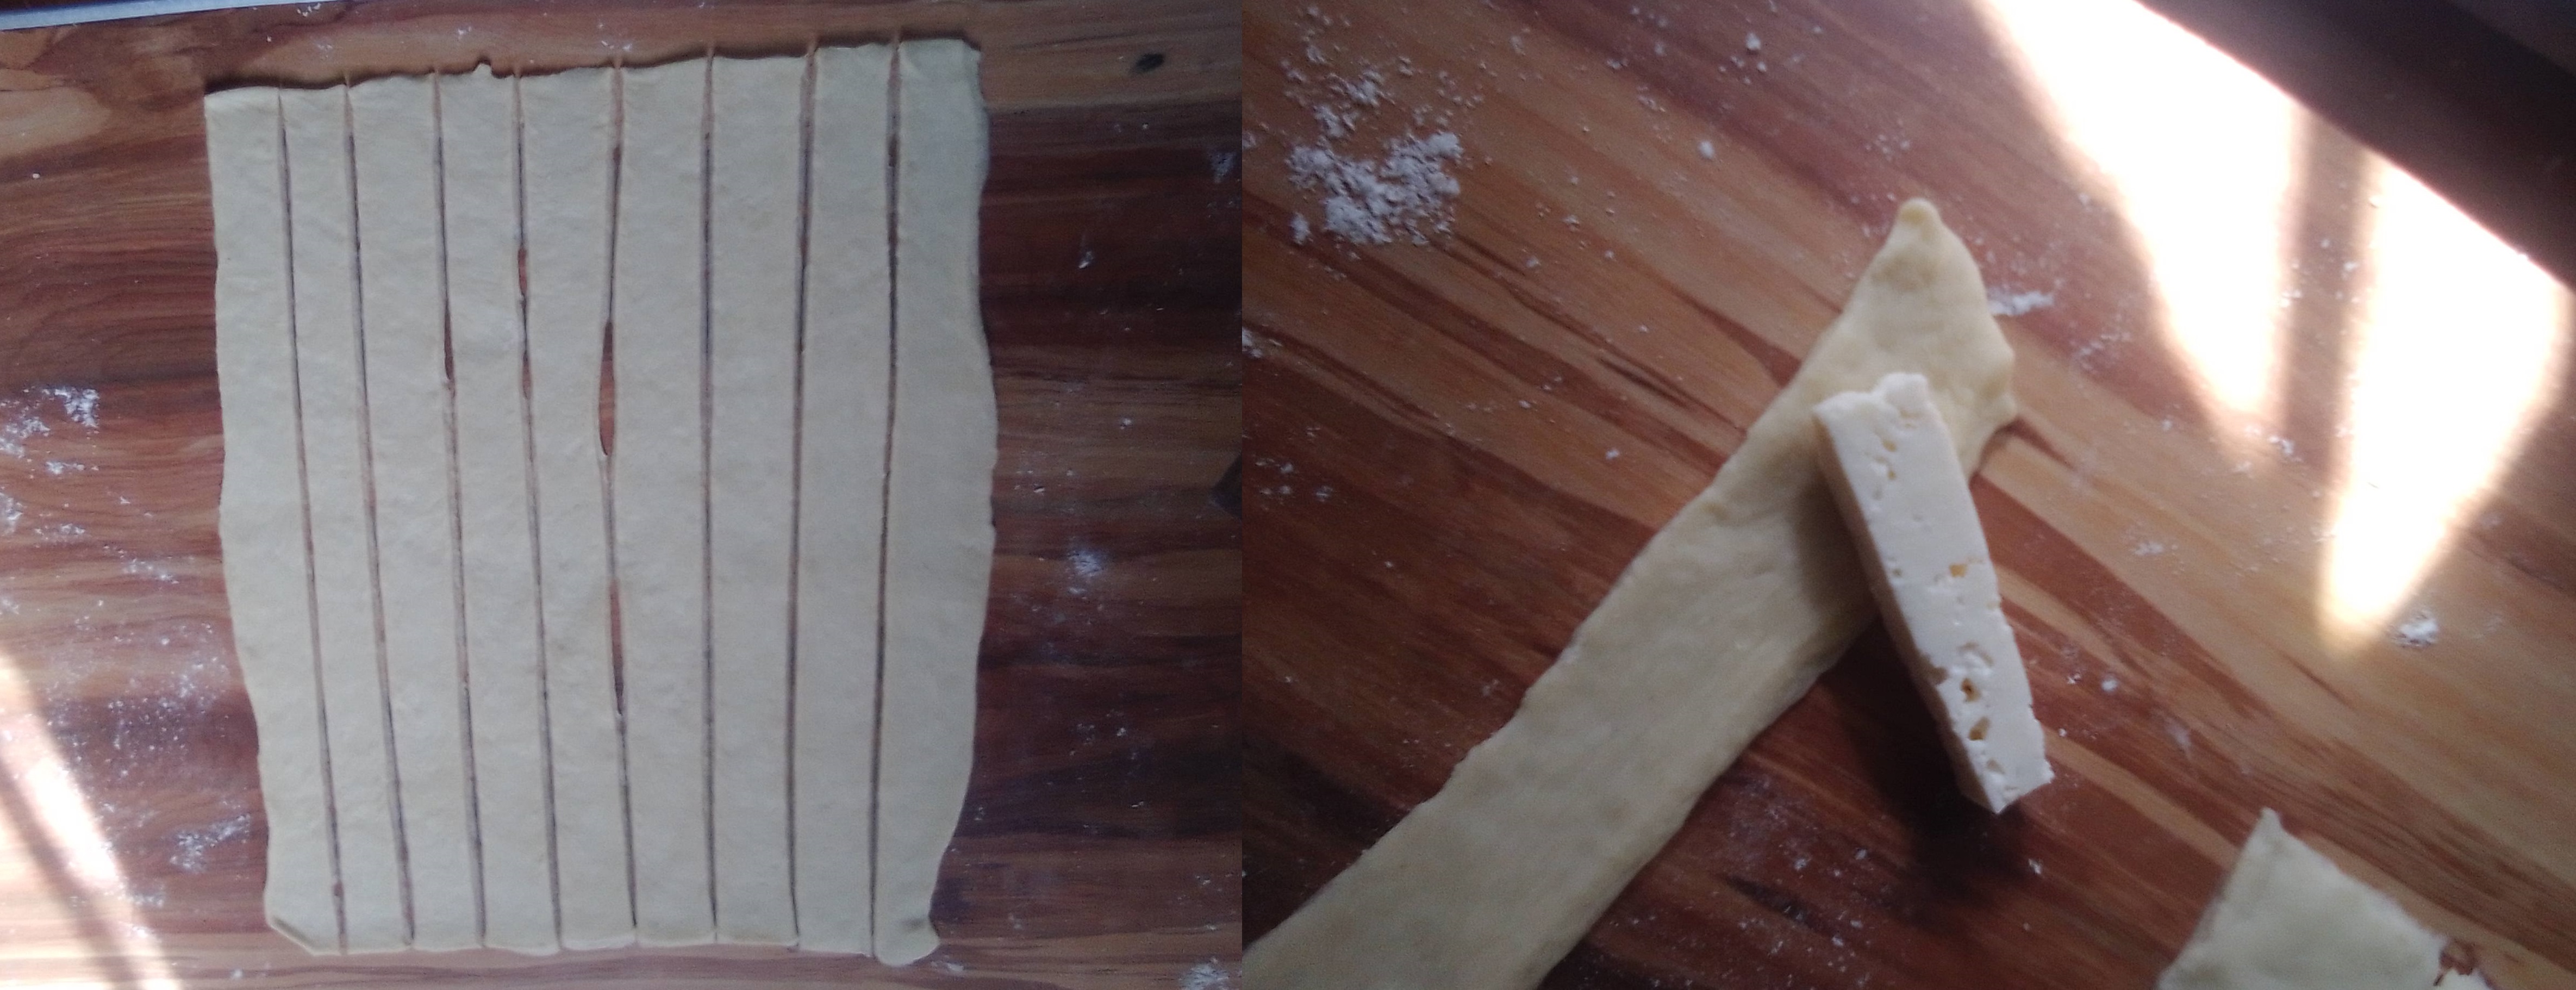
Nota: Mientras la masa se reposa podemos ir cortando el queso en palitos de 5 cm de largo por 1 de ancho.
Note: While the dough is resting we can cut the cheese into sticks of 5 cm long by 1 cm wide.
| Paso 4 | Step 4 |
|---|---|
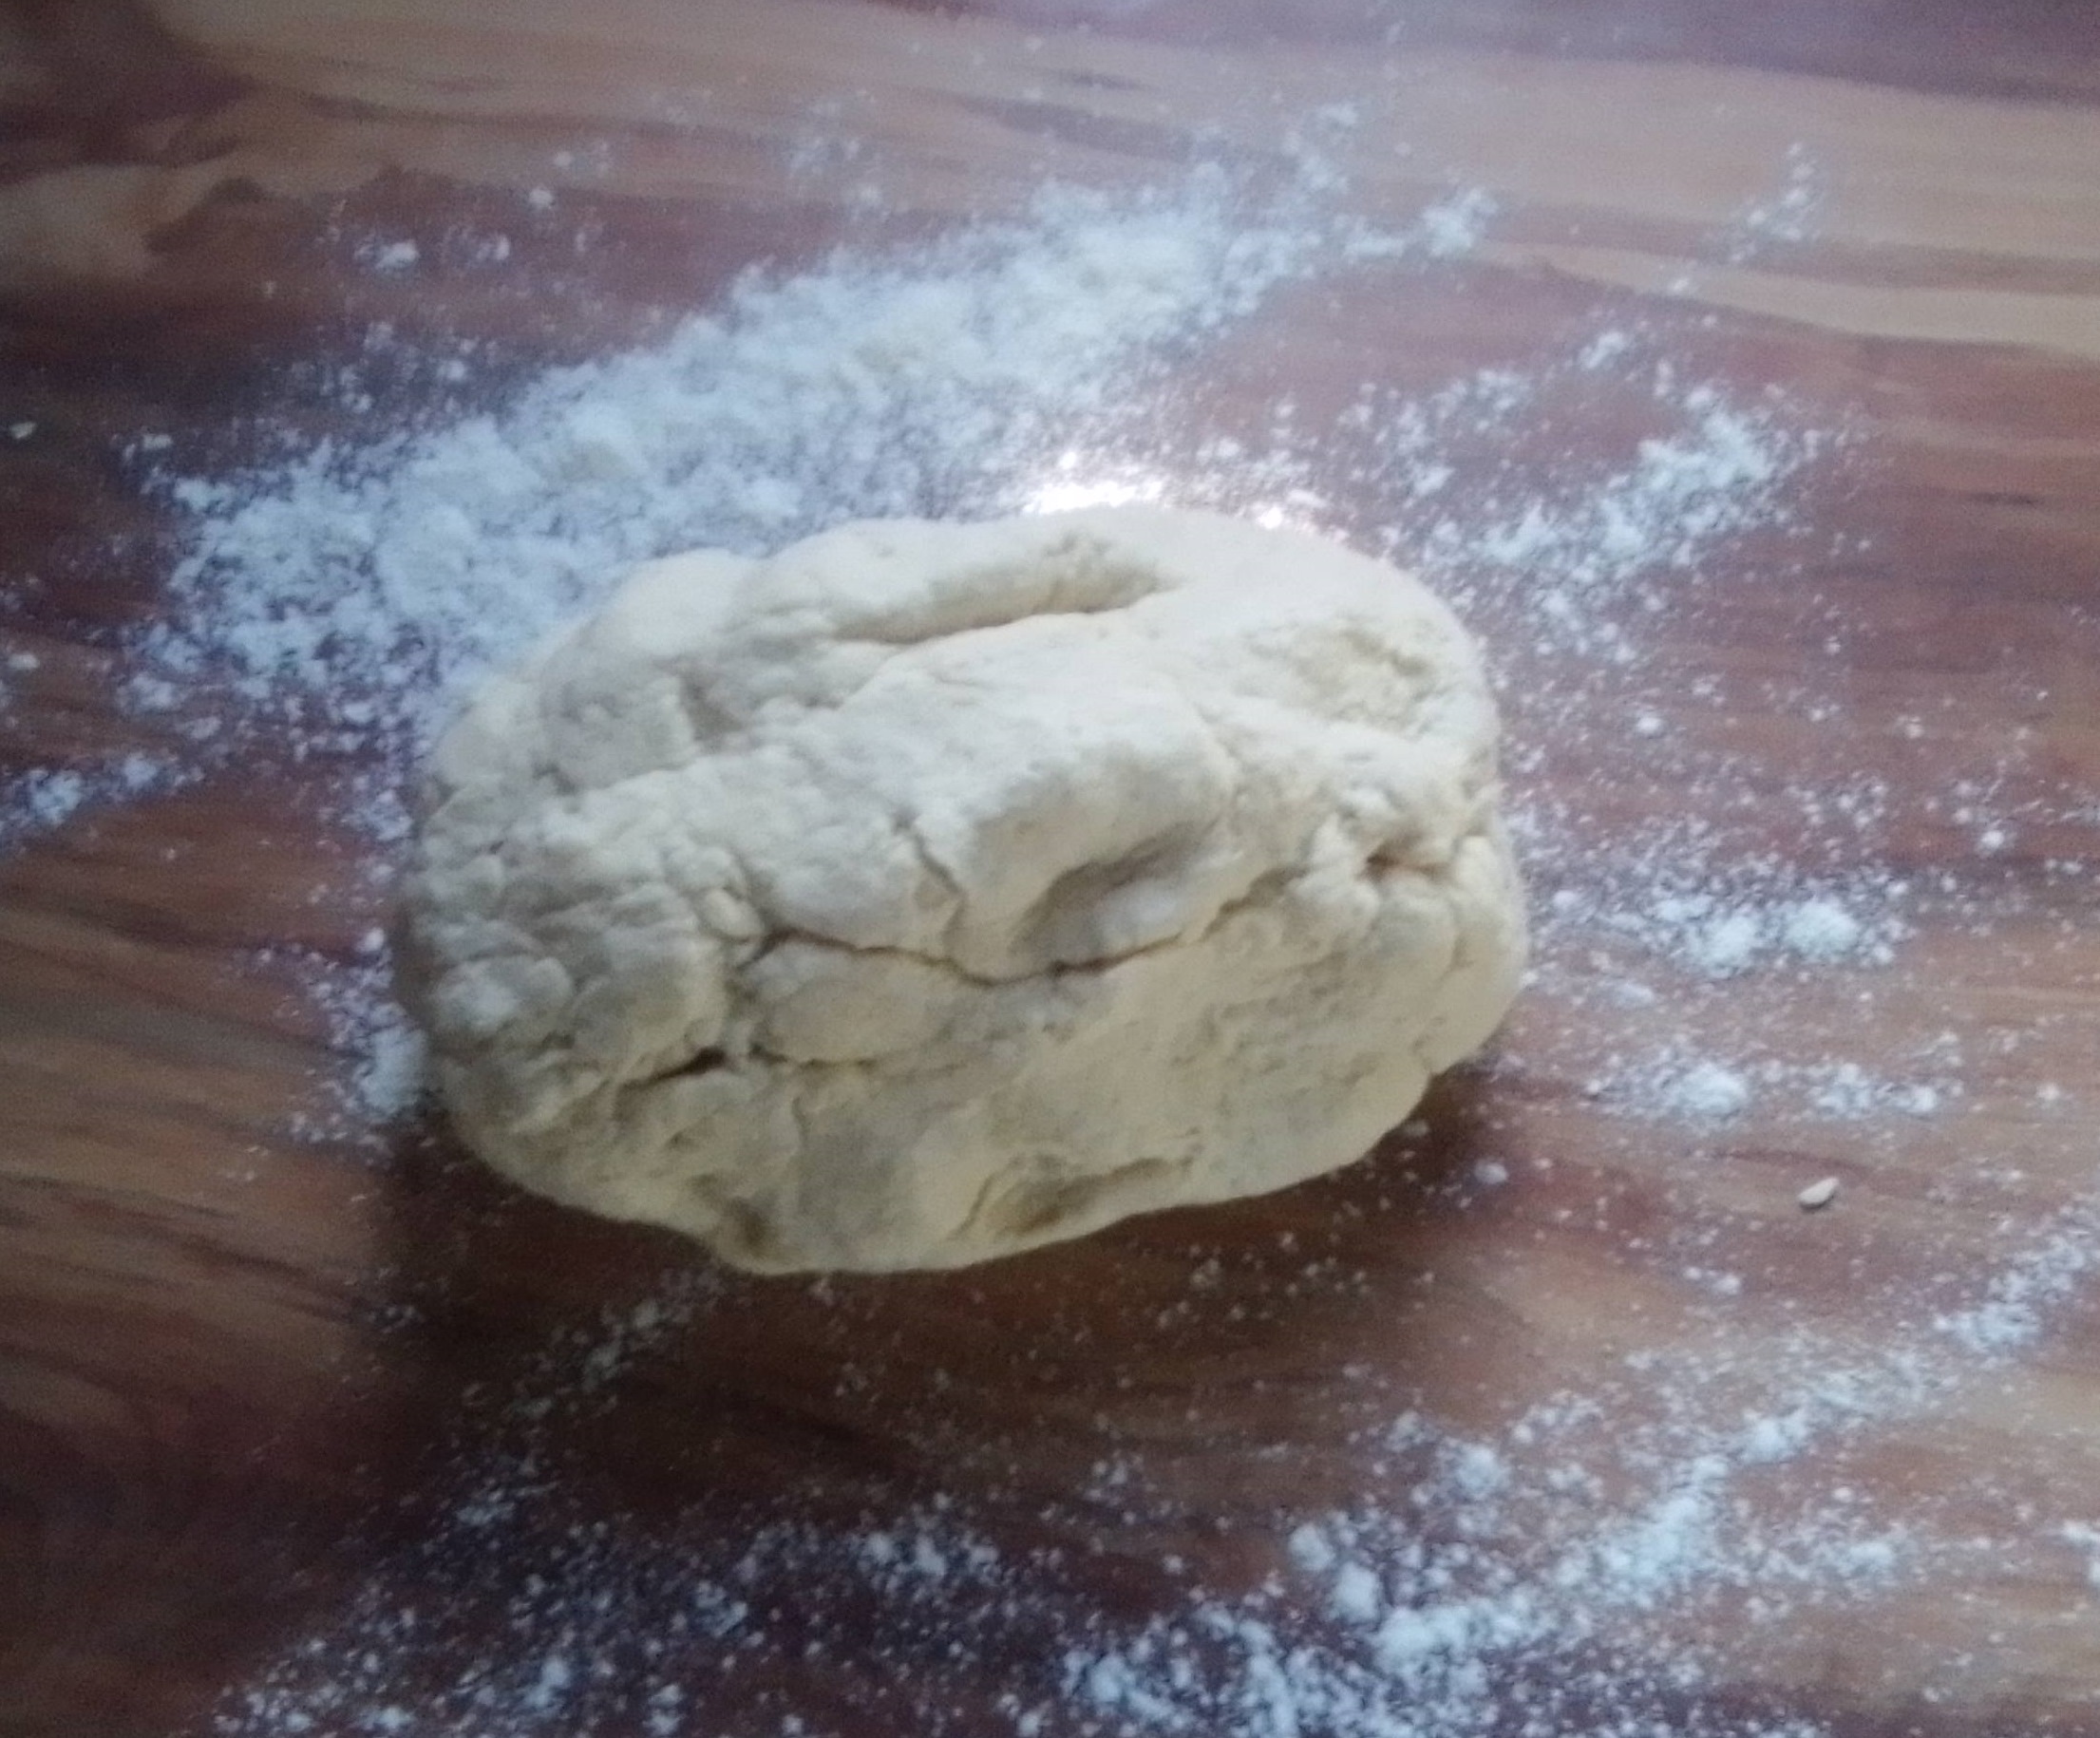
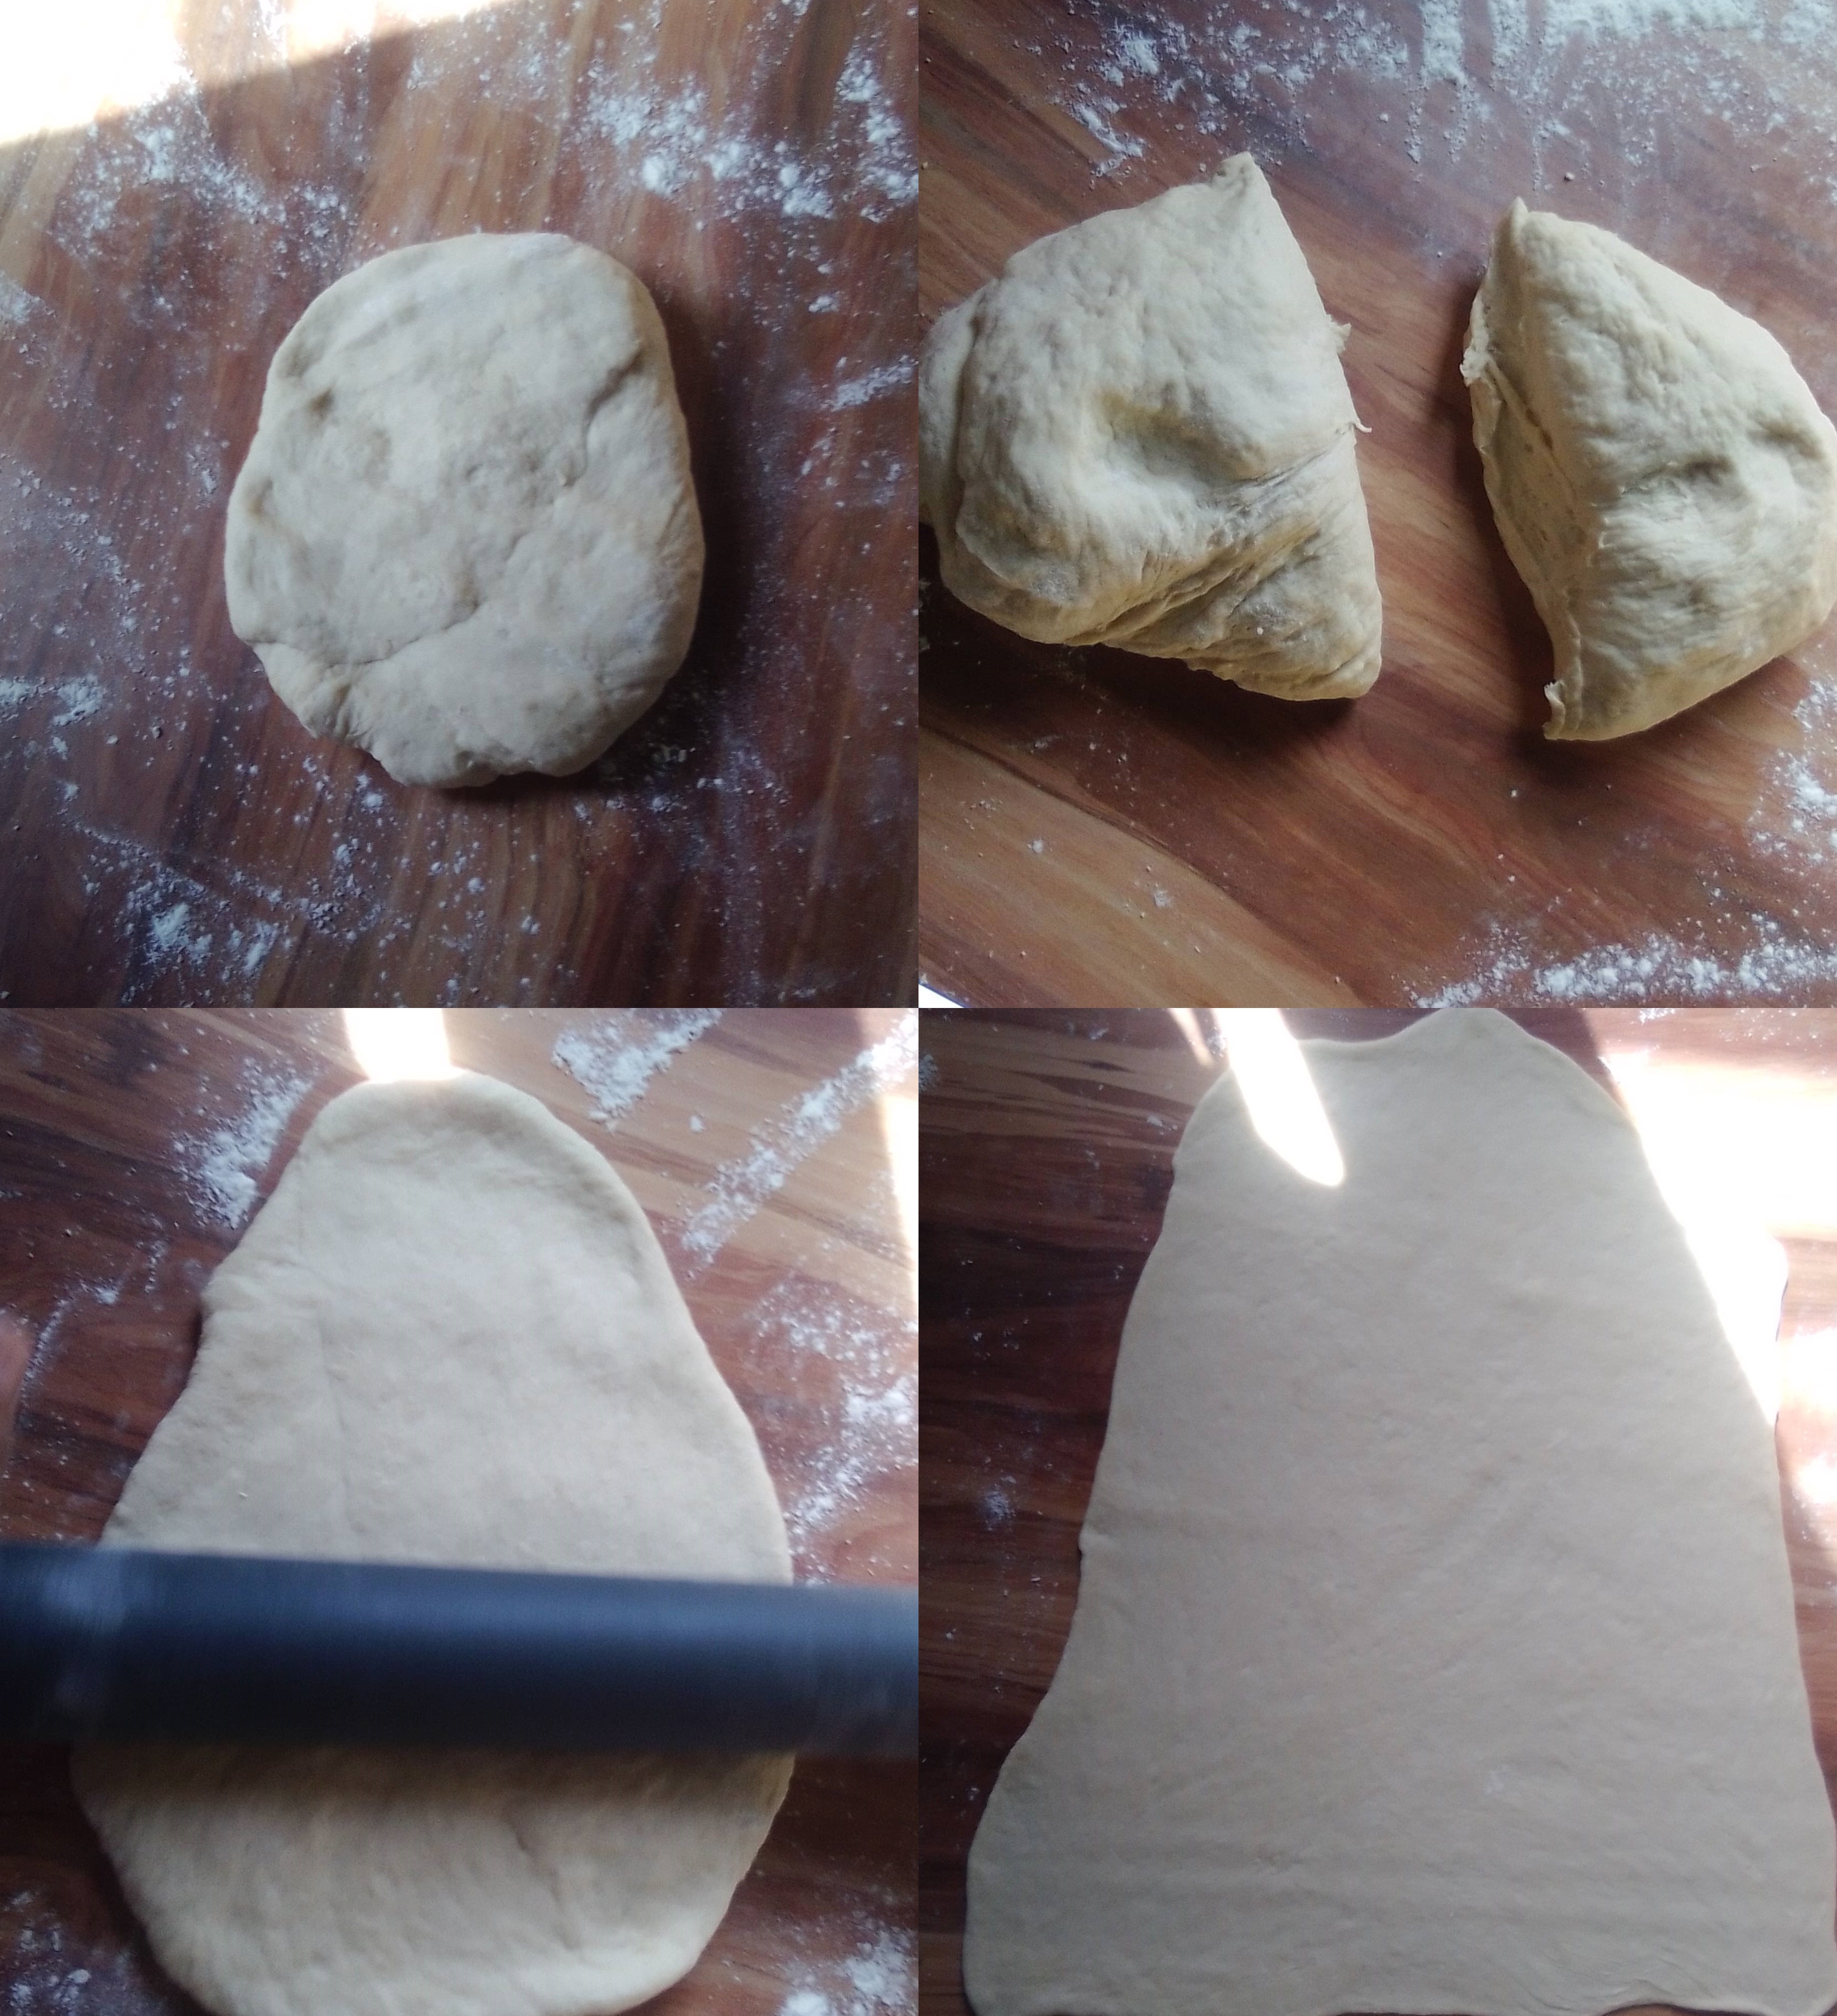
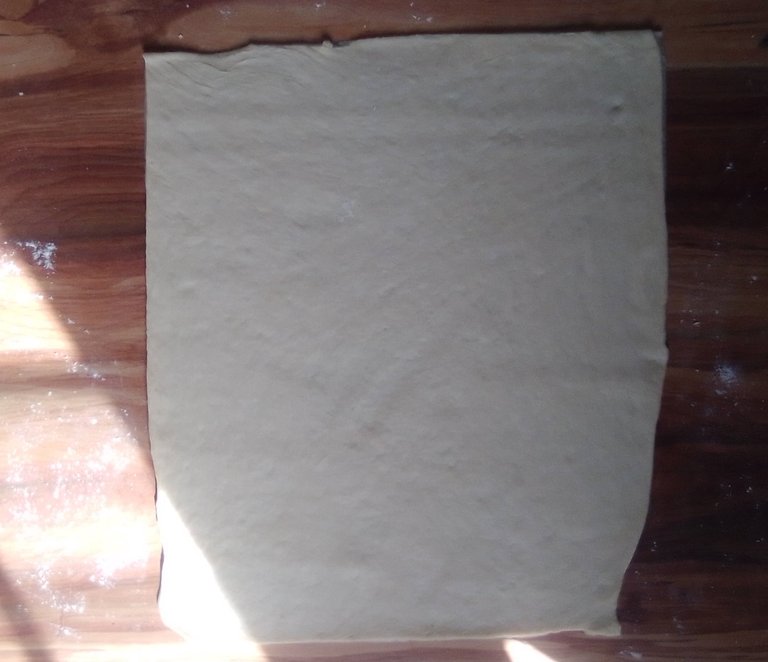
Pasados los diez minutos, volvemos a la mesa y cortaremos la masa a la mitad para que sea más fácil estirar. Con un rodillo (o lo que les sirva como eso) vamos a estirar tratando de irle dando una forma cuadrada y al mismo tiempo que no quede ni muy gruesa ni delgada. Con un cuchillo cortamos los bordes para que quede lo más cuadrada posible. | After ten minutes, we return to the table and cut the dough in half to make it easier to stretch. With a rolling pin (or whatever you can use as a rolling pin) we will stretch the dough trying to give it a square shape and at the same time that it is neither too thick nor too thin. With a knife cut the edges to make it as square as possible. |
| Paso 5 | Step 5 |
|---|---|
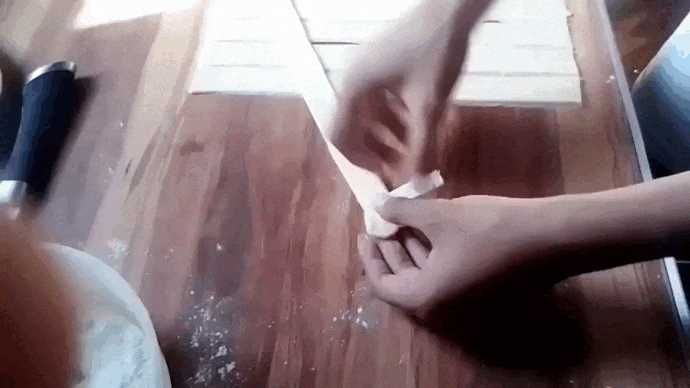
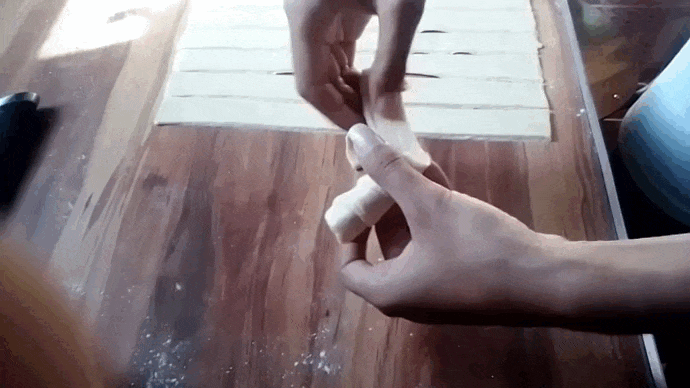
Vamos a cortar la masa en tiras de aproximadamente 2 cm de ancho. Tomaremos un palito de queso y lo podremos en una de las esquinas de la tira de masa, cubriendolo un poco, luego comenzaremos a envolver el queso con la masa, al llegar al final del queso cubriremos la punta con algo de masa y la que sobre la cortamos. Le daremos vueltas al tequeño contra la superficie para que este compacte un poco mejor, tambien precionaremos las esquinas para asegurarnos de que no se salga el queso. Repetiremos el proceso con los demas y los iremos dejando a un lado. | We will cut the dough into strips about 2 cm wide. We will take a stick of cheese and we will put it in one of the corners of the strip of dough, covering it a little, then we will begin to wrap the cheese with the dough, when we get to the end of the cheese we will cover the tip with some dough and the one on top we will cut it. We will turn the tequeño against the surface so that it compacts a little better, we will also press the corners to make sure that the cheese does not come out. Repeat the process with the others and set them aside. |

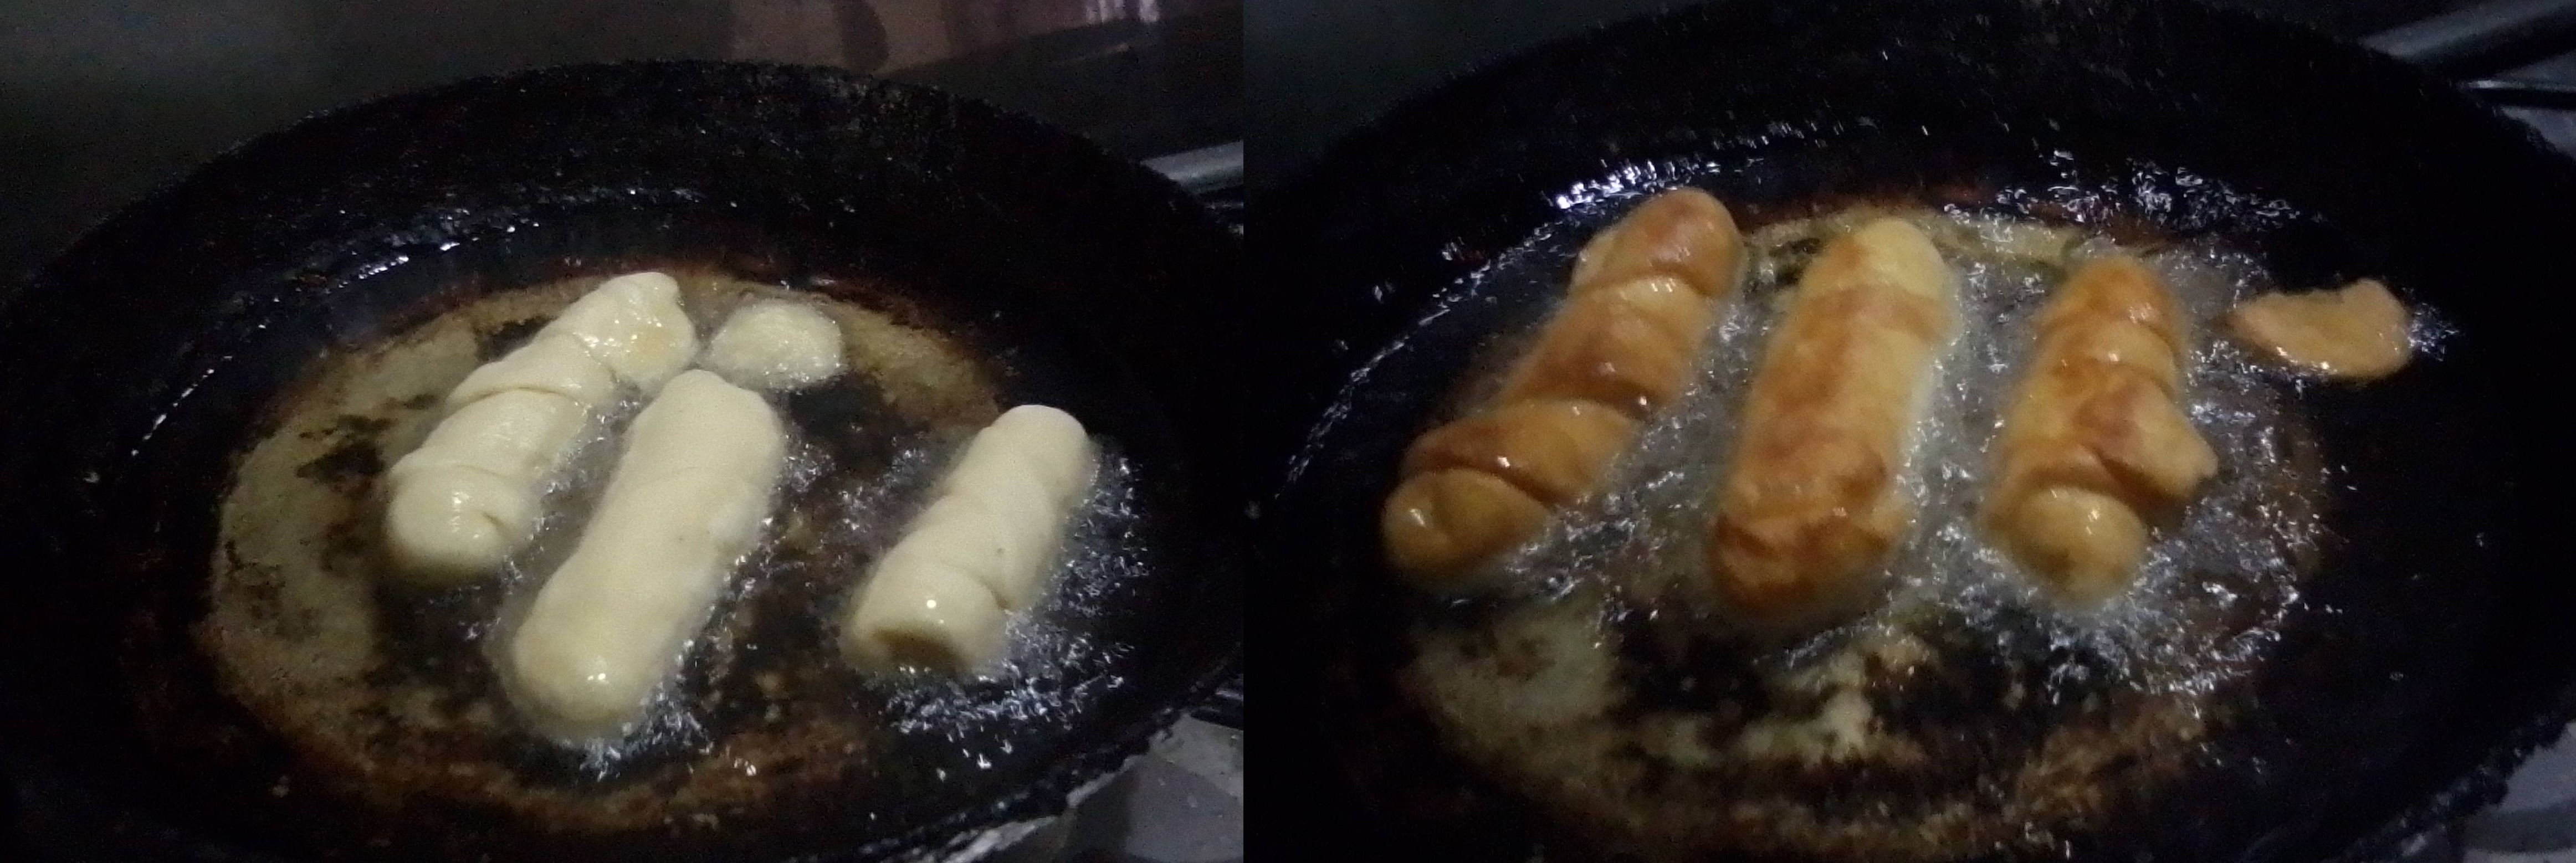
| Paso 6 | Step |
|---|---|
Una vez tengamos los tequeños listos, pondremos a calentar una sartén con suficiente aceite. Cuando esté caliente echamos los tequeños y dejaremos cocinar por ambos lados hasta que estén más o menos doraditos (Pero que no luzcan quemados). Una vez listos los amos retirando con cuidado del aceite y repetimos el proceso con los demás tequeños. | Once the tequeños are ready, heat a frying pan with enough oil. When it is hot, add the tequeños and let them cook on both sides until they are more or less golden brown (but not burnt). Once ready, carefully remove them from the oil and repeat the process with the rest of the tequeños. |
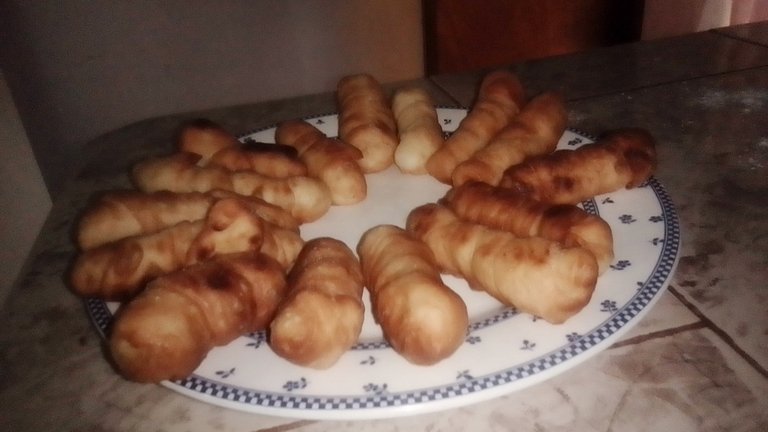
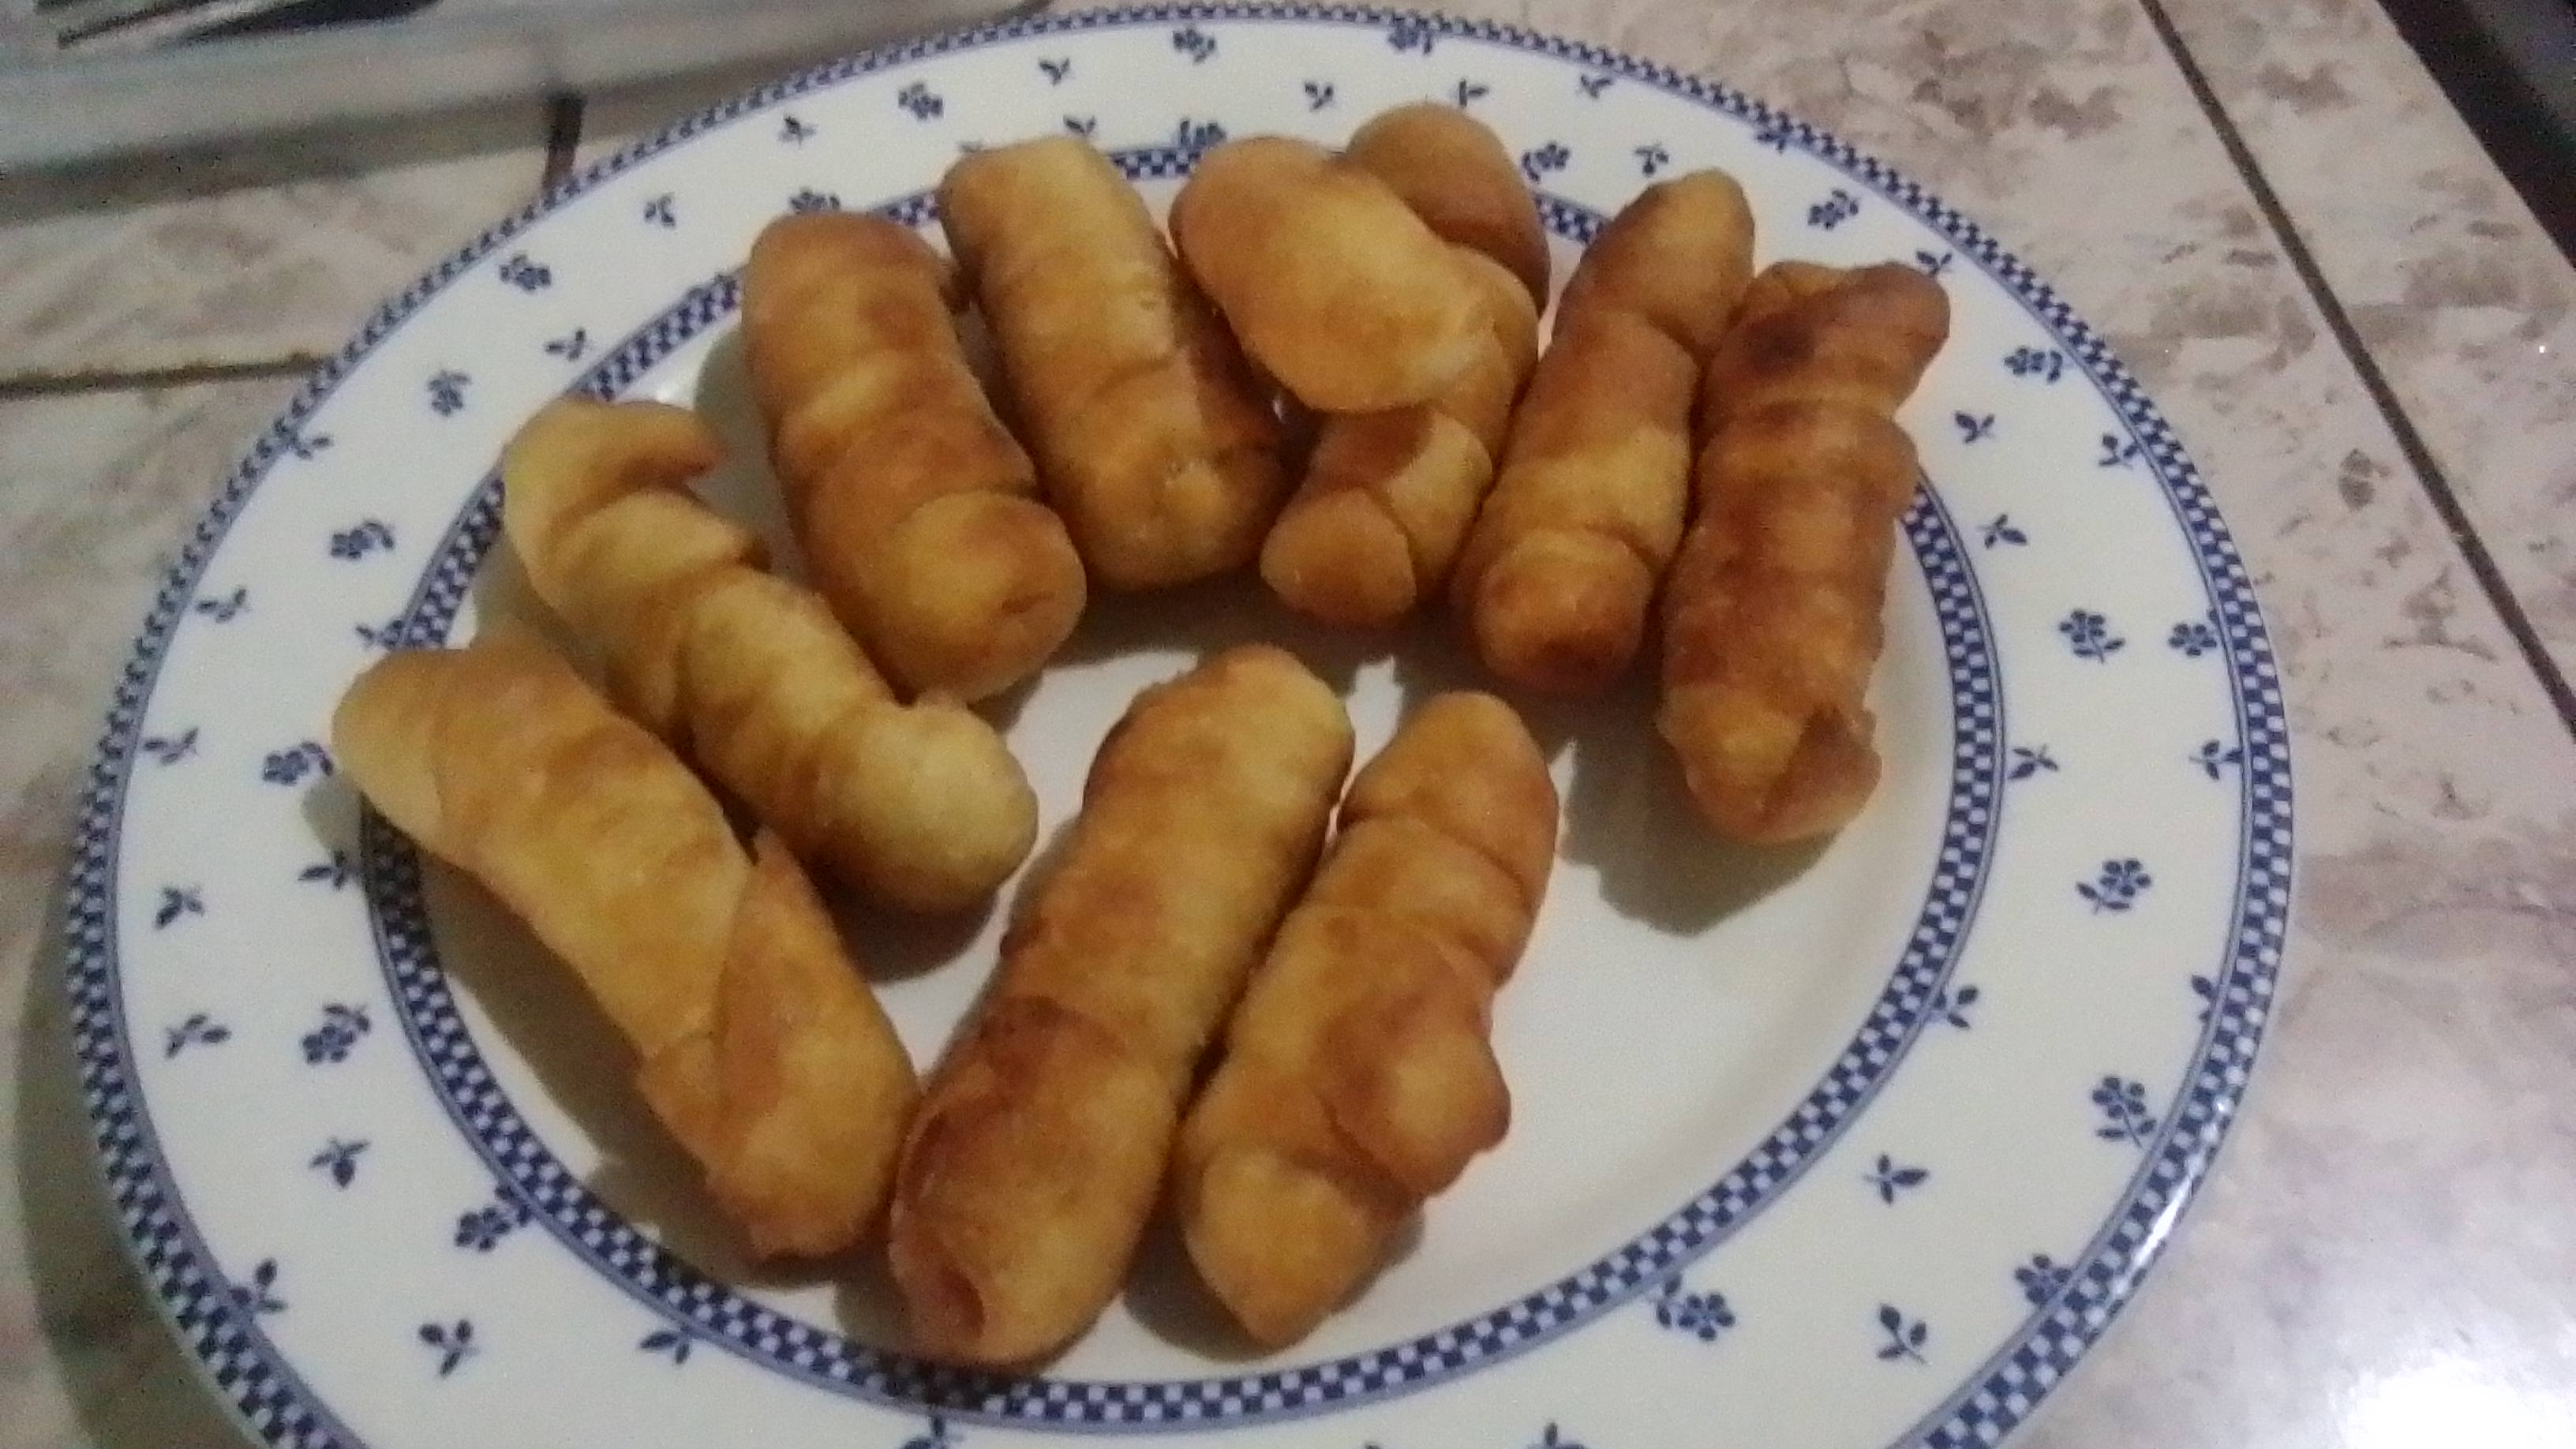
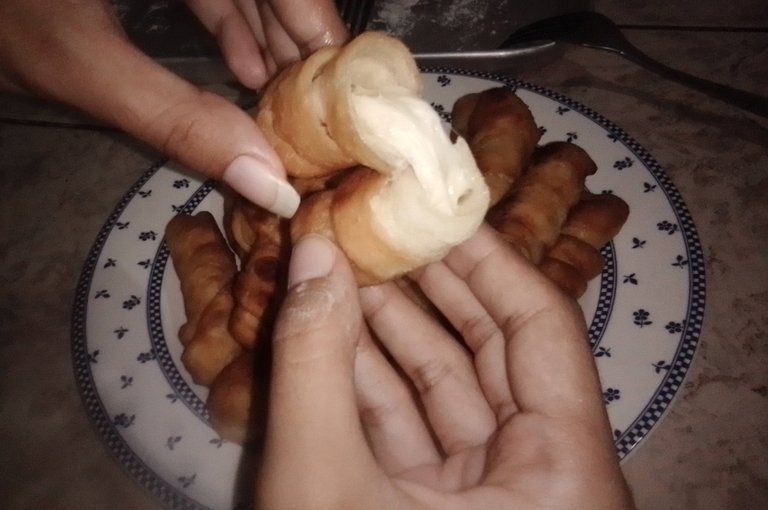
I really invite you to try this recipe if you have never made it before, you have no idea how easy it is and it can get you out of trouble when you have a party or just have a craving. I hope you liked it! See you next time!