Hola amigos espero que estén muy bien hoy vengo a compartir una torta que simplemente me encanto, me gusta ir probando cosas nuevas así que cada cierto tiempo busco recetas de países y culturas distintas para sumergirme en sus sabores, en esta oportunidad les traigo la famosa torta Rusa Medovik, Son más de 200 años desde la creación de esta torta y como la mayoría de historia de los postres este también fue creado para agasajar a la realeza, en este caso al Zar ruso , ( que afortunados somos que actualmente podemos probar muchas cosas que antes estaban al alcance exclusivamente de los monarcas), esta torta es fácil preparación pero fácil no quiere decir rápido ¿verdad? Este es el caso es fácil pero si lleva tiempo prepararla, pero de verdad que vale la pena.
Hello friends, I hope you are well, today I come to share a cake that I simply loved, I like to try new things so from time to time I look for recipes from different countries and cultures to immerse myself in their flavors, this time I bring you the famous cake Rusa Medovik, It has been more than 200 years since the creation of this cake and like most of the history of desserts, this one was also created to entertain royalty, in this case the Russian Tsar, (how lucky we are that we can currently try many things which were previously available exclusively to monarchs), this cake is easy to prepare but easy doesn't mean fast, right? This is the case, it is easy but it does take time to prepare, but it is really worth it.
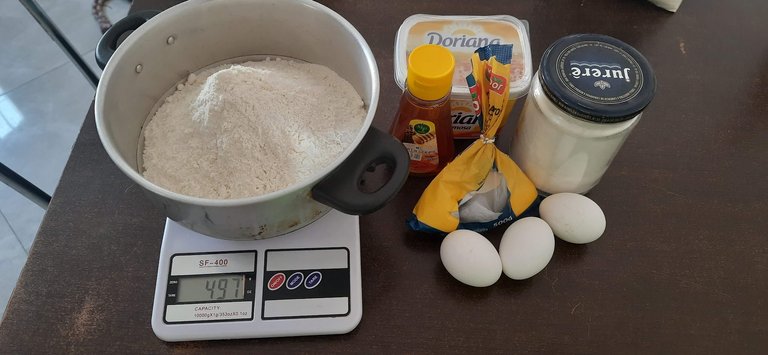
Ingredientes
*3 huevos
*100 gr de mantequilla
*120 gr de miel
*100 gr de azúcar impalpable
*500 gr de harina
*1 cucharadita de bicarbonato
Ingredients
*3 eggs
*100 gr of butter
*120 gr of honey
*100 g of powdered sugar
*500 g of flour
*1 teaspoon of baking soda
Ingredientes de la crema
*300 gr de queso crema
*300 gr de crema para batir
*100 gr de yogur griego
*100 gr de miel
*1 cucharadita de esencia de vainilla
Cream ingredients
*300 gr of cream cheese
*300 gr of whipping cream
*100g Greek yogurt
*100 gr of honey
*1 Teaspoon vanilla extract

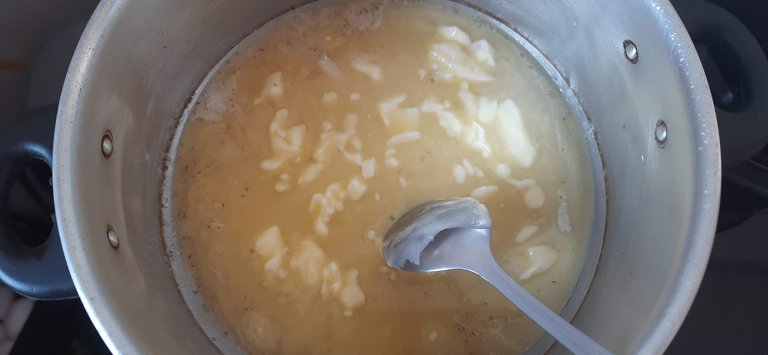
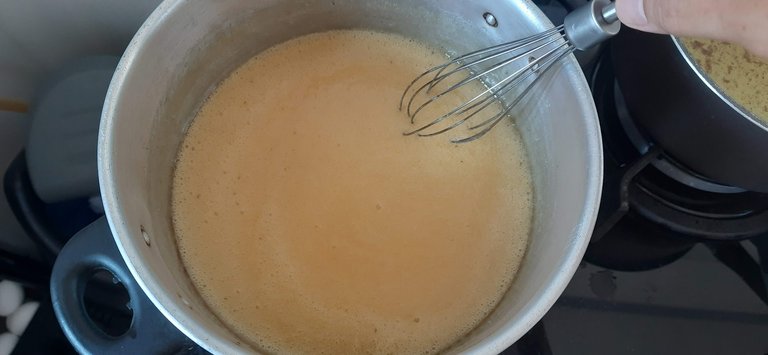
Preparación
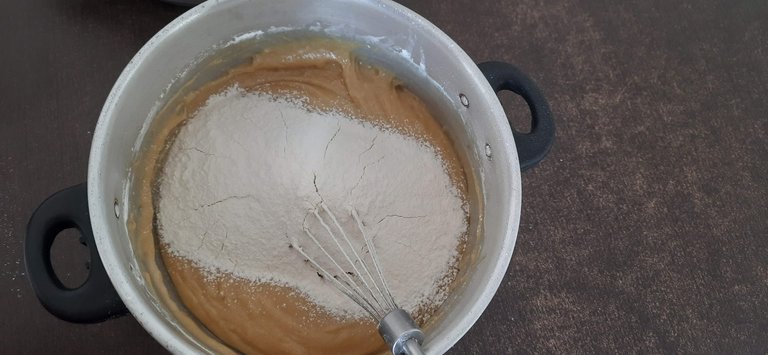
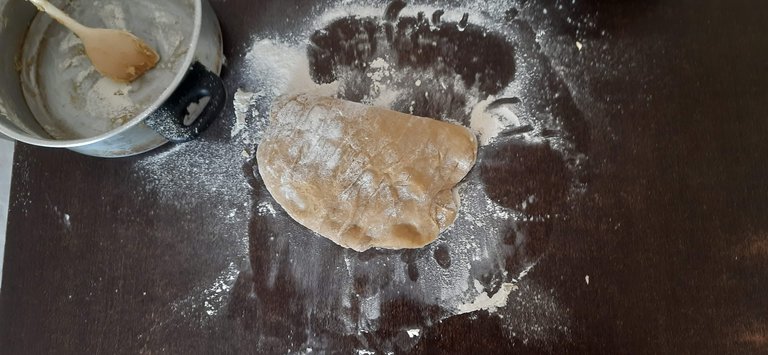
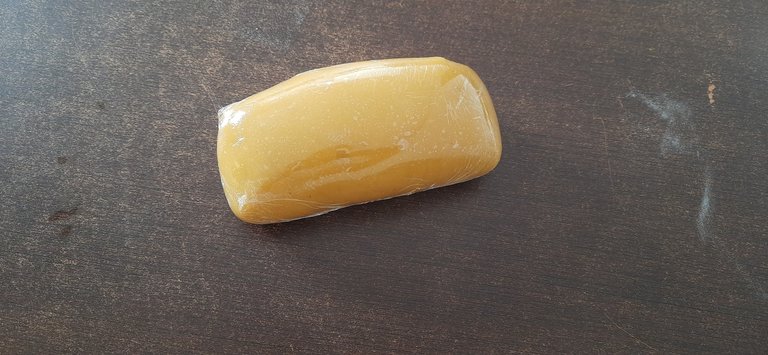
Lo primero y más laborioso será nuestros 8 bizcochitos, para ellos colocaremos el azúcar, miel y mantequilla a fuego medio mezclando hasta que hierva y retiramos del fuego, en este momento agregamos los huevos (previamente batidos) y la cucharadita de bicarbonato, (es importante hace esto en una olla que sea grande para no correr el riesgo que se bote) debido a la reacción del bicarbonato la mezcla efervescera, al mezclar bien comenzamos a agregarle la harina de trigo (cernida) continuamos mezclando mientras agregamos toda la harina, al final notaremos que ya no podemos continuar mezclando con el mezclado o la paleta debido a que ya está muy espeso entonces terminamos de mezclar el restante de harina con nuestras manos , no es necesario amasar cuando este todo completamente mezclado, acomodamos nuestra masa en forma de rectángulo y la envolvemos en papel envoplast, la demos reposar por 30 minutos.
Preparation
The first and most laborious thing will be our 8 sponge cakes, for them we will place the sugar, honey and butter over medium heat, mixing until it boils and we remove it from the heat, at this time we add the eggs (previously beaten) and the teaspoon of baking soda, (it is important Do this in a pot that is large so as not to run the risk of it being thrown away) due to the reaction of the bicarbonate the mixture will effervesce, when mixing well we begin to add the wheat flour (sifted) we continue mixing while we add all the flour, at the end We will notice that we can no longer continue mixing with the mixer or the paddle because it is already very thick, so we finish mixing the remaining flour with our hands, it is not necessary to knead when everything is completely mixed, we arrange our dough in the shape of a rectangle and We wrap it in envoplast paper, let it rest for 30 minutes.
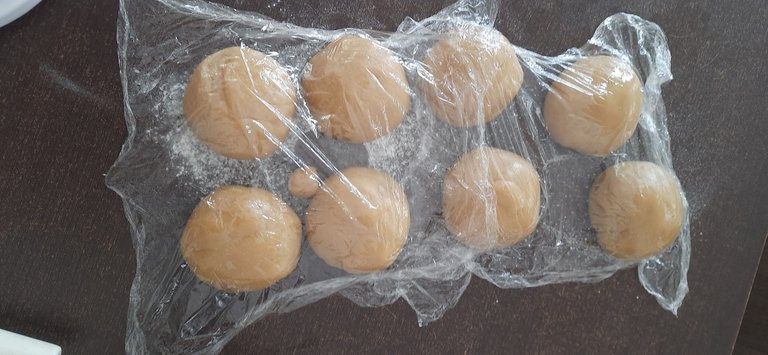
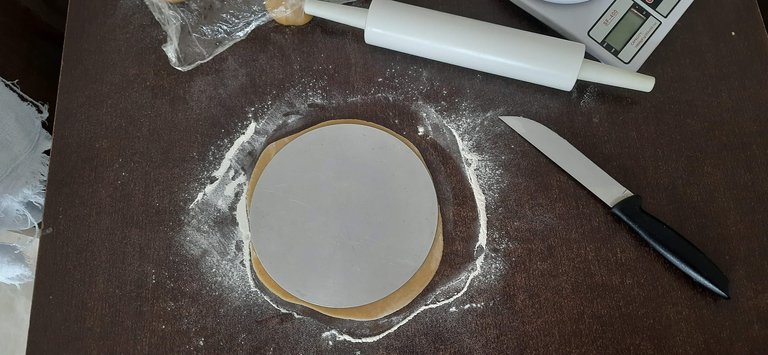
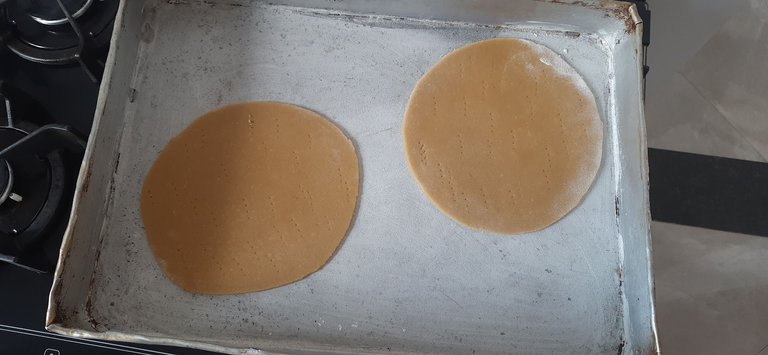
Al pasar el tiempo estamos listos para comenzar a hacer nuestros círculos dividiremos la masa en 8 porciones iguales y con ayuda de un rodillo formaremos los círculos, para que queden más simétricos utilizaremos un molde para cortar la masa, aquí viene lo fastidioso de la receta, son 8 círculos y debemos hornearlos alrededor de 8-9 minutos a 180º centígrados, al menos que tengas un horno grande no podrás meter todos los círculos yo lo hice en 4 tandas, importante cuando cortas los círculos con el molde tendrás retazos sobrantes no los botes también debemos hornearlos ya que serán nuestra decoración.
As time passes we are ready to start making our circles, we will divide the dough into 8 equal portions and with the help of a rolling pin we will form the circles, to make them more symmetrical we will use a mold to cut the dough, here comes the annoying part of the recipe, There are 8 circles and we must bake them for around 8-9 minutes at 180º Celsius, unless you have a large oven you will not be able to fit all the circles, I did it in 4 batches, it is important when you cut the circles with the mold you will have leftover scraps, do not throw them away. We must also bake them since they will be our decoration.
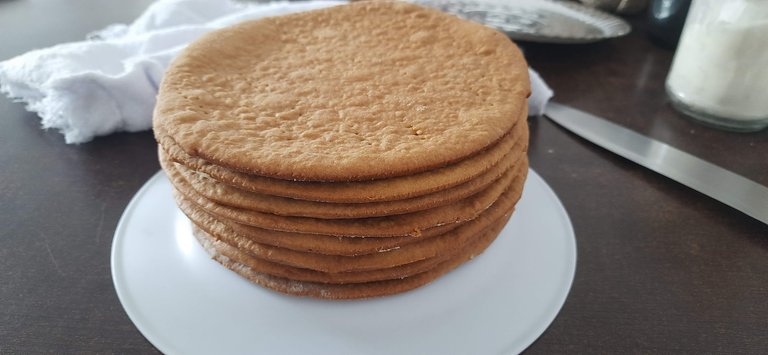
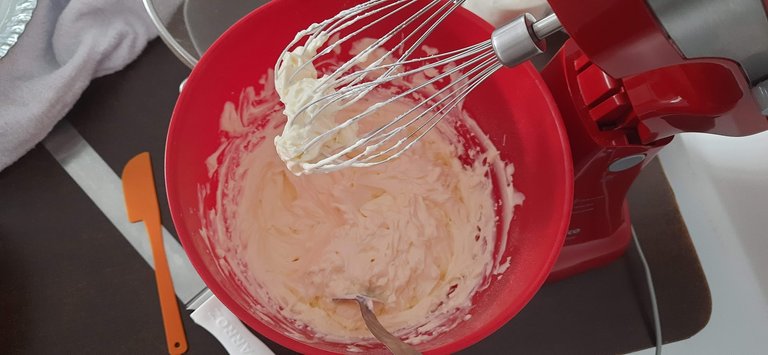
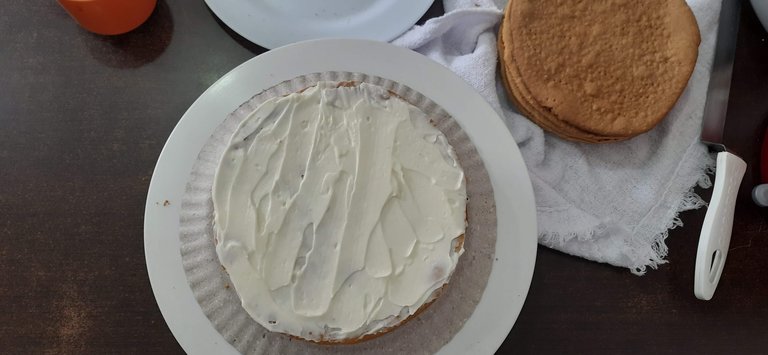
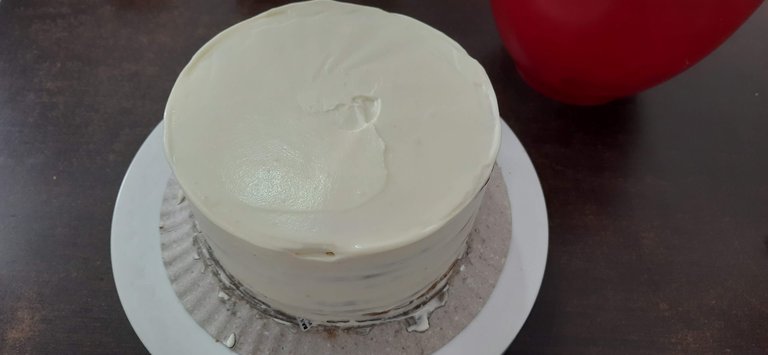
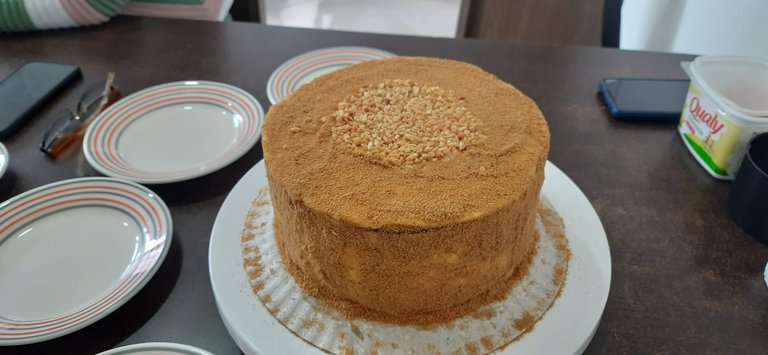
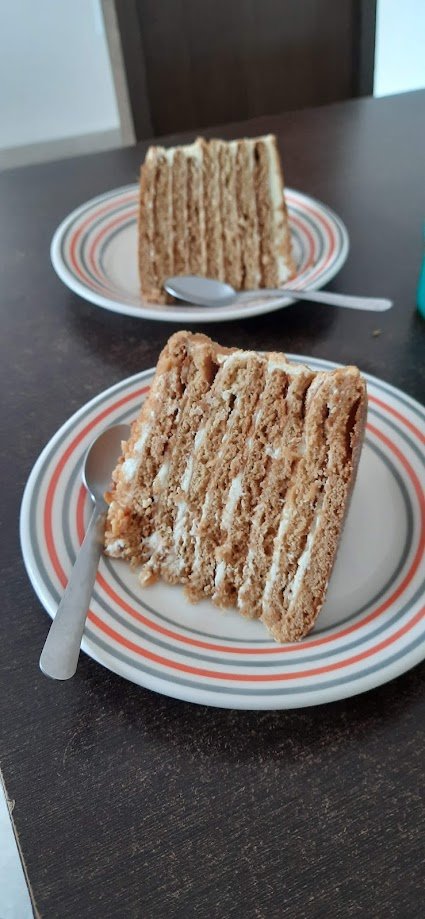
Al tener listos nuestros 8 pisos vamos a preparar la crema, para ellos simplemente colocaremos todos los ingredientes (queso crema, crema para batir, yogurt, vainilla a y la miel) en el bol de la batidora, batimos hasta que la crema está montada y bien mezclada. Aquí procedemos a armarla piso por piso vamos esparciendo crema de forma uniforme, al terminar los pisos agregamos más crema en todo el exterior de la torta intentamos de que quede prolijo (si el clima está caliente como me paso a mí será necesario colocar la torta en la nevera un par de horas para que tome consistencia) mientras esto ocurre licuaremos los recortes de masa que les mencione anteriormente y con ese polvo finalizamos la decoración de la torta, claro que se puede hacer decoraciones más elaboradas, pero así quedará decente 😊 estamos listos para comer.
Once we have our 8 layers ready, we are going to prepare the cream, for them we will simply place all the ingredients (cream cheese, whipping cream, yogurt, vanilla and honey) in the mixer bowl, beat until the cream is whipped and well mixed. Here we proceed to assemble it floor by floor, we spread cream evenly, when we finish the floors we add more cream all over the outside of the cake, we try to make it neat (if the weather is hot, as it happened to me, it will be necessary to place the cake in the refrigerator for a couple of hours so that it becomes consistent) while this happens we will blend the dough cuttings that I mentioned before and with that powder we finish the decoration of the cake, of course you can make more elaborate decorations, but this way it will be decent 😊 we are ready to eat.

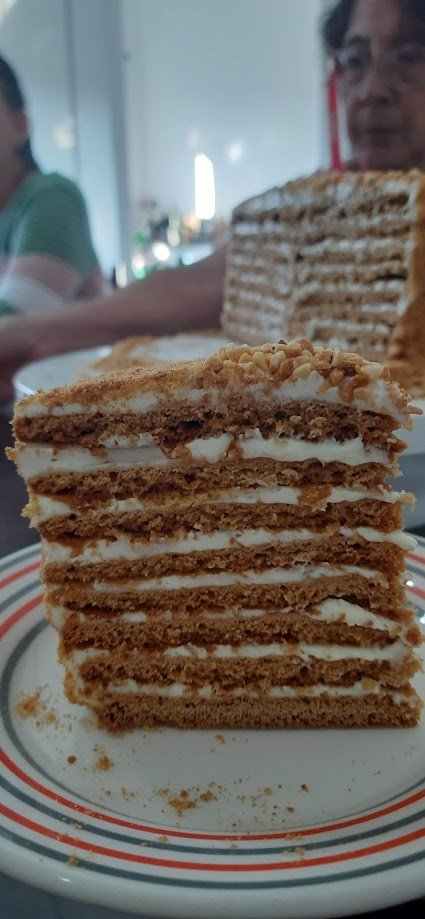
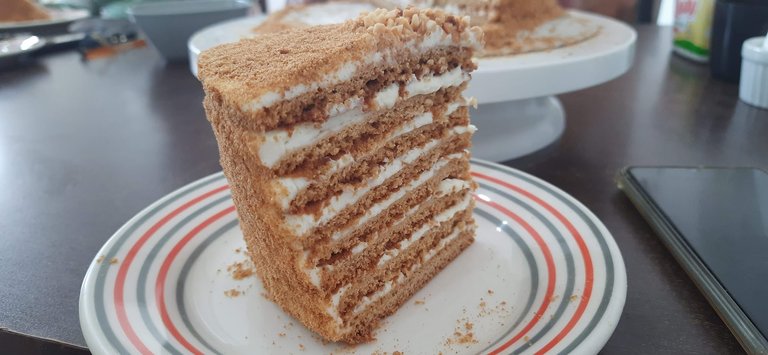
Es una torta muy rica, el sabor a miel le da su toque especial, no es empalagosa así que se pueden servir porciones generosas, sin duda los invito a hacer esta torta no se arrepentirán.
It is a very delicious cake, the honey flavor gives it its special touch, it is not cloying so you can serve generous portions, without a doubt I invite you to make this cake, you will not regret it.
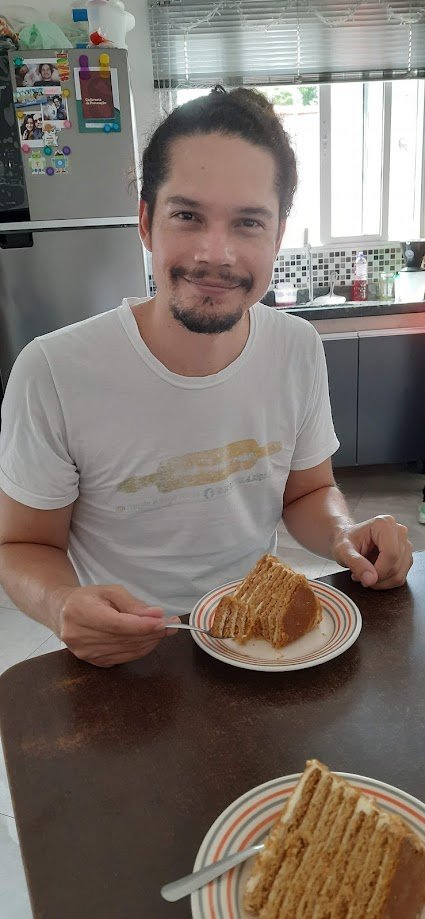
Bueno amigos espero que les encante esta torta, saludos
Well friends I hope you love this cake, greetings