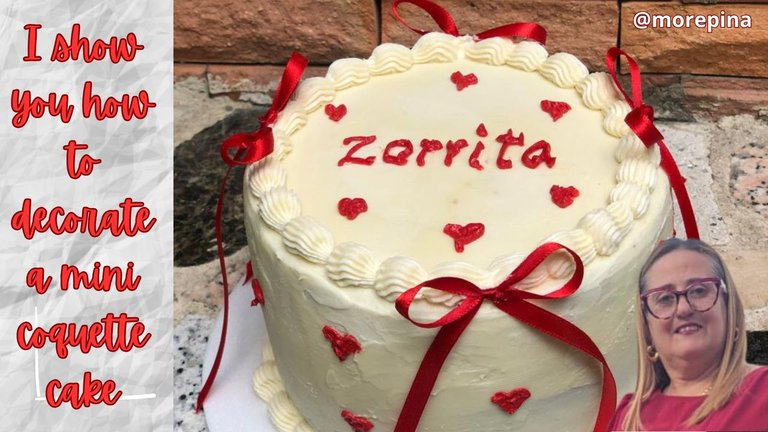
I show you how to decorate a mini coquette cake [ENG/ESP]
Good evening friends of the @foodiesbeehive community, I hope you had a nice day, full of blessings for each of you reader friends. I am doing well here thanks to God.
Today again I come to this community to share one of my works in baking and is the development and decoration of a beautiful cake that since the year 2024 became fashionable and in this 2025 is the boom, for those young women, teenagers and girls. When they have their birthday they want to celebrate it with a cake called coquette cake.
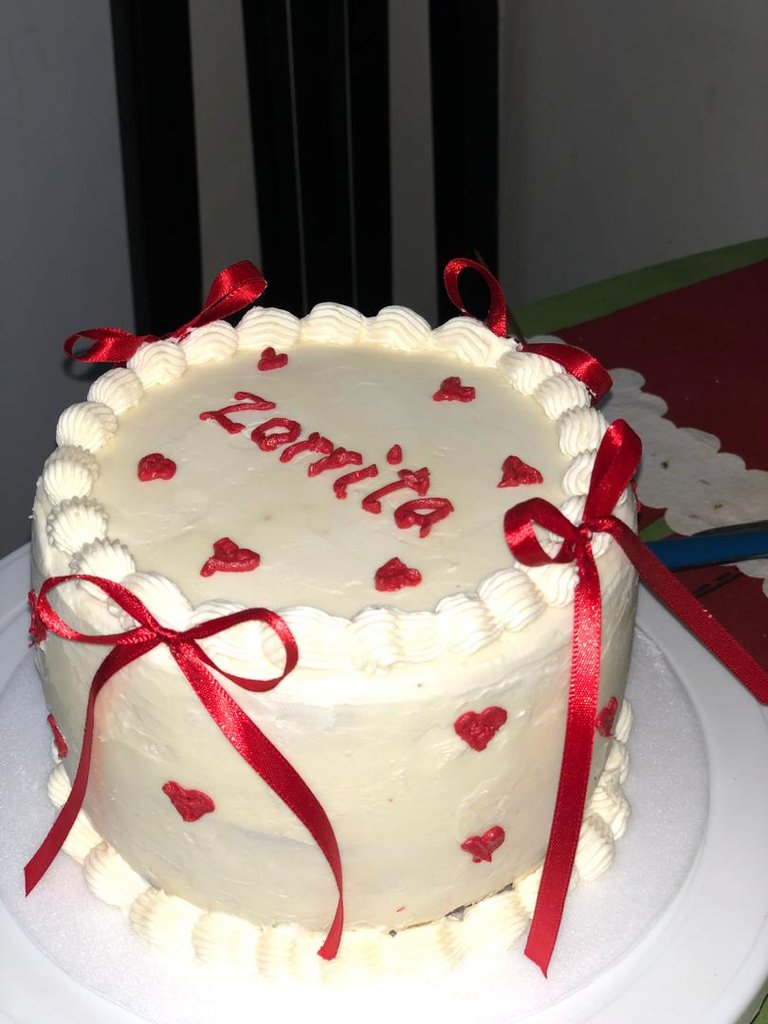
This time I am going to share with you a mini coquette cake. They are cakes decorated with ribbons, and most of them are decorated with hearts and dragées in the color that the birthday girl wants, it can be with buttercream or buttercream or the cream that the customer wants. In my case I was asked to decorate it with red ribbons and covered with buttercream, it is also in trend to write on the cakes some name or nickname that the birthday girl has, usually these cakes are very feminine because of its colors and the ribbons that it has, it is a type of trend that seeks to enhance the feminine side of the ladies or girls.
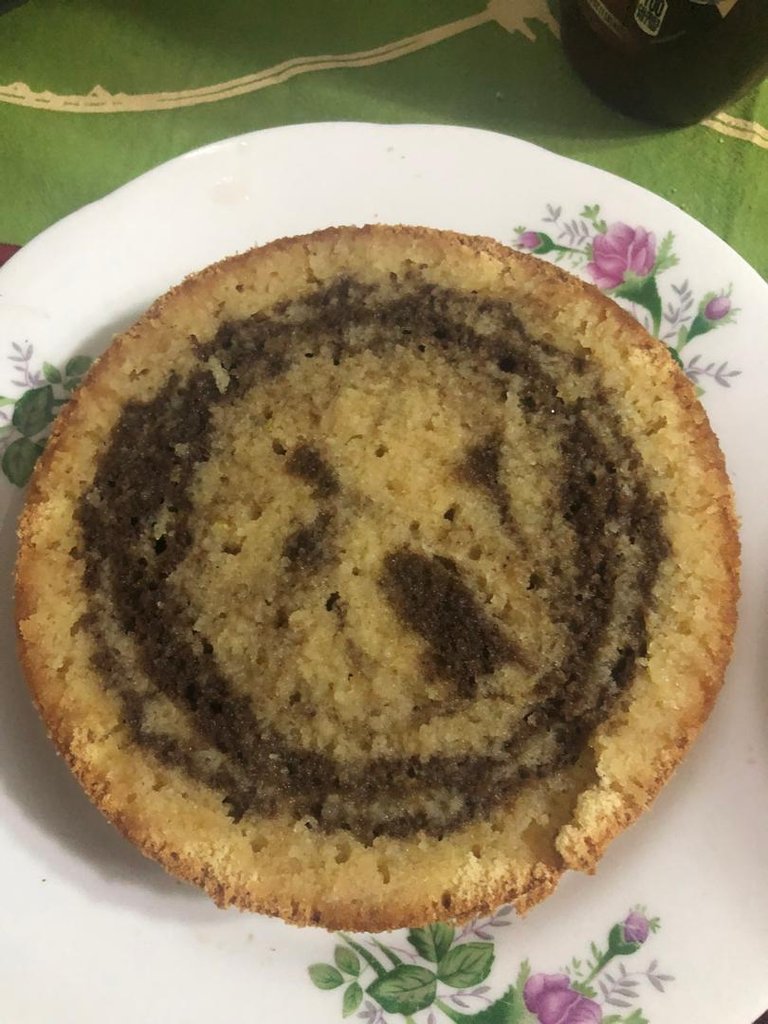
Today I am only going to show you the decoration, however I will indicate the ingredients for the mini cake and for the buttercream. In a previous post I already explained how to prepare both the buttercream and how to make a marbled cake, if you want you can see it in the following links marbled
buttercream
I tell you that all the guests and the birthday girl were very satisfied with the cake both for the texture, aroma and fluffiness, it is another level. The ingredients are listed below:
Ingredients mini cake: 18 centimeter mold, 2 and ½ cups of leavening flour, 2 eggs, 1 and ½ cup of sugar, 1 cup of liquid milk joined with a tablespoon of white vinegar, 200 grams of butter, ¼ tsp of salt, baking soda and ground cinnamon, vanilla to taste and 1 tablespoon of grated orange peel.
Buttercream ingredients:
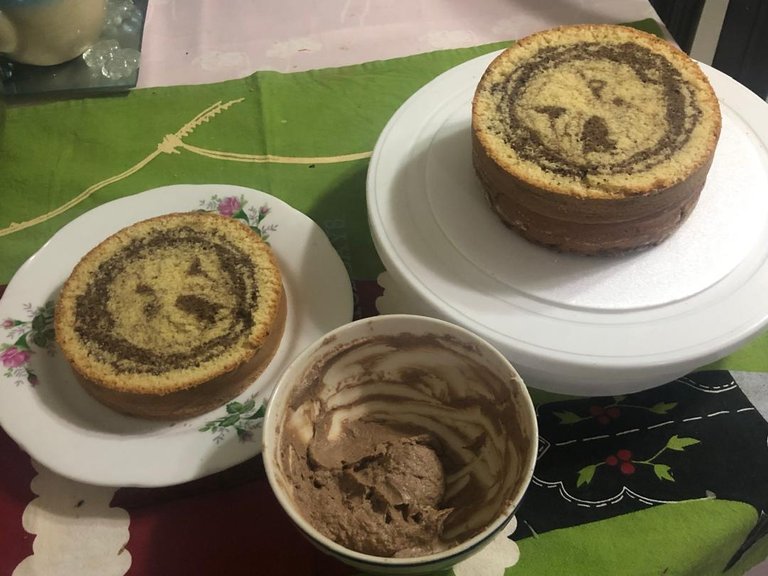
100 grams unsalted butter, 100 grams butter, 200 grams powdered sugar or nevazucar, 4 tablespoons warm water, chefmaster brand super red gel artificial red color, 4 tablespoons cocoa powder, 4 drops of cream essence, 1 marbled cake 900 to 1 kilogram, 2 meters of ribbon 1 centimeter wide to make 4 loops.
Preparation
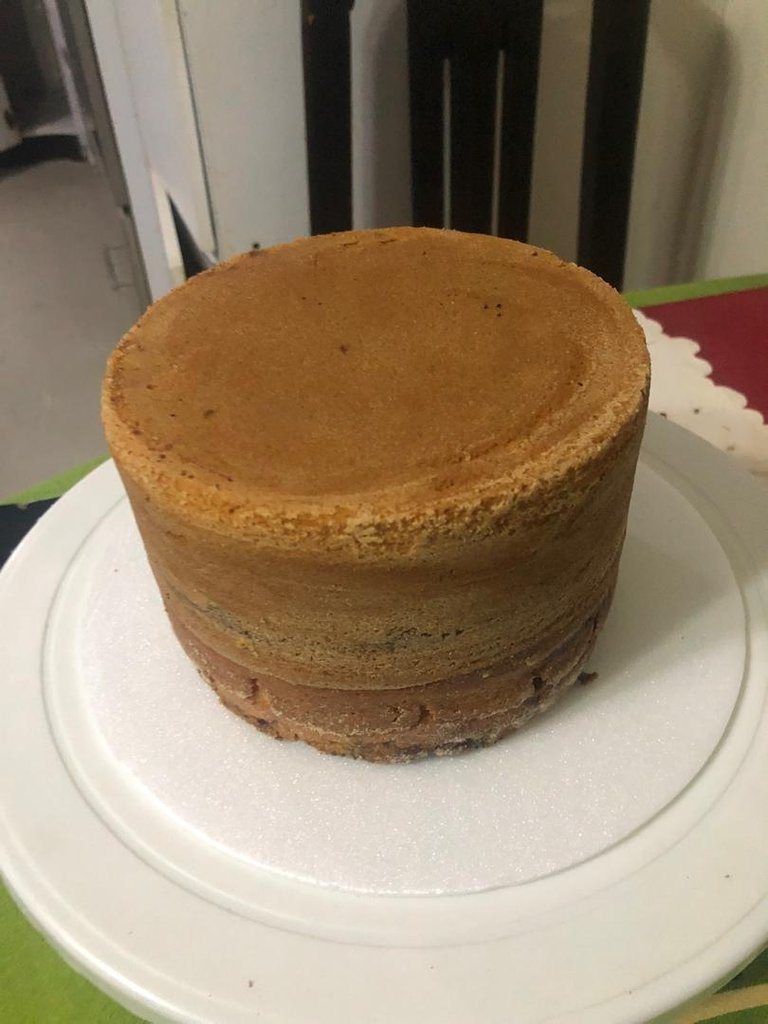
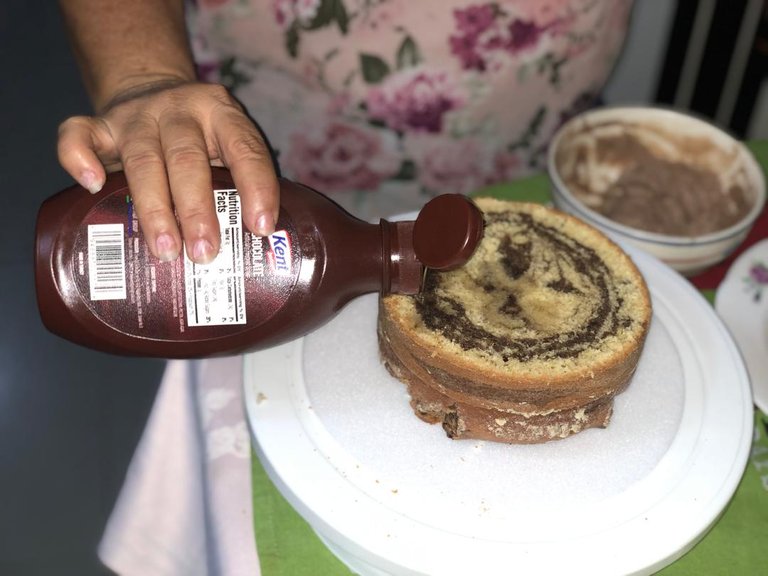
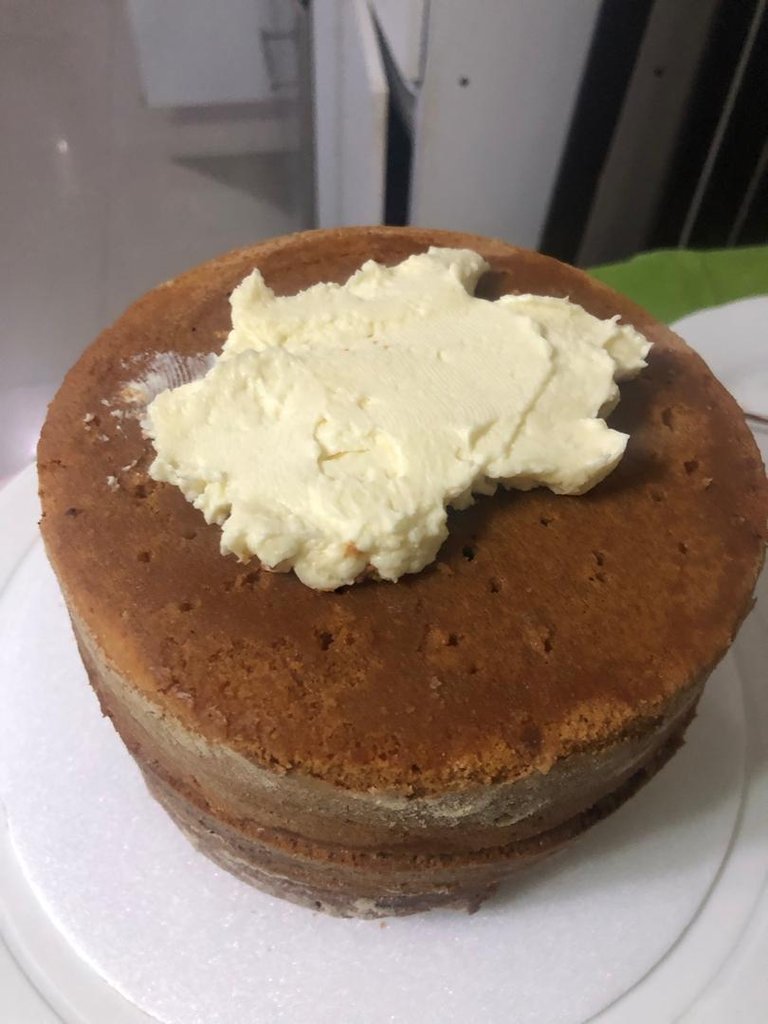
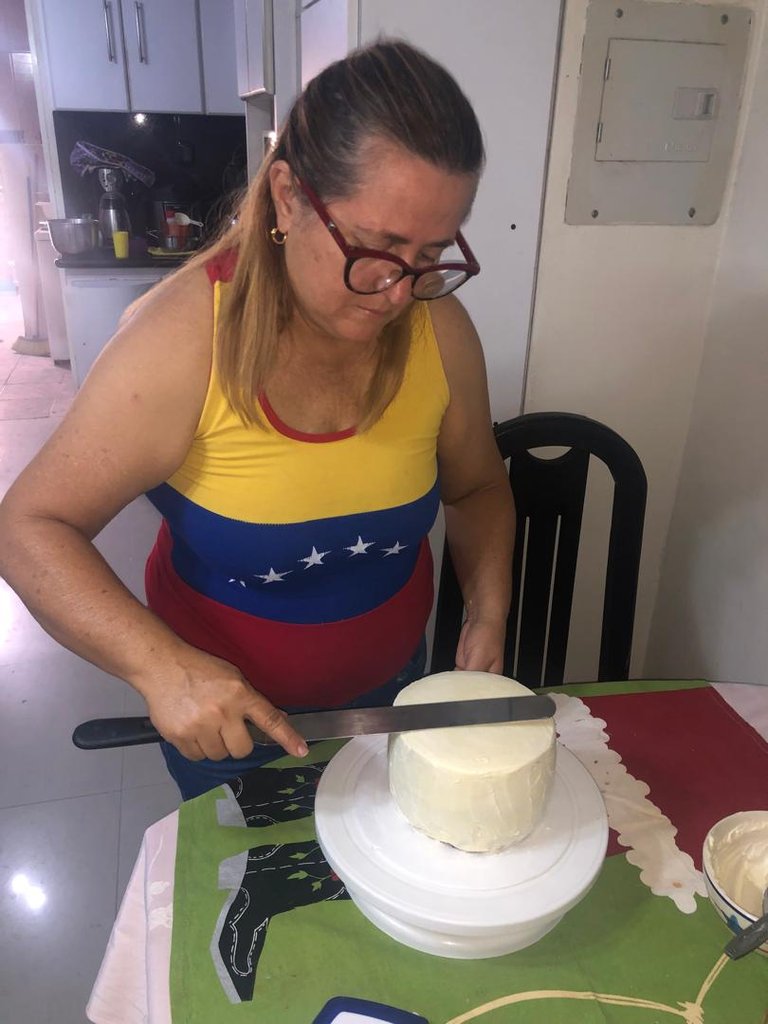
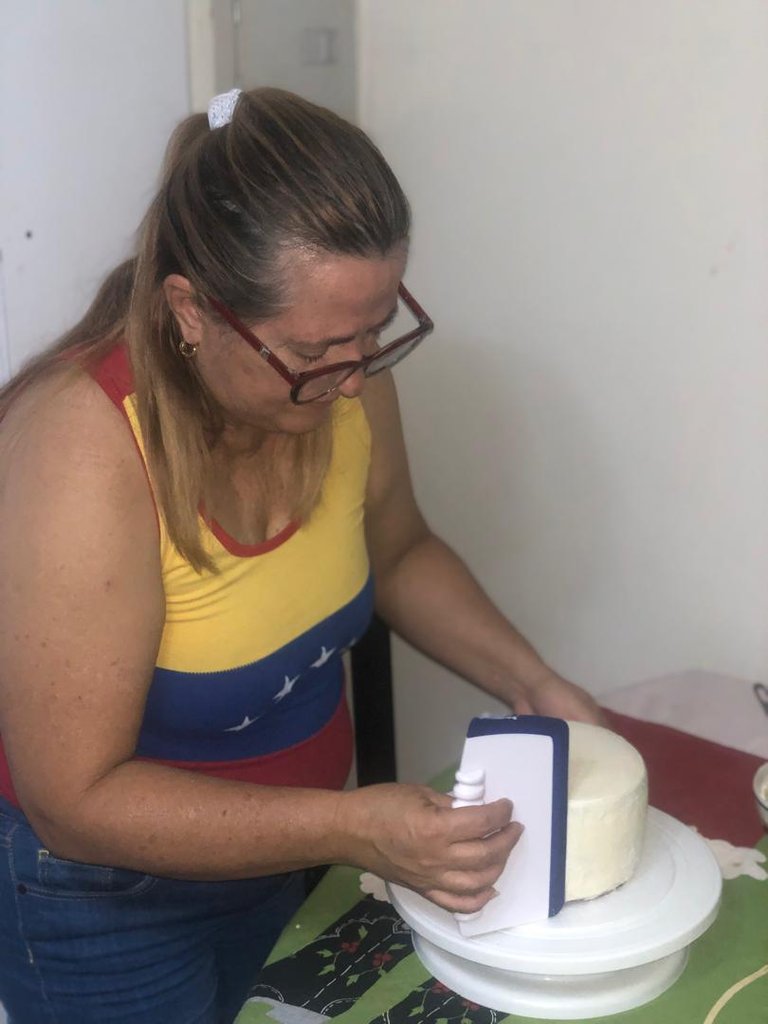
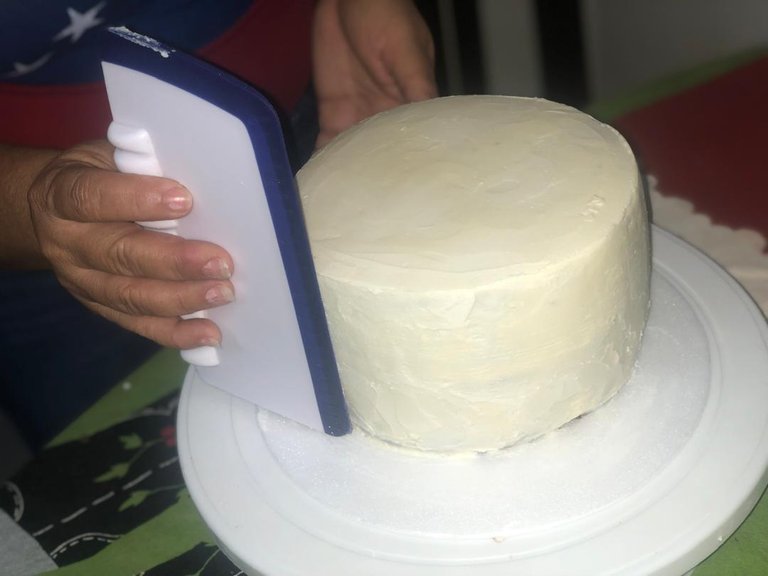
Once I have ready the cakes, the buttercream and the ribbons, I start cutting the cake in the middle, I moisten it with any syrup to fill it with chocolate cream, then I cover it from top to bottom to make the crumb layer, I put it in the refrigerator for 5 minutes, I take it out and cover it again with another layer of buttercream and if it is not completely smooth I repeat the procedure until I give it a third layer.
 | ! |  |  |  |
|---|
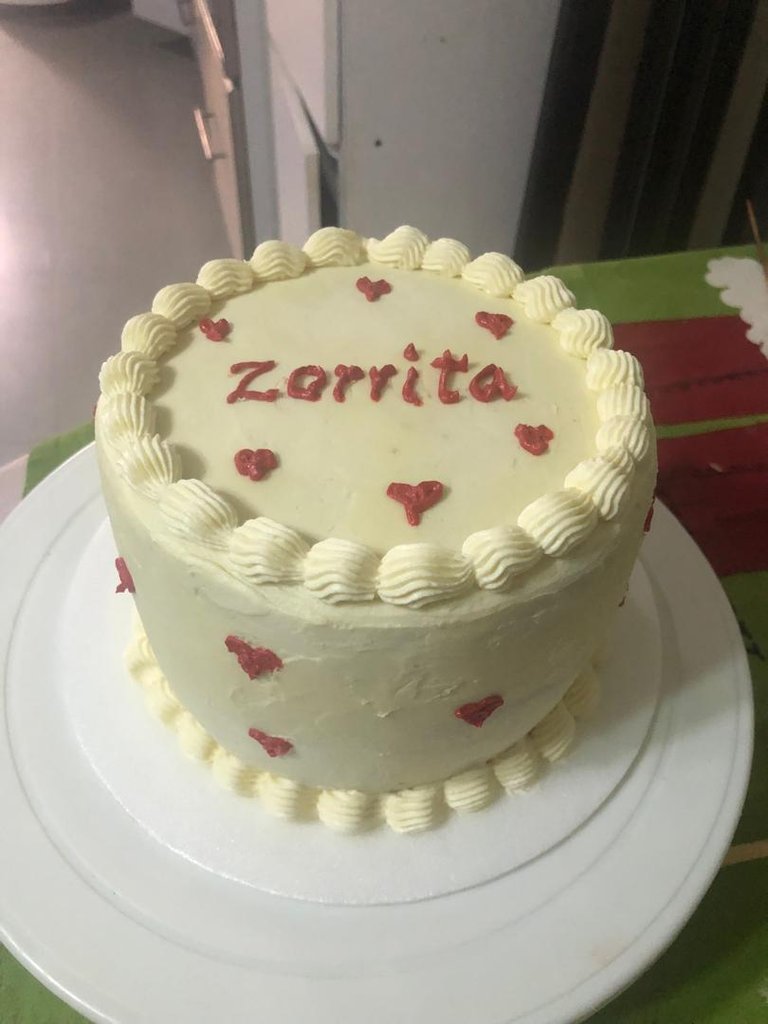
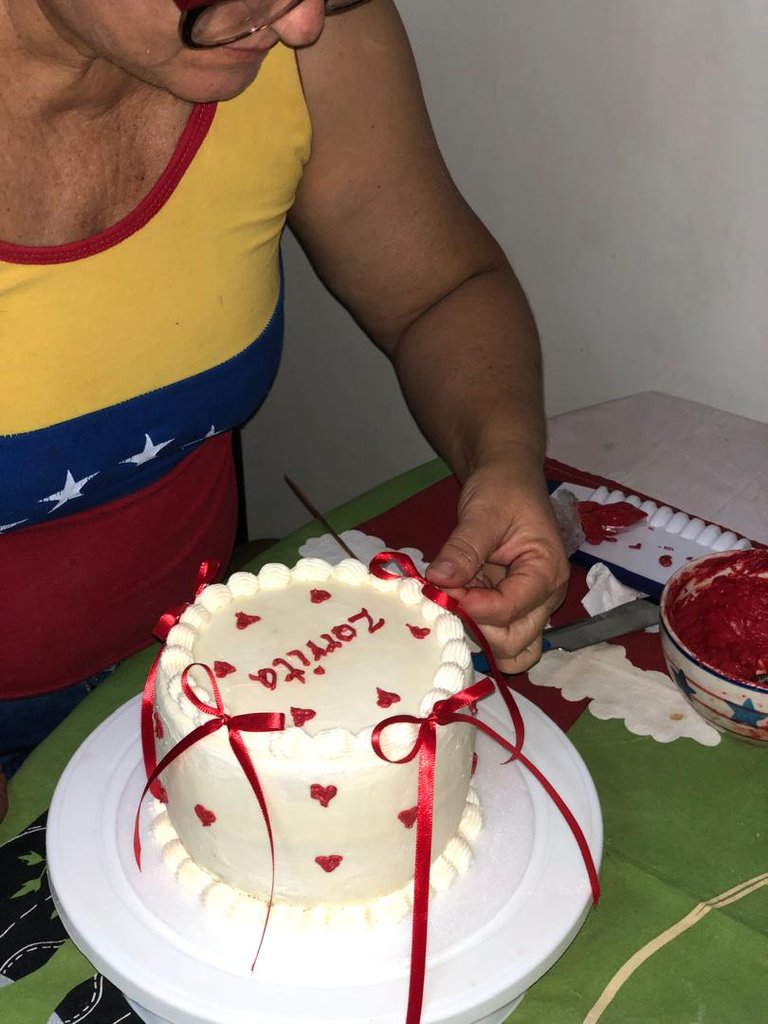
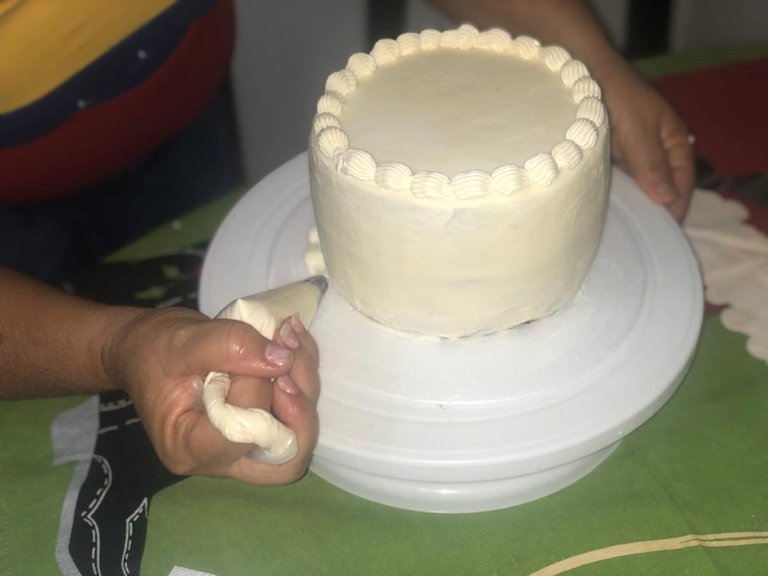
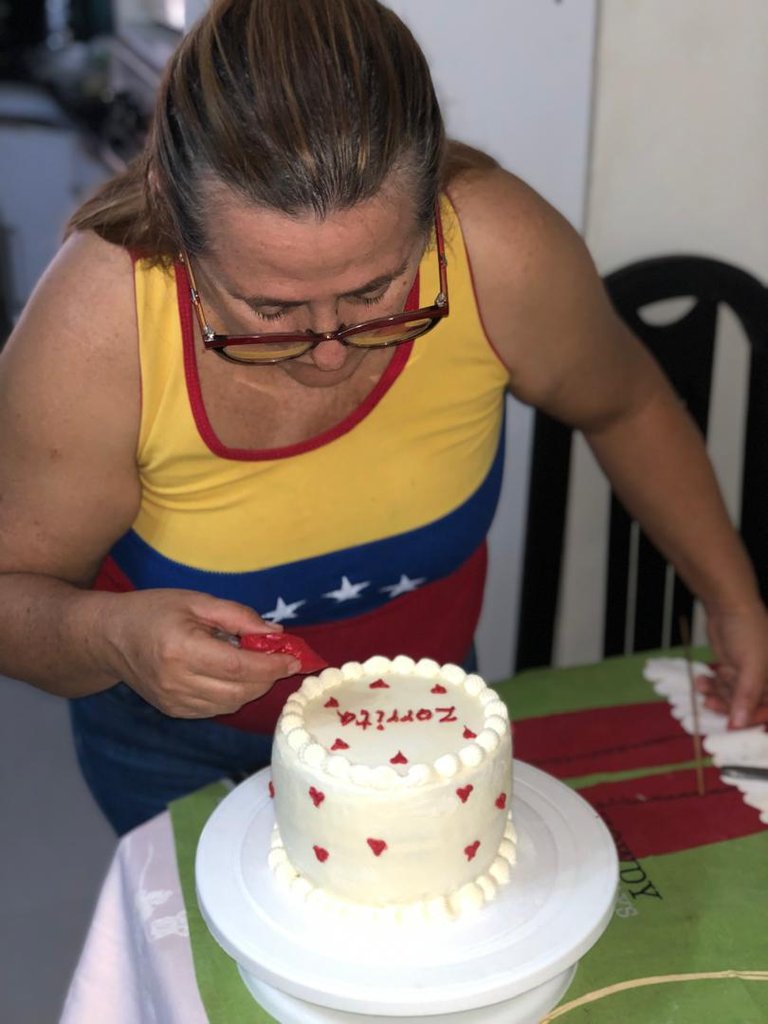
Then decorate as you wish in my case I did it with a nozzle in the shape of oysters both at the bottom and at the top, I made the mini hearts by hand and wrote the letters manually, place the ribbons and ready the beautiful mini cake.
 |  |  |  |  |
|---|
So far my post, I leave you some pictures of the ingredients and the whole decorating procedure, I hope you like it, bye, until a next post.
 | | | |
|---|
- Photos taken with Iphone 8 plus
- Cover designed with Canva
- Text translated with Deepl
Versión en Español
Te enseño a decorar una mini coquette cake
Buenas noches amigos de la comunidad de @foodiesbeehive, espero que hayan tenido un bonito día, lleno de bendiciones para cada uno de ustedes amigos lectores. Yo por acá me encuentro bien gracias a Dios.
Hoy nuevamente paso por esta comunidad para compartir uno de mis trabajos en la repostería y es la elaboración y decoración de una linda torta que desde el año 2024 se puso de moda y en este 2025 es el boom, para aquellas jovencitas, adolescentes y niñas. Cuando cumplen año quieren celebrarlo con un pastel llamado coquette cake.
En esta oportunidad voy a compartirles un mini coquette cake. Son tortas decoradas con lazos, además en su mayoría lleva decoración con corazones y grageas del color que desee la cumpleañera, puede ser con crema de buttercream o mantequilla o la crema que desee el cliente. En mi caso me solicitaron la decorarla con lazos rojos en rasó y cubierta con buttercream, también está en tendencia escribirle a las tortas algún nombre o apodo que tenga la cumpleañera, por lo general estos pasteles son muy femeninos por sus colores y los lazos que lleva, es un tipo de tendencia que busca realzar el lado femenino de las damas o chicas.
Hoy solo les voy a enseñar la decoración, sin embargo le indicare los ingredientes para la mini torta y para la crema de mantequilla. En un post anterior ya les expliquecomo se prepara tanto el buttercream como la manera de hacer una torta marmoleada, si deseas puedes verlo en los siguientes links marmoleada
buttercream
Les cuento que todos los invitados y la cumpleañera quedaron muy satisfechos con el pastel tanto por la textura, aroma y esponjosidad, es otro nivel. Los ingredientes a continuación:
Ingredientes mini cake: molde de 18 centímetros, 2 y ½ tazas de harina leudante, 2 huevos, 1 y ½ taza de azúcar, 1 taza de leche líquida unida a una cucharada de vinagre blanco, 200 gramos de mantequilla, ¼ cdta de sal, bicarbonato y canela molida, vainilla al gusto y 1 cucharada de la cáscara de naranja rallada.
Ingredientes buttercream:
100 gramos de mantequilla sin sal, 100 gramos de manteca, 200 gramos de azúcar glass o nevazucar, 4 cucharadas agua tibia, color rojo artificial en gel súper red de la marca chefmaster, 4 cucharadas de cacao en polvo, 4 gotas de esencia de nata, 1 biscocho marmoleado de 900 a 1 kilogramo, 2 metros de cinta de 1 centímetro de ancho para hacer 4 lazos.
Preparación
Una vez que ya tengo listo el ponqués, el buttercream y los lazos, inicio cortando la torta por el medio, la humedezco con cualquier jarabe para rellenarla con crema de chocolate, luego cubro desde arriba hacia abajo para hacer la capa recoge miga, la introduzco en la nevera por 5 minutos, la saco vuelvo a cubrir con otra capa de la crea de mantequilla y si no esta totalmente lisa repito el procedimiento hasta darle una tercera capa.
| | | | |
|---|
Luego decoro como lo desee en mi caso lo hice con una boquilla en forma de ostras tanto en la parte inferior como en la parte superior, hice los mini corazones a pulso y le escribí de forma manual las letras, coloque los lazos y lista la hermosa mini torta.
| | | | |
|---|
Hasta aquí mi post, les dejo algunas fotos de los ingredientes y todo el procedimiento de decorado, espero sea de su agrado, chao, hasta un próximo post.
| | | |
|---|
- Fotos tomadas con Iphone 8 plus
- Portada diseñada con Canva
- Texto traducido con Deepl
Posted Using INLEO