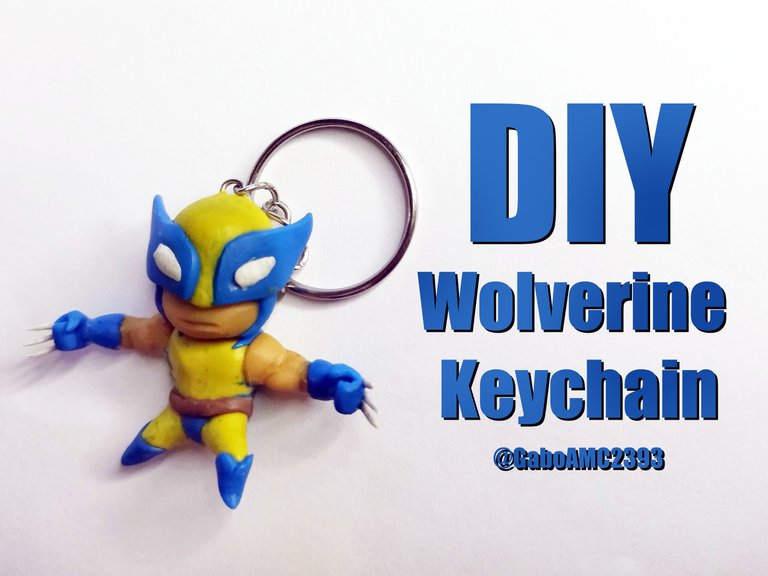
Greetings friends. Relatively recently I shared in the community a tutorial where I showed you how to make a Deadpool keychain. I made this keychain with the intention of pairing it with another one I was planning to make later on.
You can read more about the Deadpool keychain by following this link:
https://peakd.com/hive-189504/@gaboamc2393/diy-deadpool-keychain-eng-spa
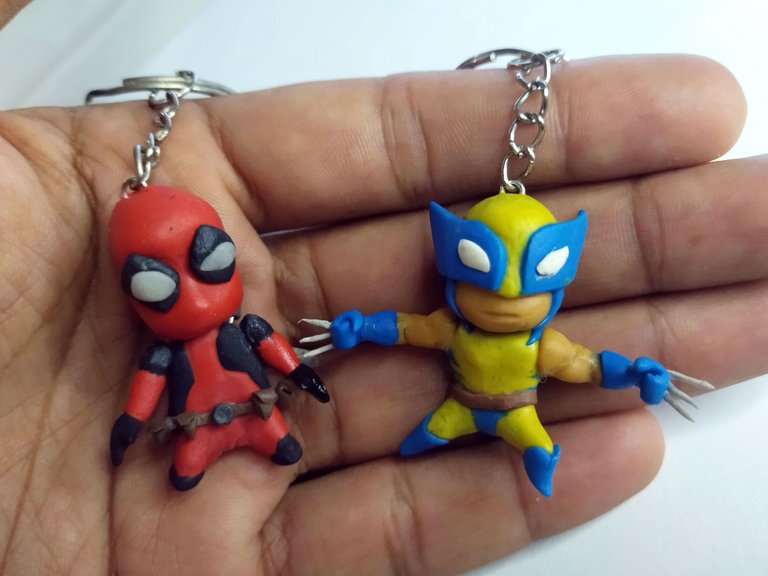
I plan to use this keychain hanging from my purse along with the other Deadpool keychain, they will be two cool accessories that will look great.
Español
Saludos amigos. Hace relativamente poco compartí en la comunidad un tutorial en donde les enseñé a hacer un llavero de Deadpool. Este llavero lo hice con la intención de que hiciera pareja con otro que planeaba hacer más adelante.
Pueden leer más sobre el llavero de Deadpool siguiendo este enlace:
https://peakd.com/hive-189504/@gaboamc2393/diy-deadpool-keychain-eng-spa
Este llavero lo pienso utilizar colgado de mi bolso junto con el otro de Deadpool, serán dos accesorios geniales que lucirán muy bien.
Step by step
The materials I used for this keychain were basically the same as the previous one; flexible dough, wire, glue and paint.
Paso a paso
Los materiales que utilicé para este llavero, fueron básicamente los mismos que el anterior; masa flexible, alambre, pegamento y pintura.
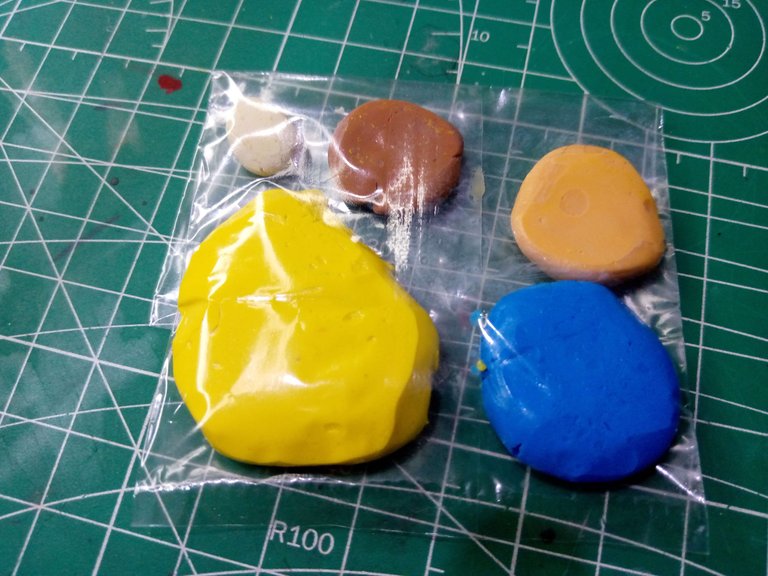
I started with the head, how big compared to the body, because this character, like the Deadpool keychain, I tried to make it in Chibi version, a version that is not always easy to achieve in 3D, but the attempt is made.
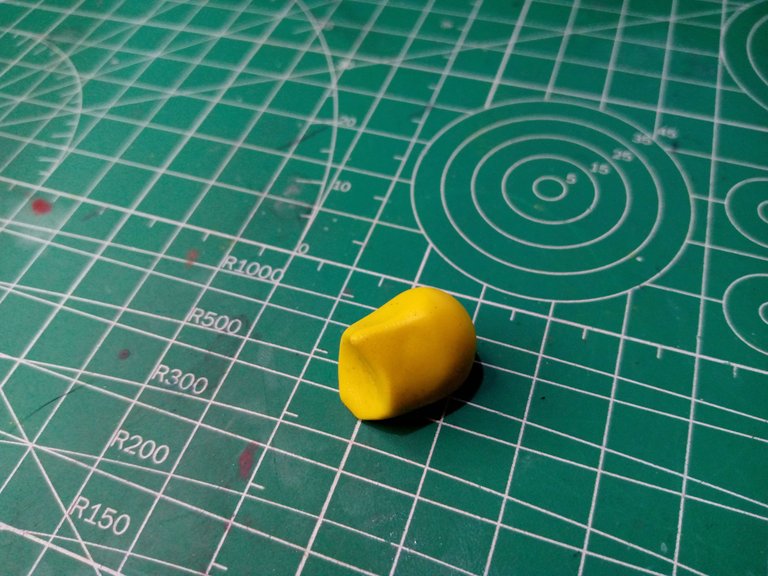
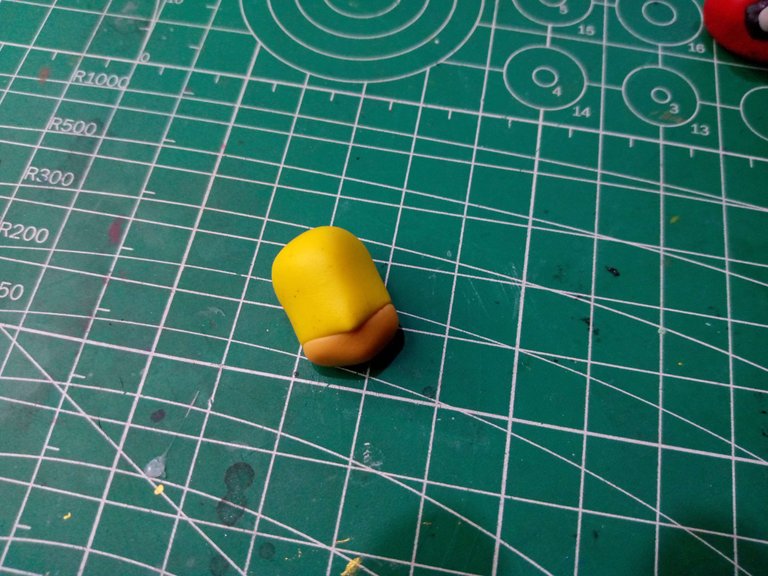
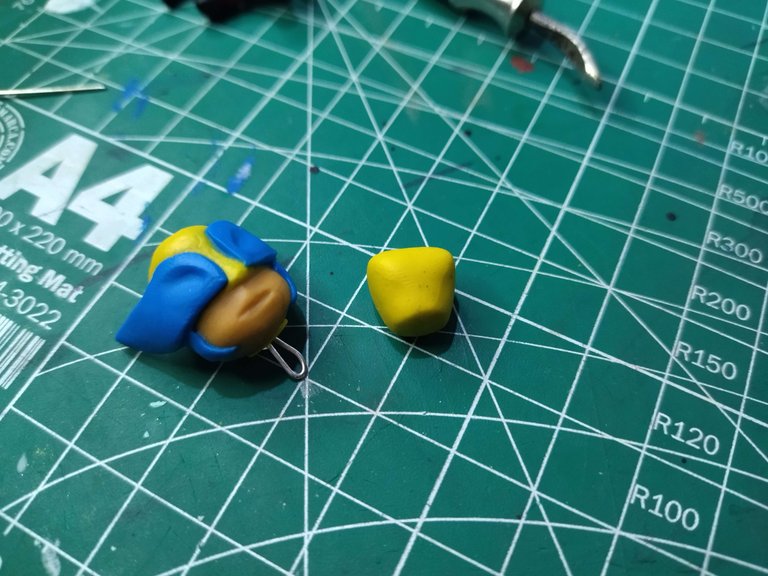
I used the flexible yellow dough and started molding the head until I got the desired shape. Then I made an egg on the chin, to place another light skin colored dough, and then I molded the mouth and chin.
Comencé por la cabeza, que grande en comparación al cuerpo, pues este personaje, al igual que el llavero de Deadpool, intenté hacerlo en versión Chibi, una versión que no siempre es fácil de lograr en 3D, pero se hace el intento.
Usé la masa flexible de color amarillo y comencé a moldear la cabeza hasta lograr la forma deseada. Luego hice un huevo en la barbilla, para colocar otra masa de color piel clara, para luego moldearle la boca y el mentón.
 |  |
|---|
After this piece began to dry, I used the other blue colored dough to mold the pieces of the mask that were of this color, two pieces on the sides of the chin and those of the eyes.
Después de que esta pieza comenzó a secar, usé la otra masa de color azul para moldear las piezas de la máscara que eran de este color, dos piezas a los lados de la barbilla y las de los ojos.
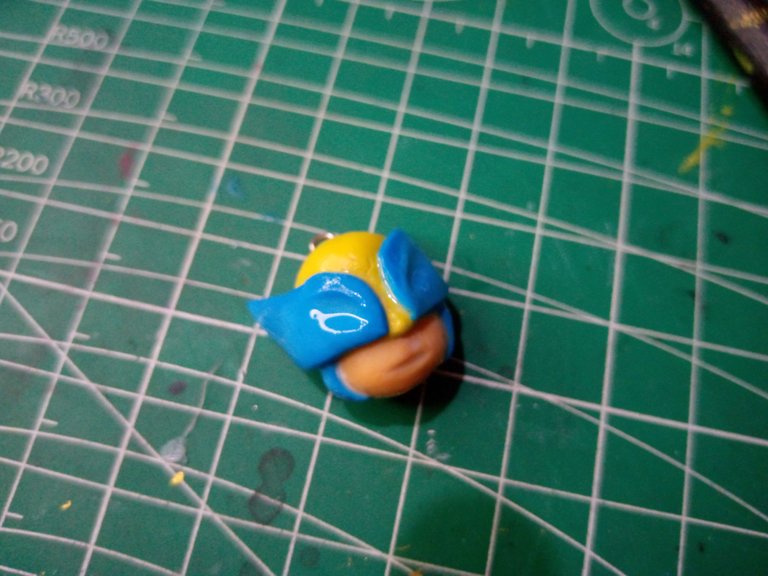
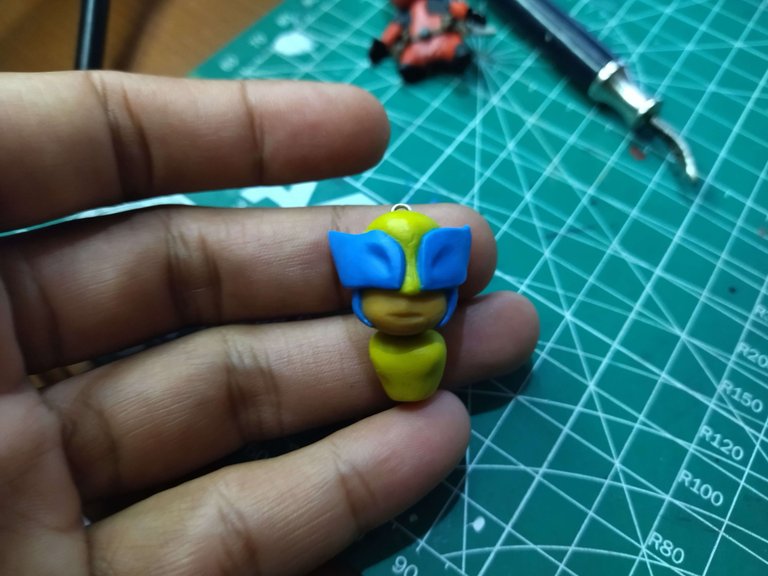
Once the piece was dry, I made the chest with yellow flexible dough. I used a small wire to fix the head of the torso, while the piece was still a little wet inside, so I managed to fix the two pieces helping me with glue.
Una vez que secó la pieza, hice el pecho con masa flexible amarilla. Usé un pequeño alambre para fijar la cabeza del torso, mientras aún estaba un poco húmeda la pieza en su interior, de modo que logré fijar las dos piezas ayudándome con pegamento.
 |  |
|---|
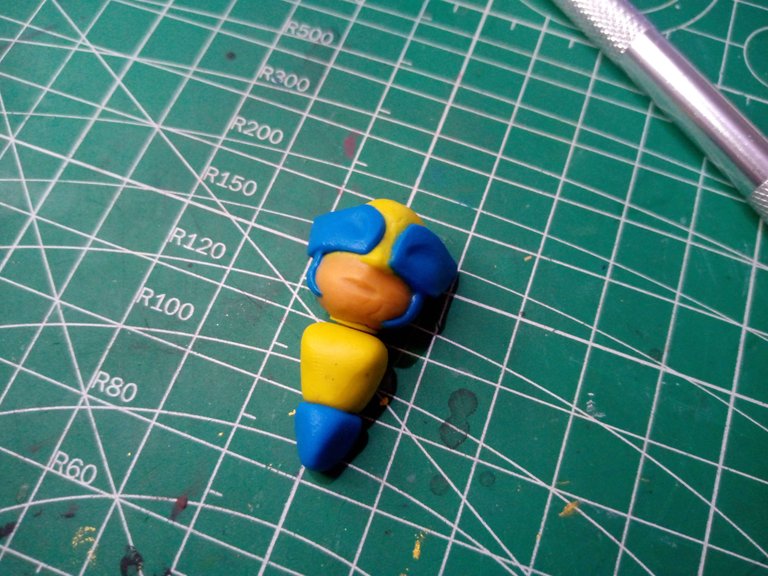
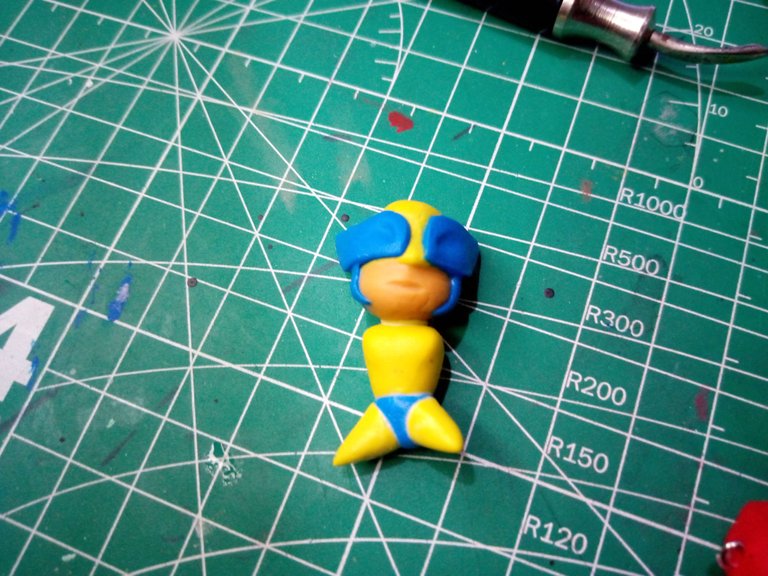
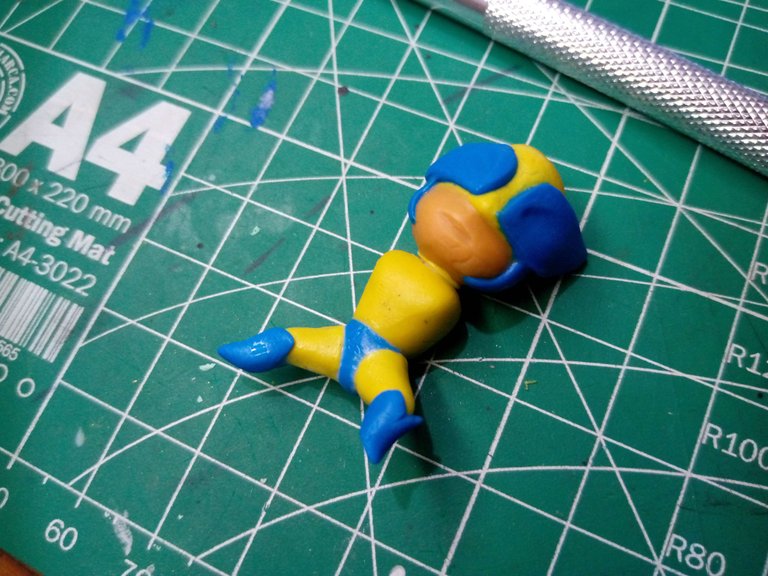
I continued with the waist, which I made by molding a triangle of the same blue color. On each side I fixed two more cones of yellow dough that would become the thighs, then I made two more blue cones, this time for the legs.
Continué con la cintura, la cual hice moldeando un triángulo del mismo color azul. A cada lado fijé dos conos más de masa amarilla que vendrían a ser los muslos, luego hice dos conos más de color azul, esta vez para las piernas.
 |  |
|---|
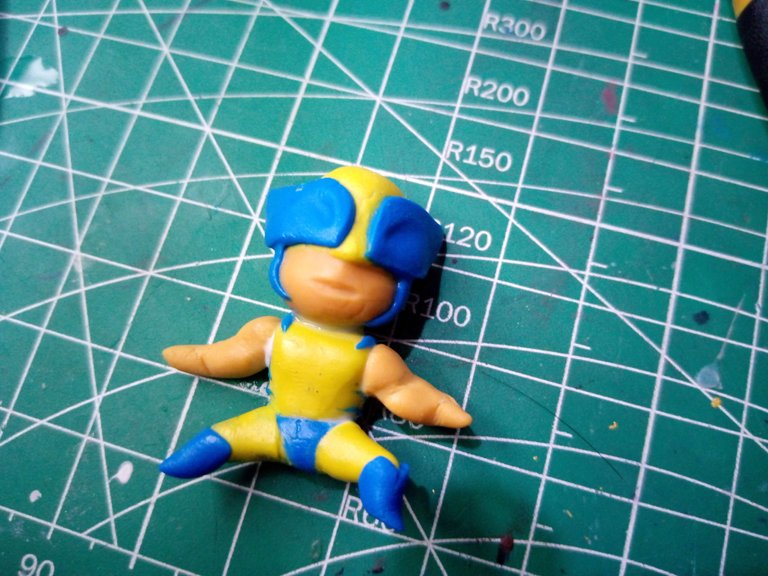
After I finished the legs, I continued with the arms. Because of the shape of the figurine, I made the arms very disproportionate to the rest of the body, being very large and with marked muscles. I used the same color plasticine I used for the chin.
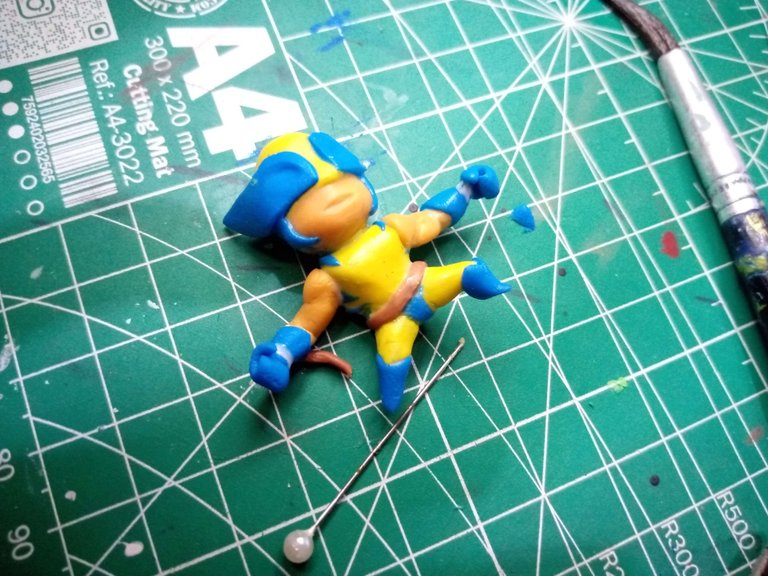
For the gloves I used blue. I made them by first creating a cone, then I molded the cuffs, using glue to keep each piece fixed. It is worth noting that in this part of the process I also added a brown belt to the figure, as you can see in the forum on the right. If you saw the belt in this photo, write it in the comments!
Después de que terminé las piernas, continué con los brazos. Por la forma de la figurita, hice los brazos muy desproporcionados con respecto al resto del cuerpo, siendo estos muy grandes y con músculos marcados. Usé la plastilina del mismo color con la que hice la barbilla.
Para los guantes usé el color azul. Los hice creando primero un cono, luego moldeé los puños, usando pegamento para mantener fija cada pieza. Cabe destacar que en esta parte del proceso también agregué a la figura un cinturón de color marrón, tal como se aprecia en la foro de la derecha. Si viste el cinturón en esta foto, escríbelo en los comentarios!
 |  |
|---|
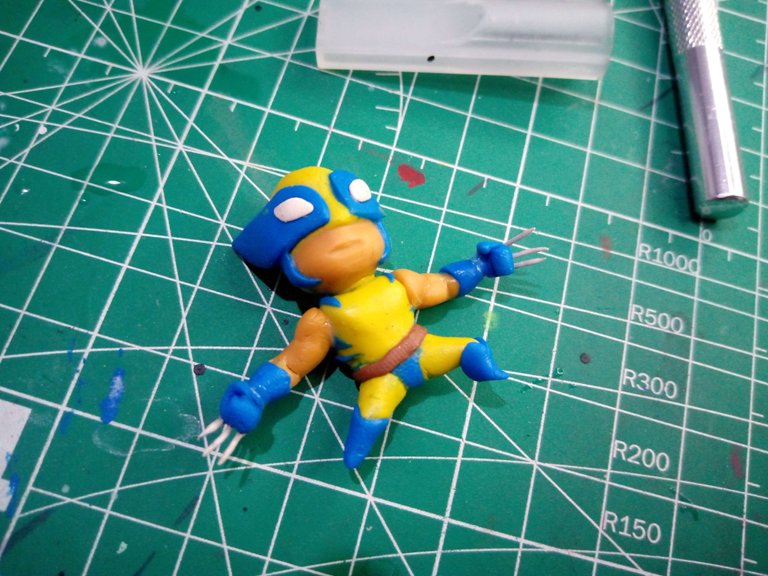
The last thing I added were the eyes and the claws, tiny details in terms of size, but capital so that the figure is really finished.
Lo último que agregué fueron los ojos y las garras, detalles minúsculos en cuanto a tamaño, pero mayúsculos para que la figura realmente esté terminada.
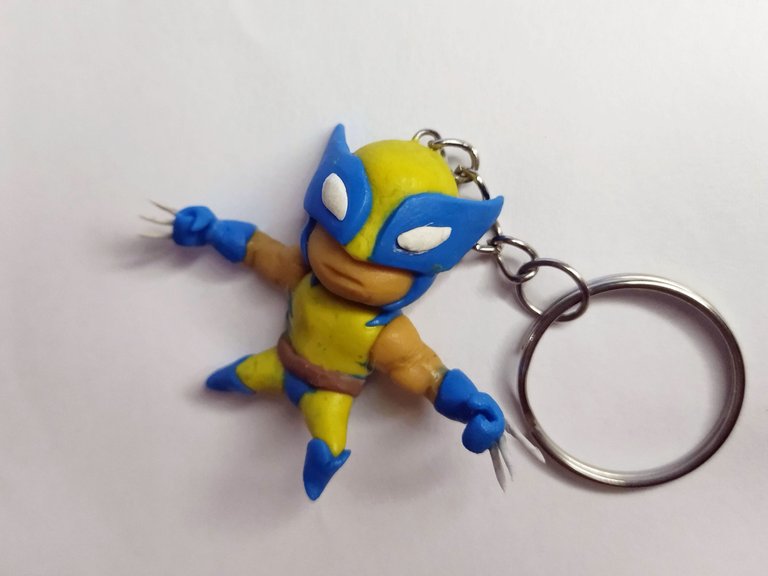
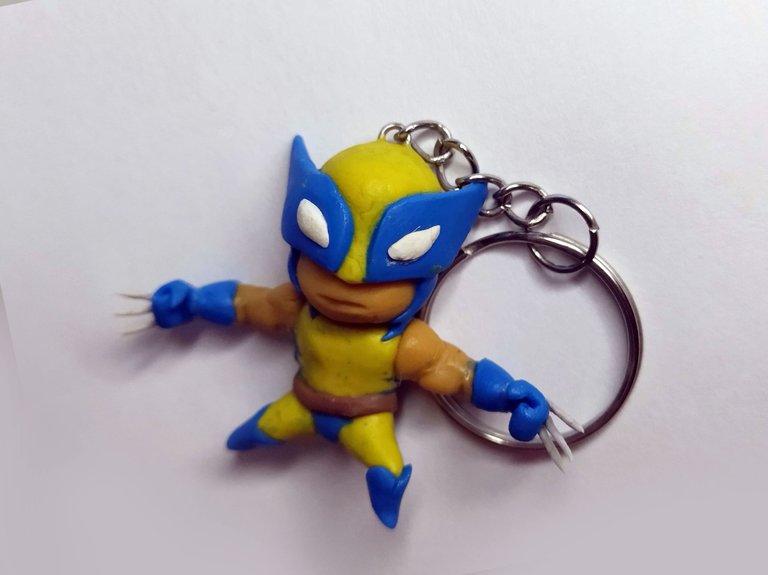
Well, to finish it off, I simply added a chain and ring, which I attached to the head through another even smaller ring that this Chibi Wolverine had.
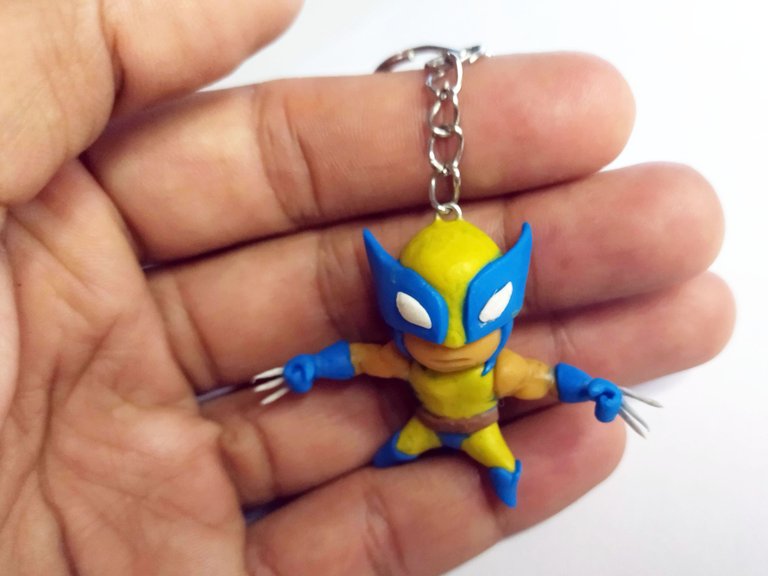
Below are a series of pictures of the keychain and the finished set:
Bien, ya para finalizar, simplemente le agregué una cadena y argolla, la cual sujeté en la cabeza a través de otra argolla aún más pequeña que este Chibi Wolverine tenía.
A continuación una serie de fotografías del llavero y del conjunto terminado:
Well friends, that's all for now. I hope you liked my publication or at least found it interesting. I invite you to leave your opinions below in the comments, as always I will be happy to read them.
I appreciate you taking the time to read my post. Without further ado, I'll say goodbye until next time...
See you next time!
Bien amigos, esto ha sido todo por ahora. Espero que mi publicación les haya gustado o cuando menos les haya parecido interesante. Los invito a dejar sus opiniones abajo en los comentarios, como siempre estaré encantado de leerlos.
Agradezco que se tomaran el tiempo de leerme. Sin más que agregar, me despido entonces hasta la próxima...
¡Hasta la próxima!

