DIY Photo Frame: A Creative Way to Display 6 Photos
Hello friends,
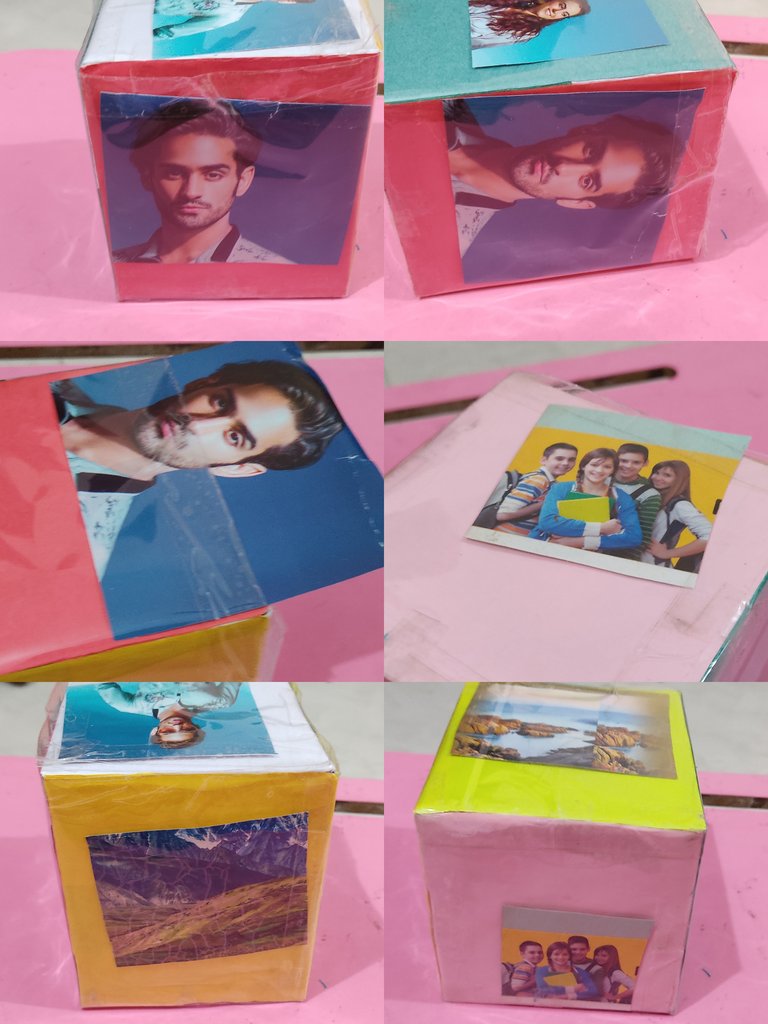
DIY Hub is an amazing platform for creative individuals. My best wishes to all the members of the DIY Hub family! Today, I’ll show you how to make a photo frame that can hold six photos at once, without spending any money. We'll use simple household items like a packing box and colorful papers.
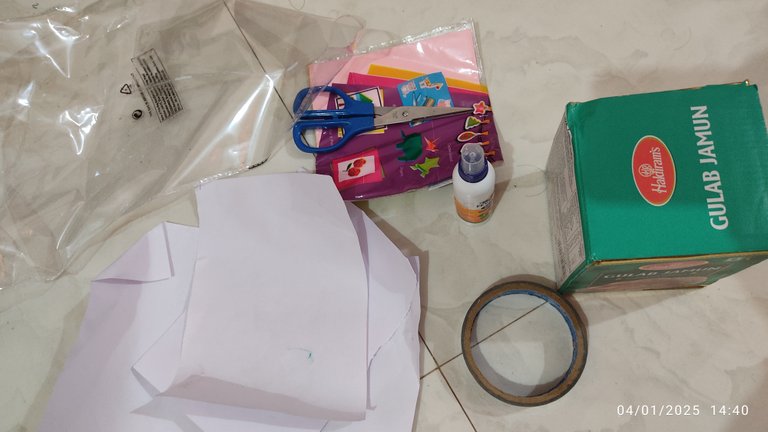
Materials Needed:
A packing box
Colorful papers
Transparent plastic sheets (like packaging film)
Scissors
Adhesive (glue or double-sided tape)
Transparent tape (cellophane tape)
Preparing the Box
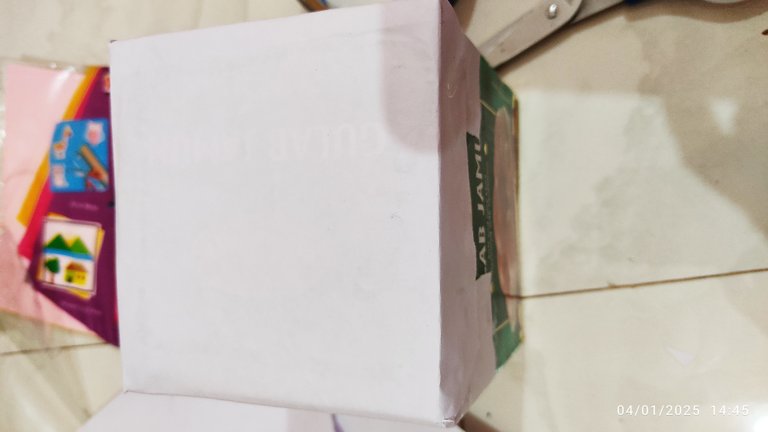
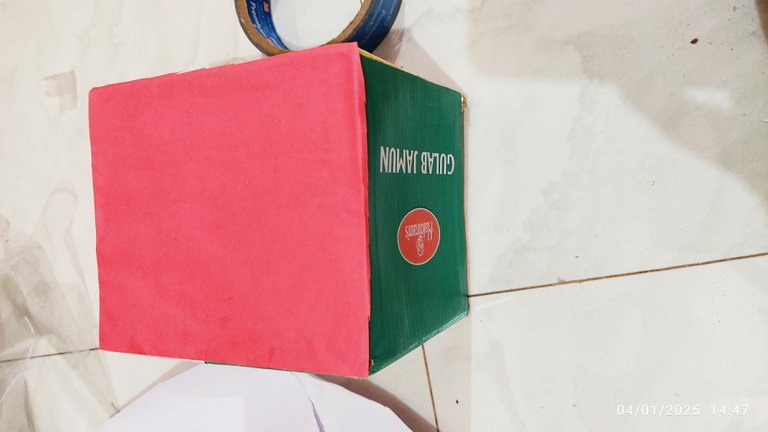
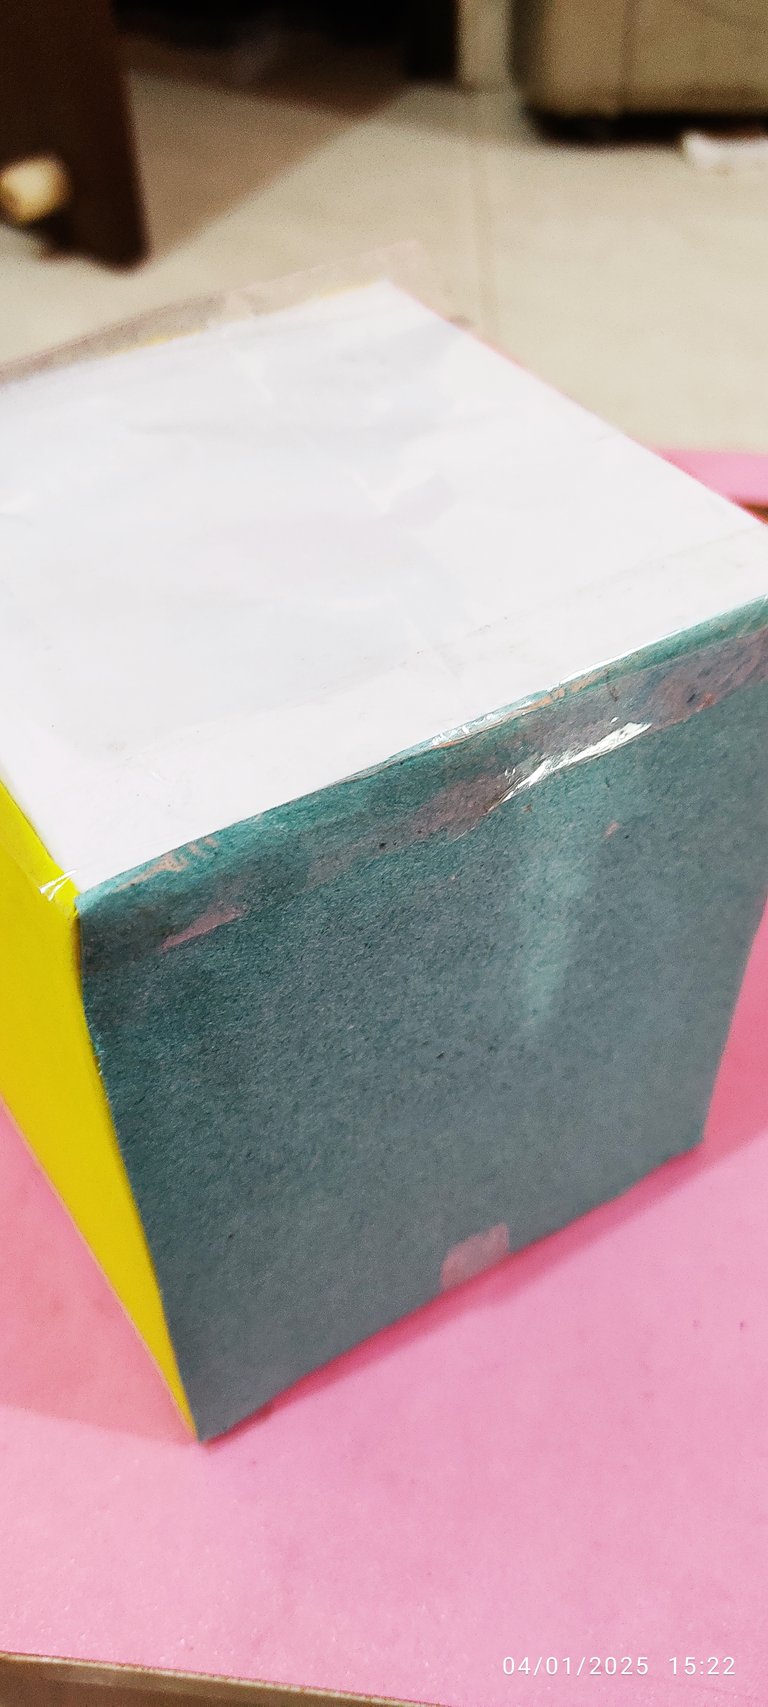
Take the packing box and cover each side with colorful paper.
You can use a single color for all sides, but I’ve chosen to use different colors for a vibrant look.
Once all sides are neatly covered with paper, the base of your photo frame is ready.
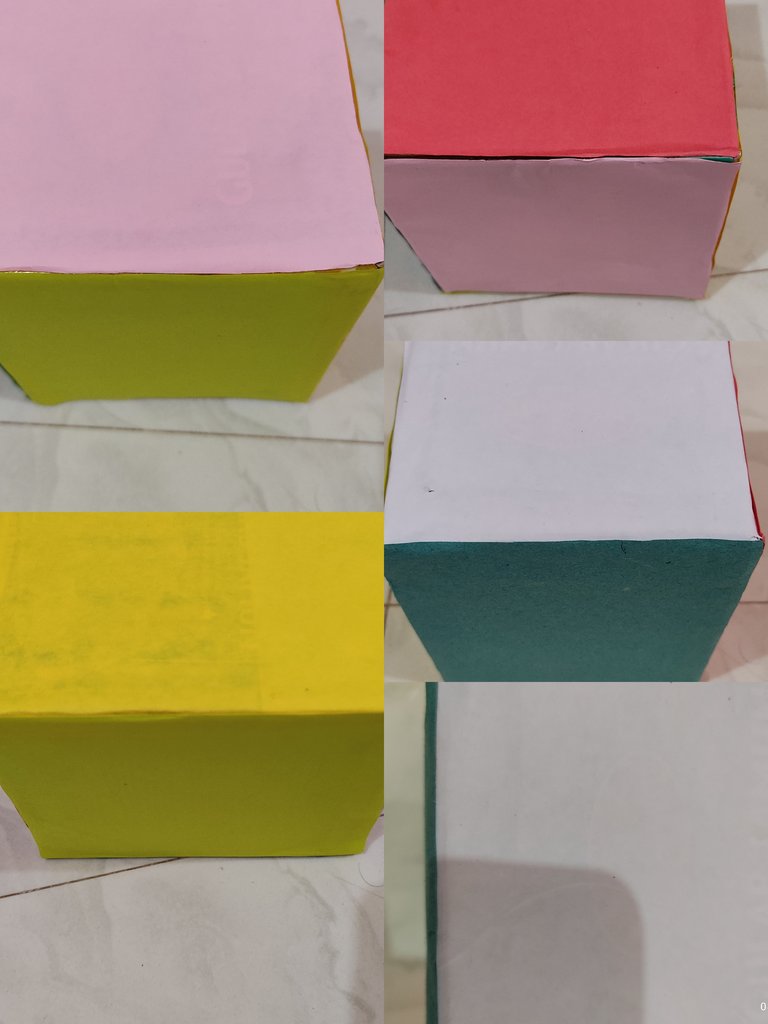
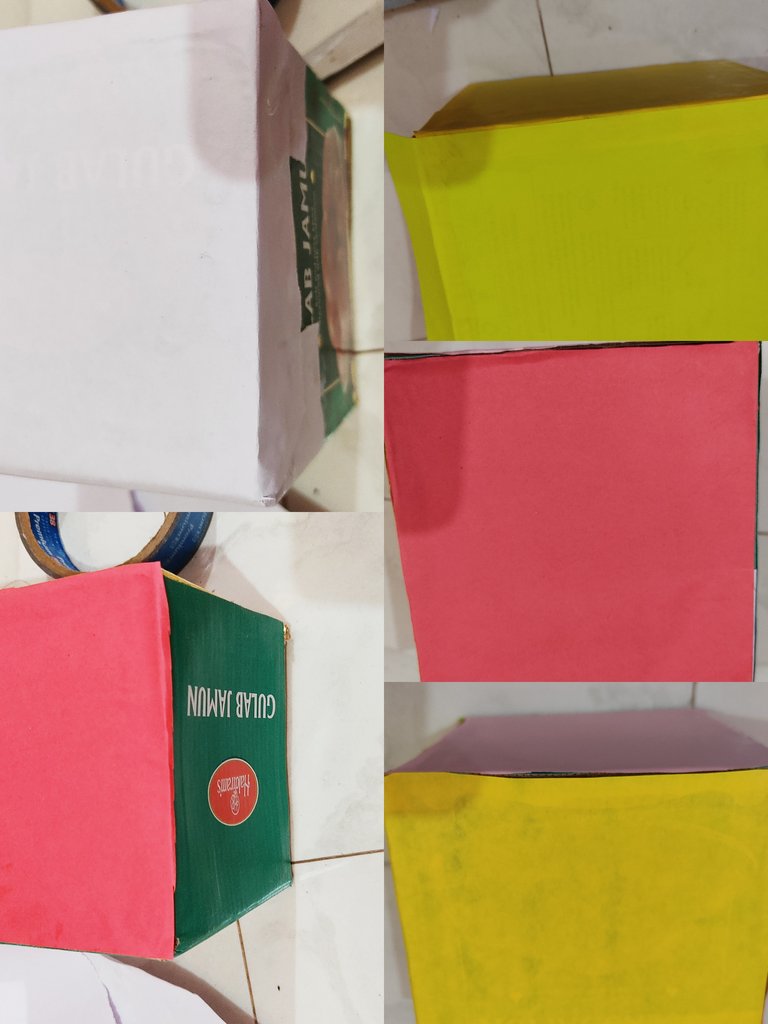
Cutting the Transparent Sheets
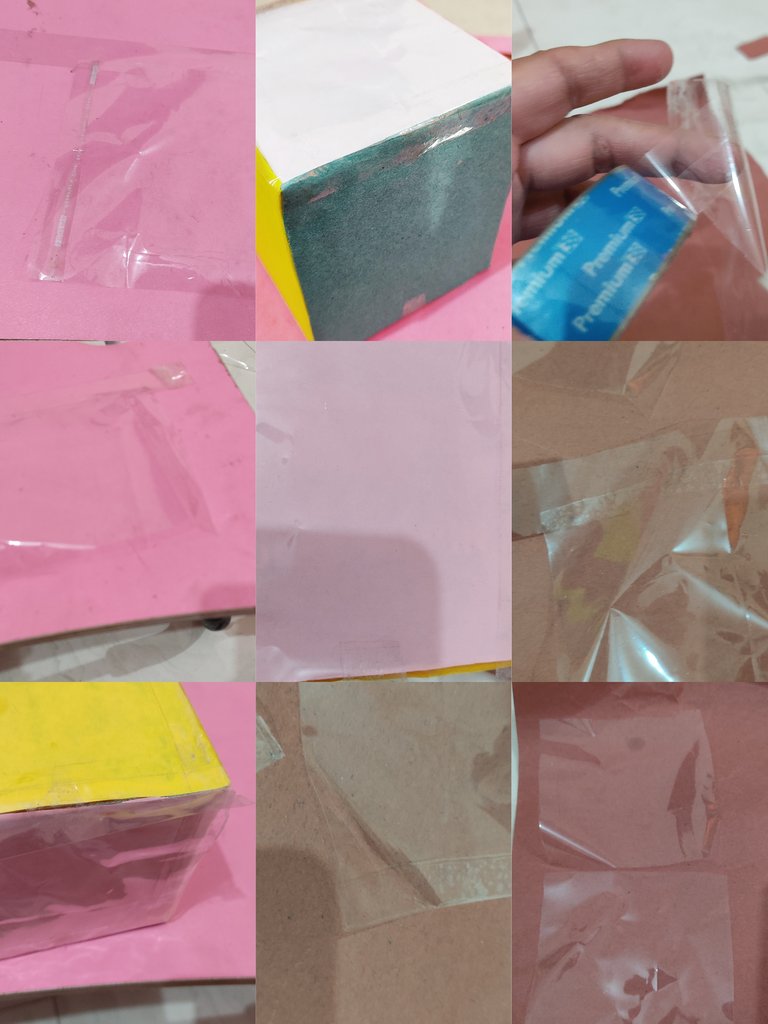
Take a transparent plastic sheet and cut it into pieces:
Two square pieces for the top and bottom of the box.
One rectangular piece to cover the four sides of the box.
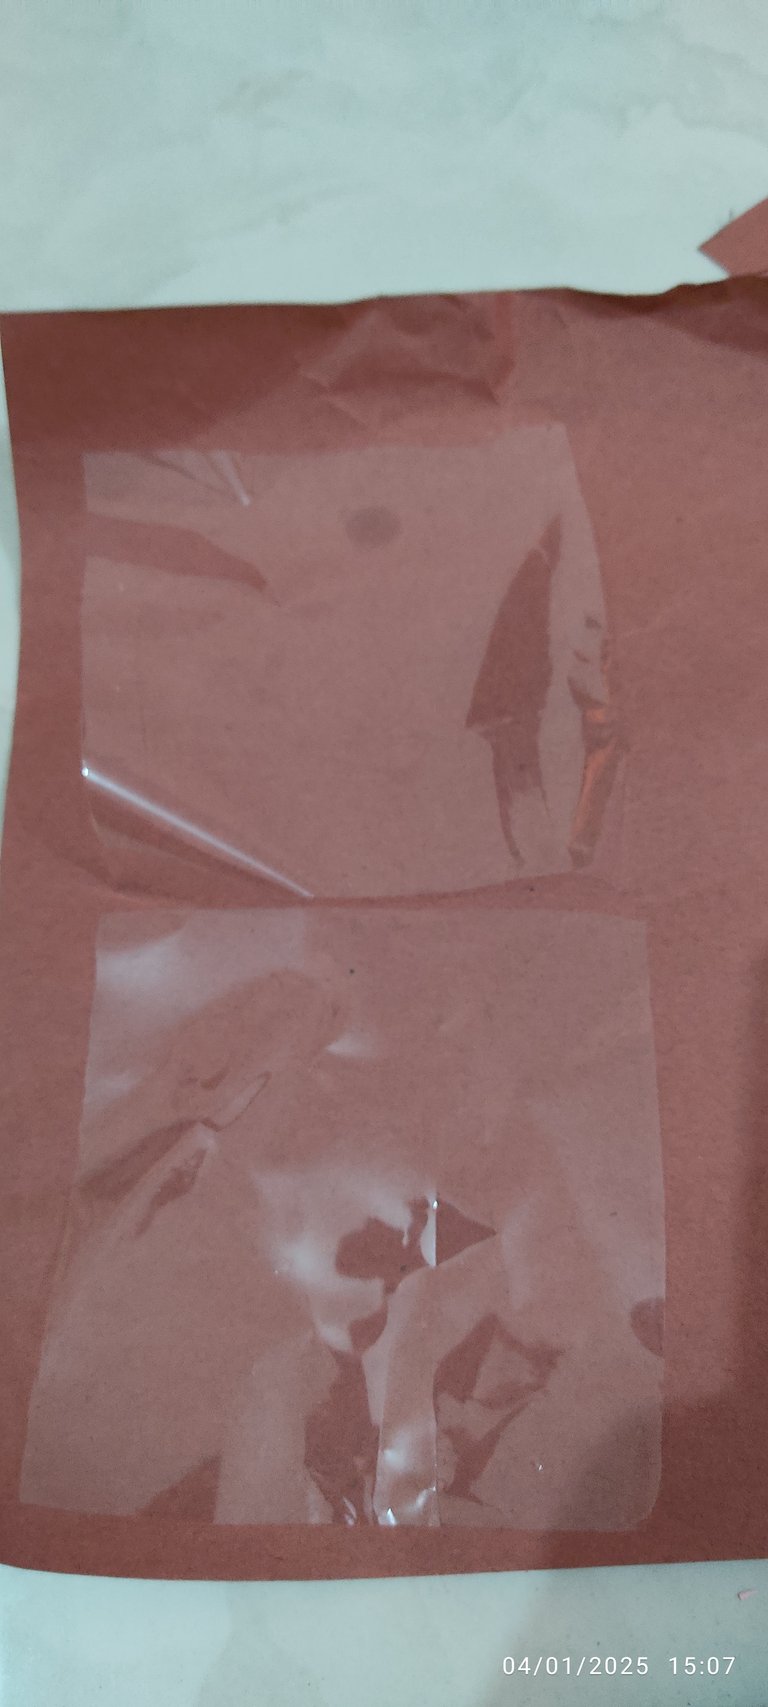
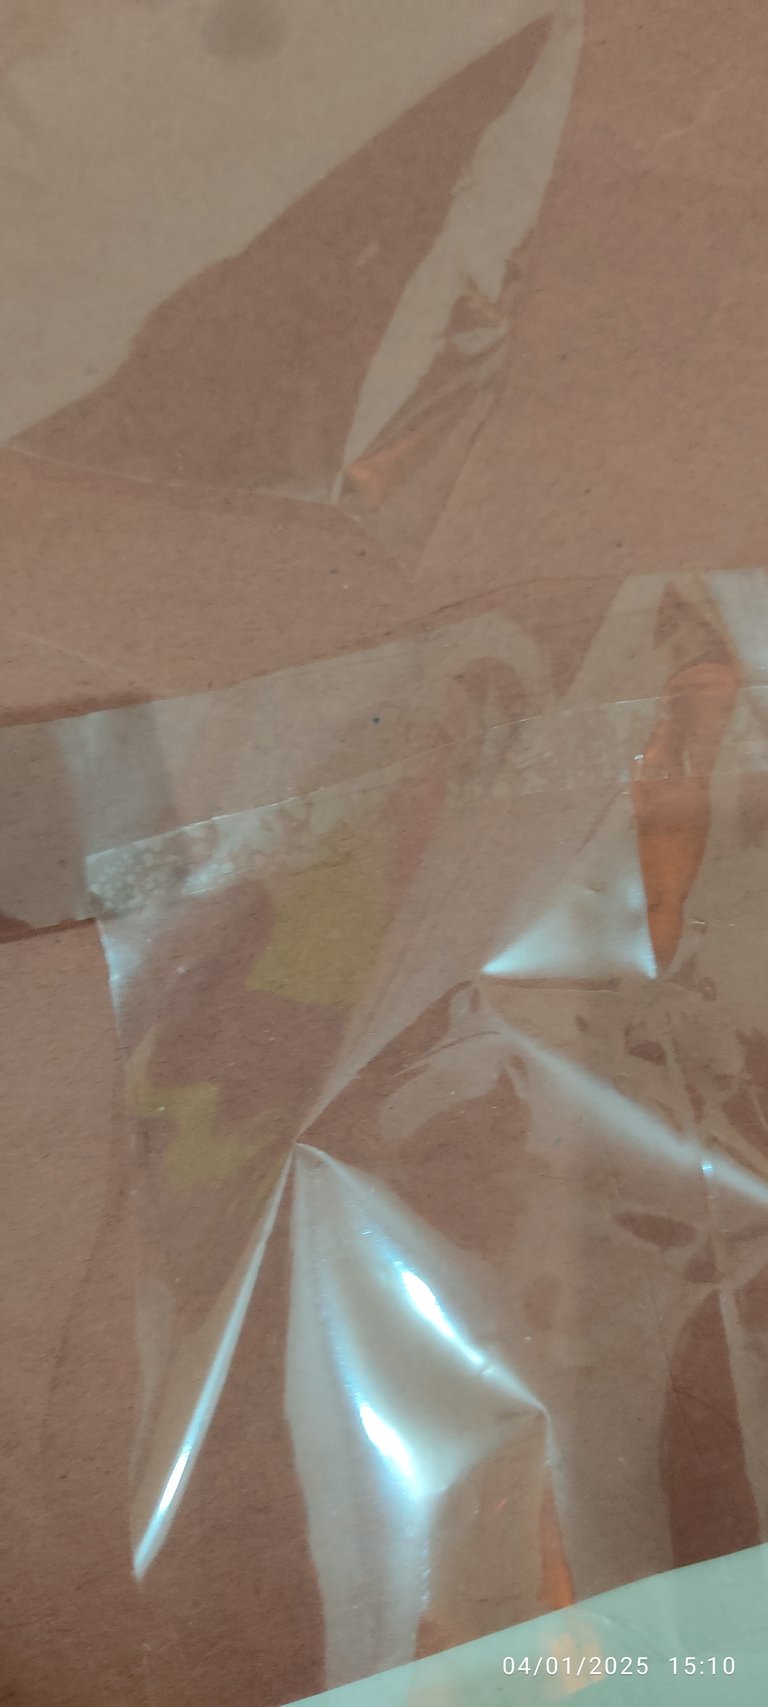
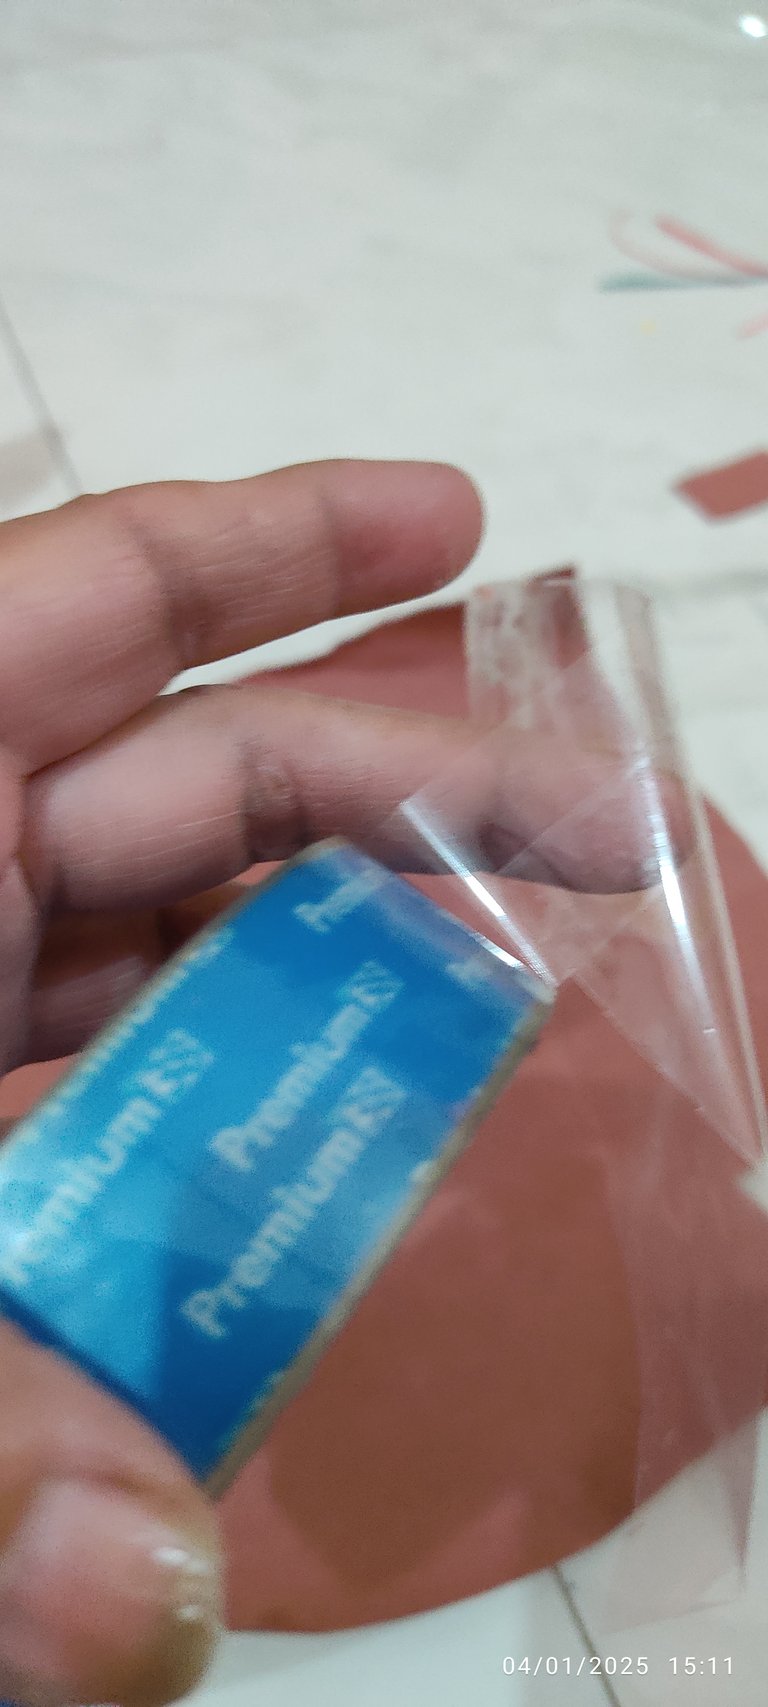
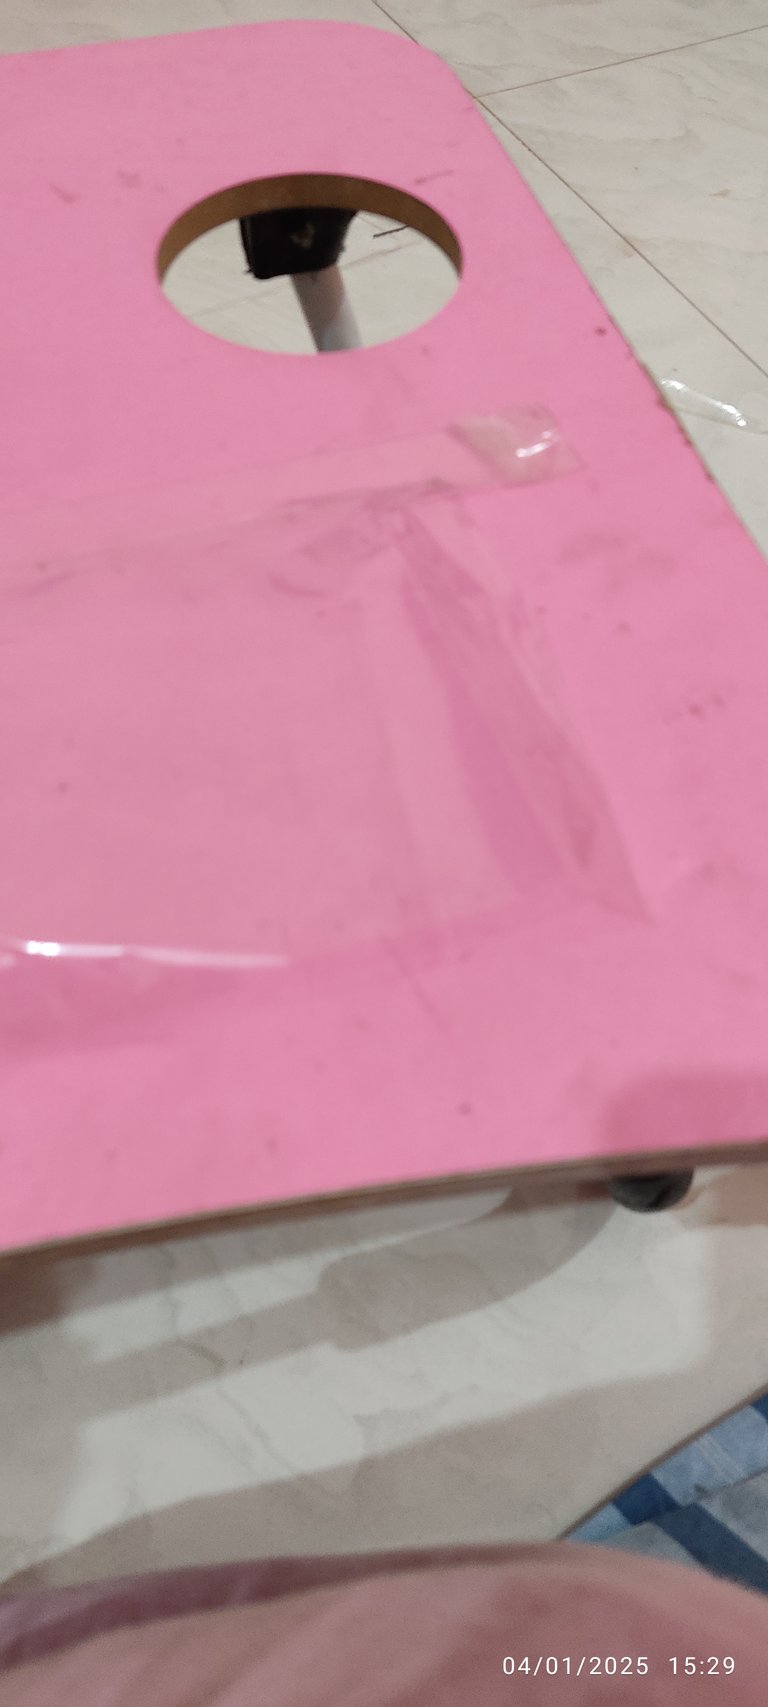
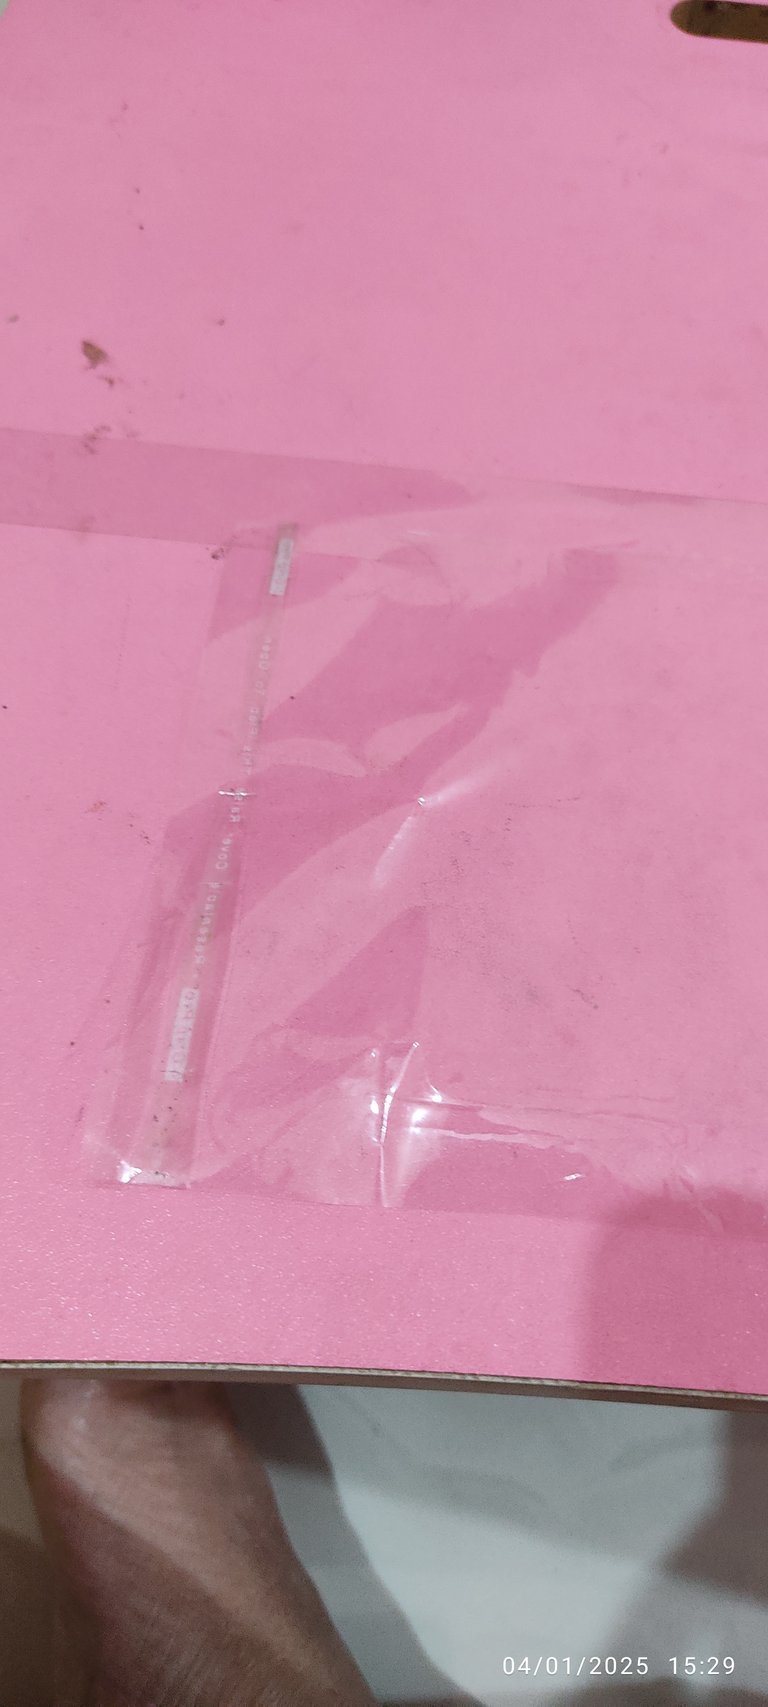
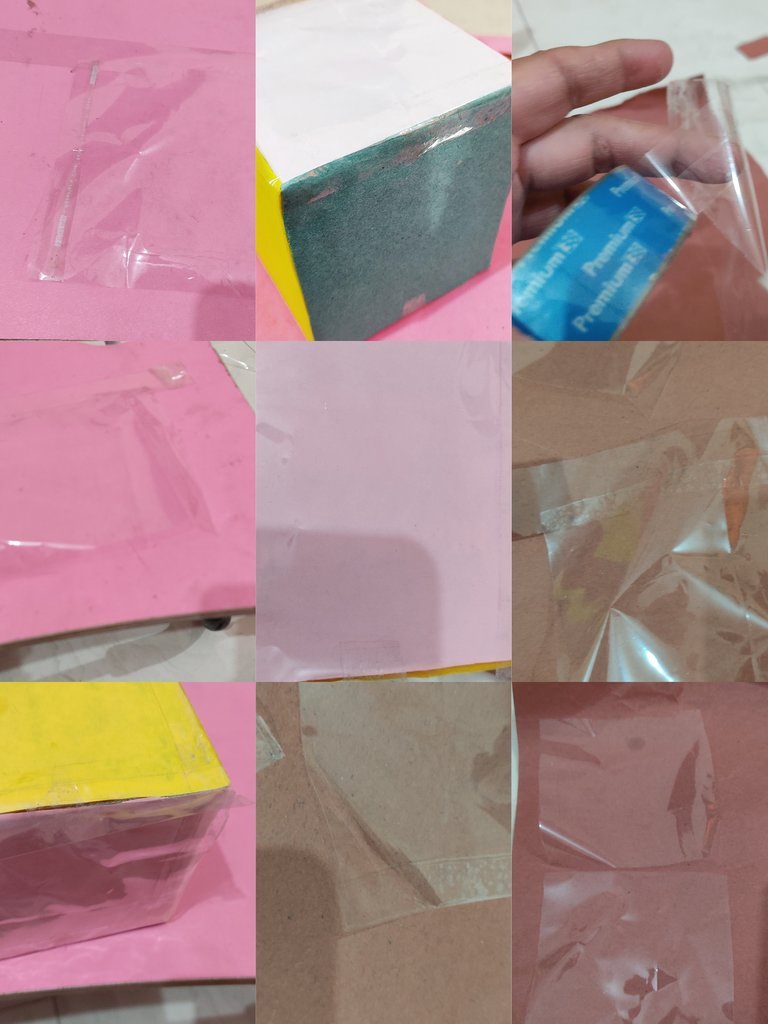
If you don’t have a large rectangular sheet, you can cut smaller pieces for each side.
Assembling the Frame
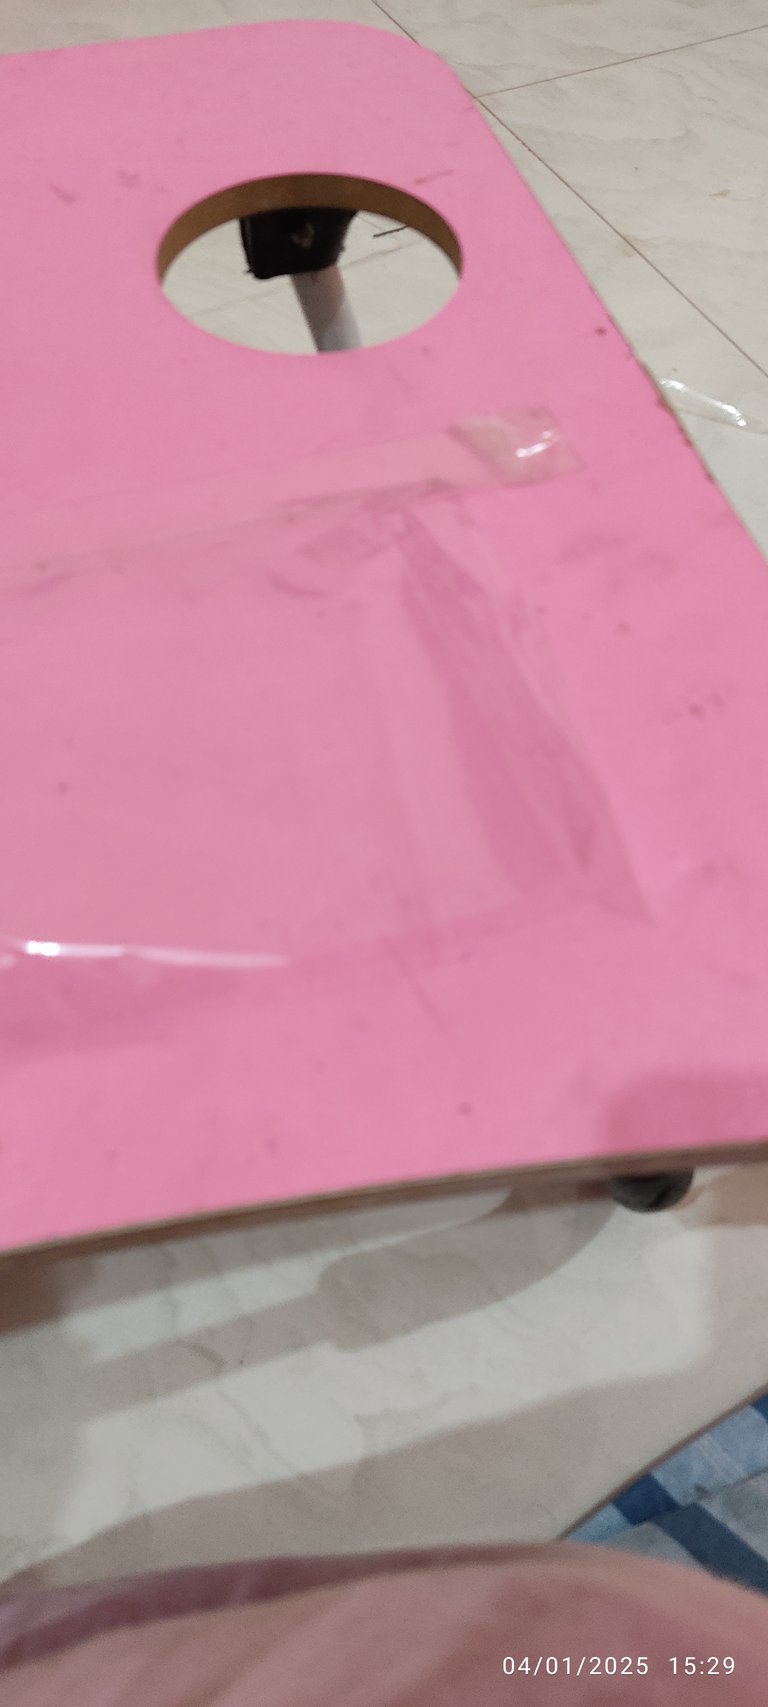
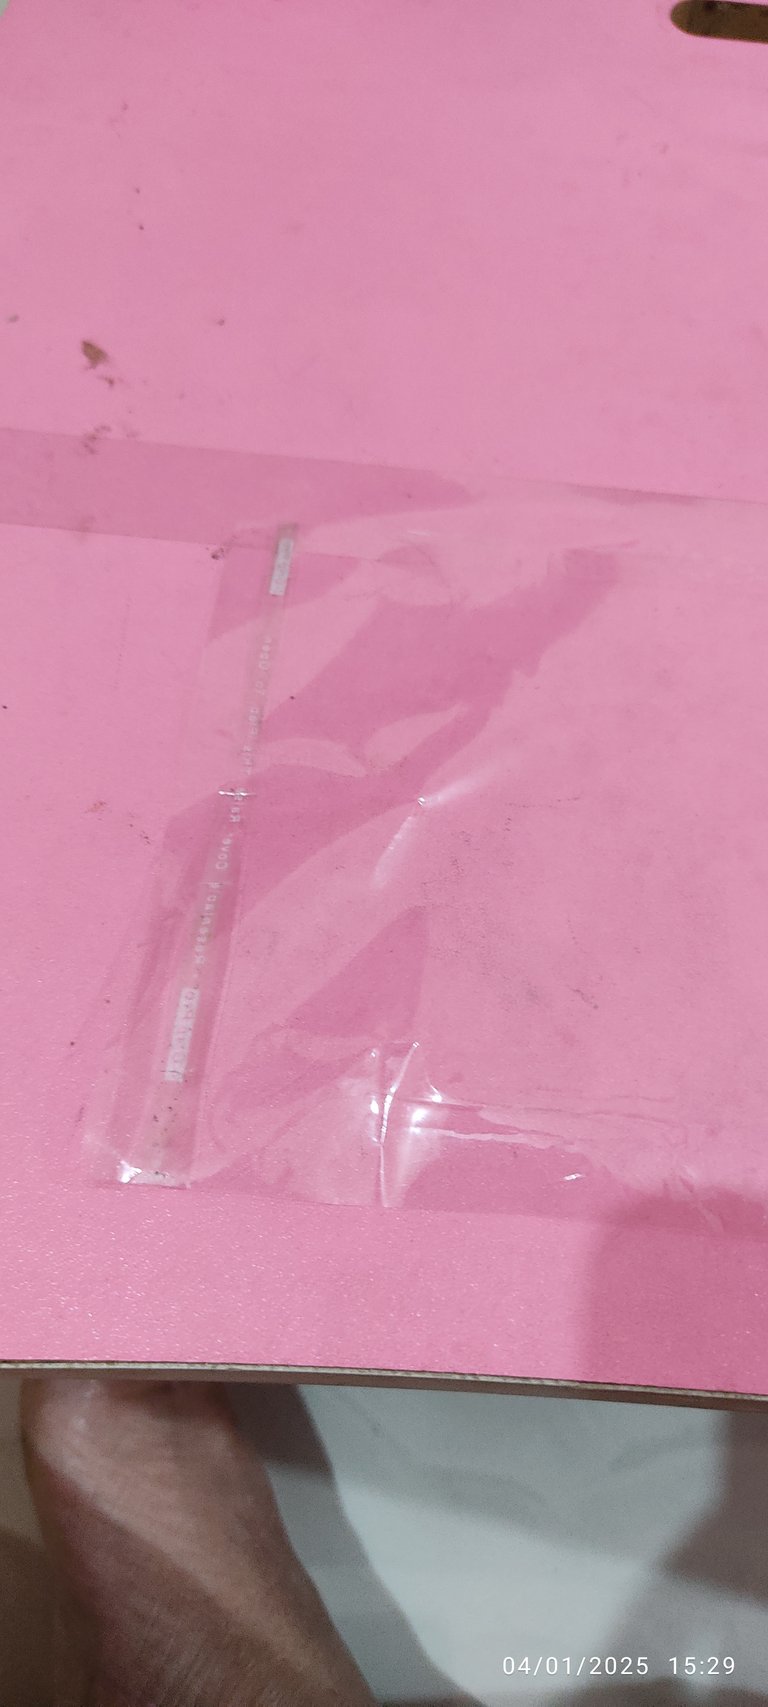
Stick the square pieces on the top and bottom of the box using transparent tape.
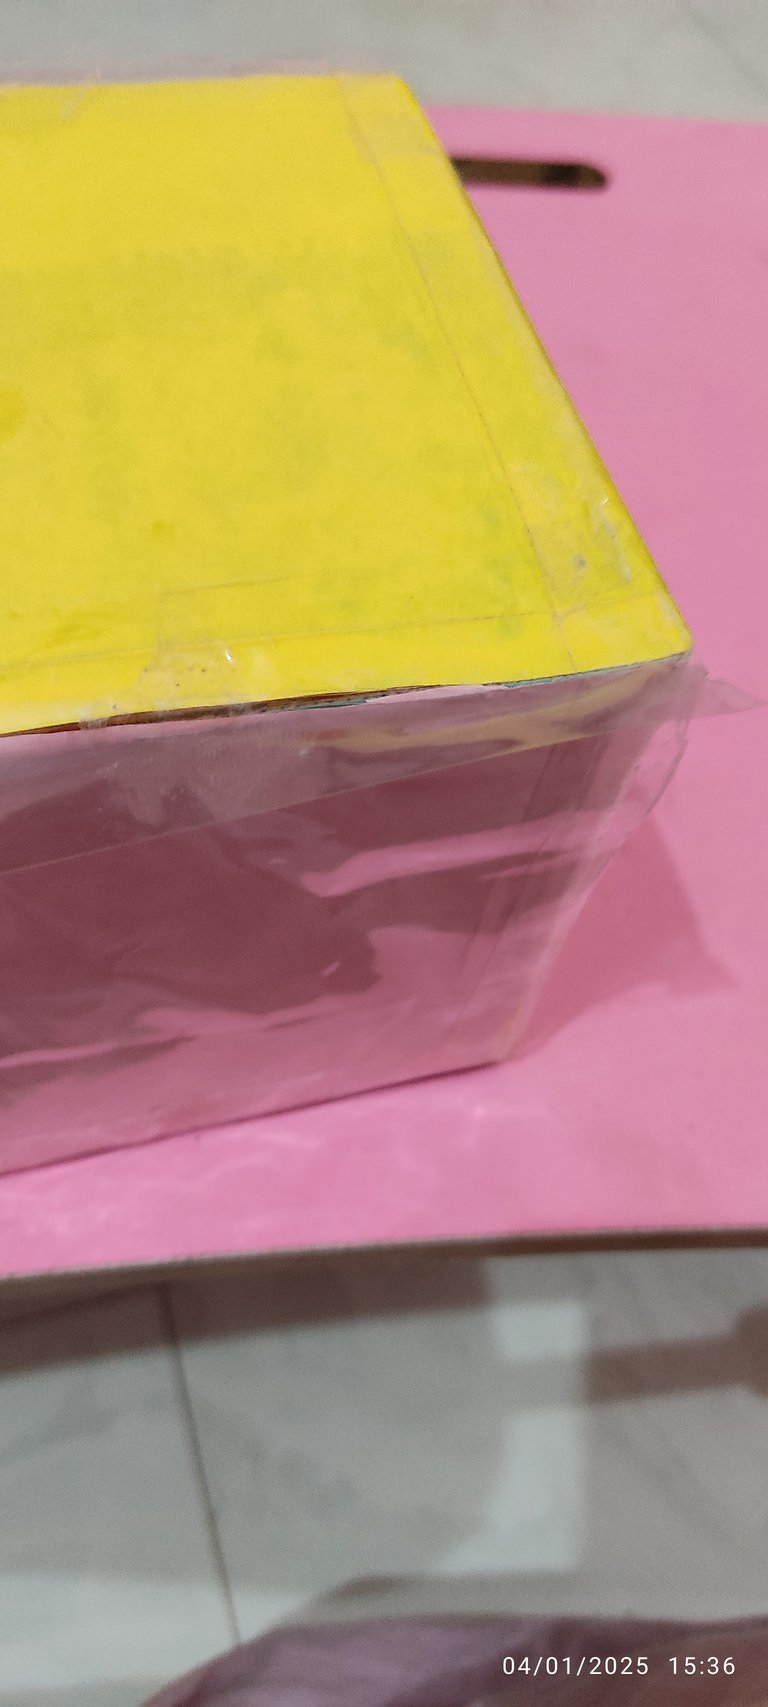
For the rectangular sheet, wrap it around the four sides of the box, making sure it covers each side evenly.
Use tape to secure the edges of the transparent sheet to the box.
Ensure that the edges are not fully sealed so you can slide photos in later.
Finishing Touches
Attach the transparent sheet to the open edges of the box, leaving one side slightly loose for inserting photos.
Check that the transparent sheet is securely taped to avoid slipping or tearing.
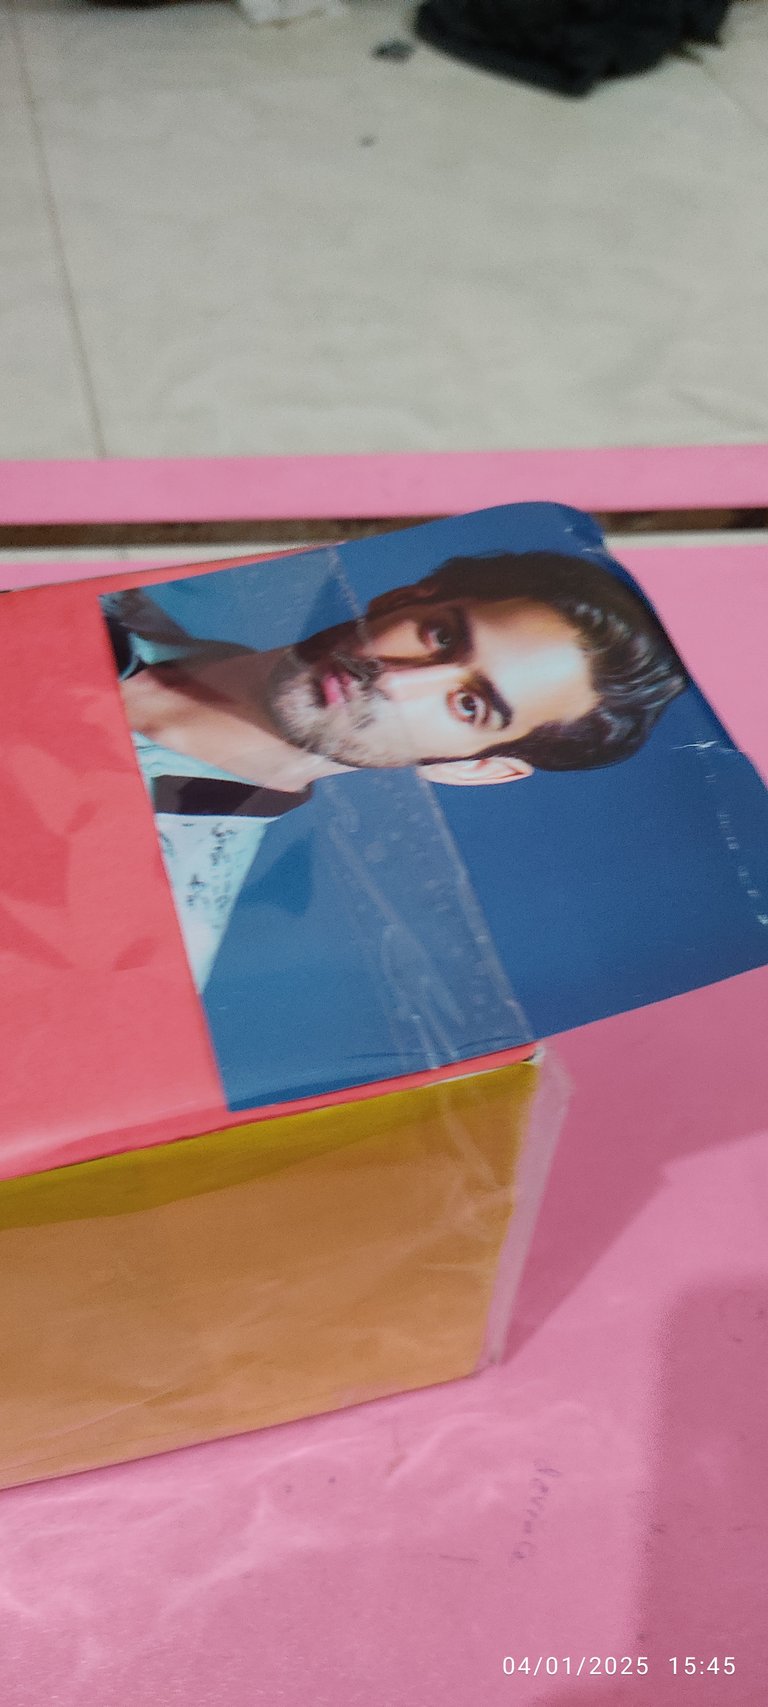
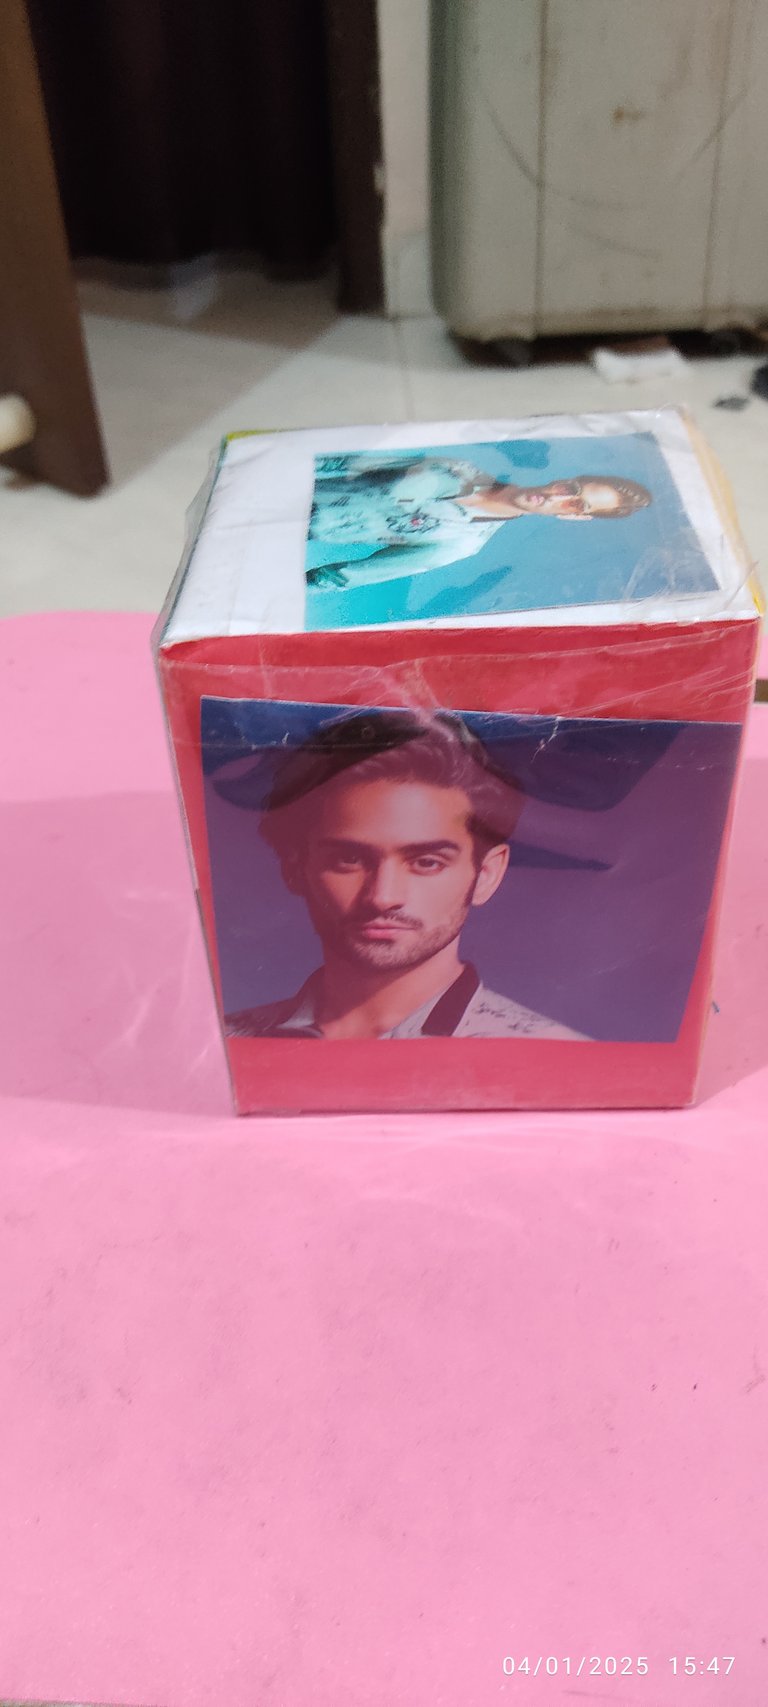
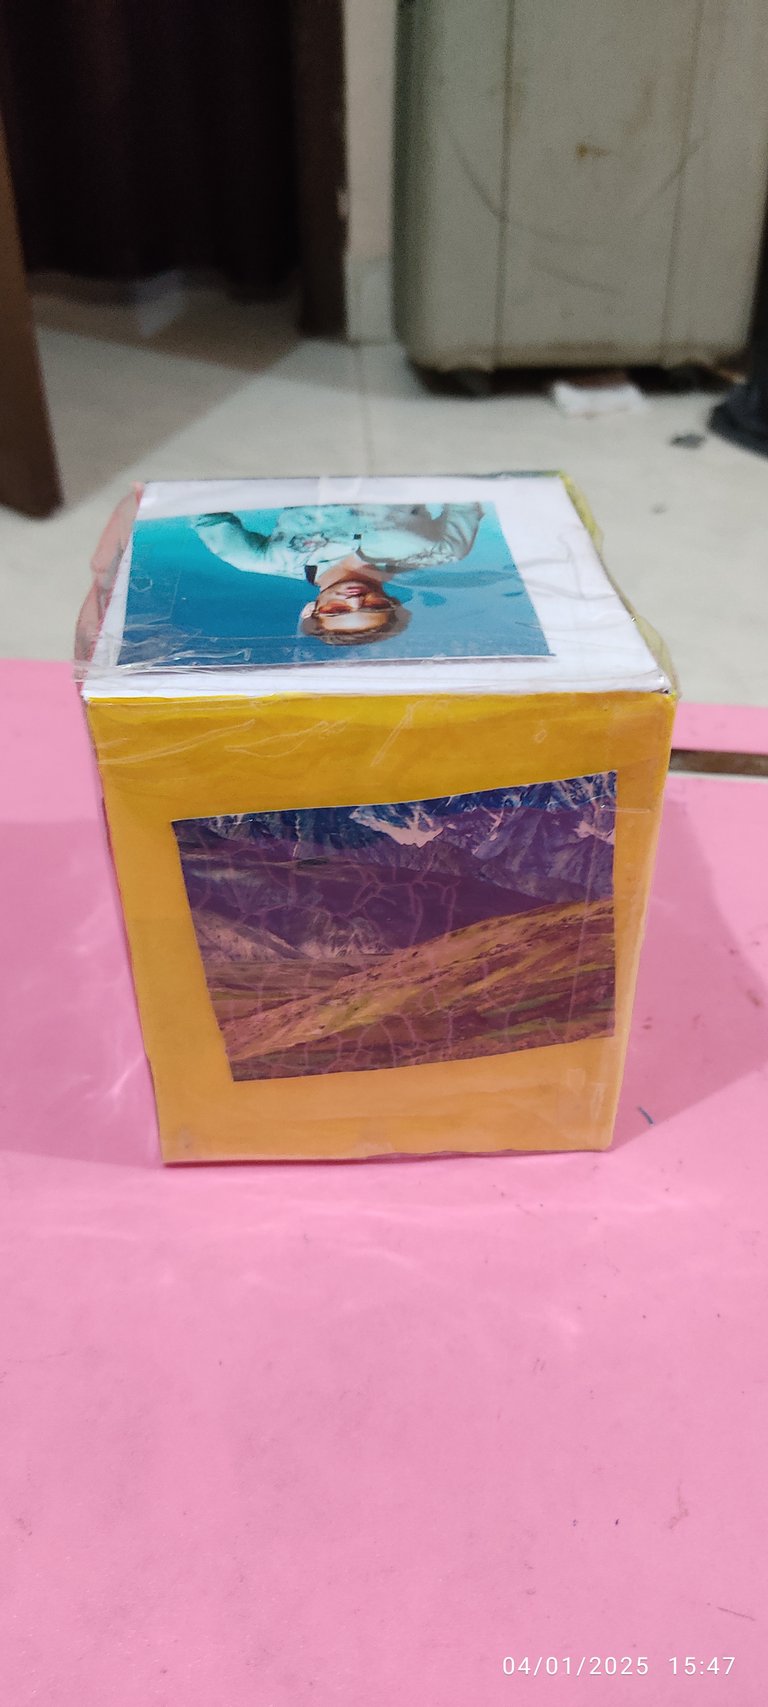
Your DIY Photo Frame is Ready!
Now, your beautiful photo frame is complete. Insert one photo on each side and place it on your table, bedside, or any corner of your room. This frame not only saves money but also adds a personal touch to your decor.
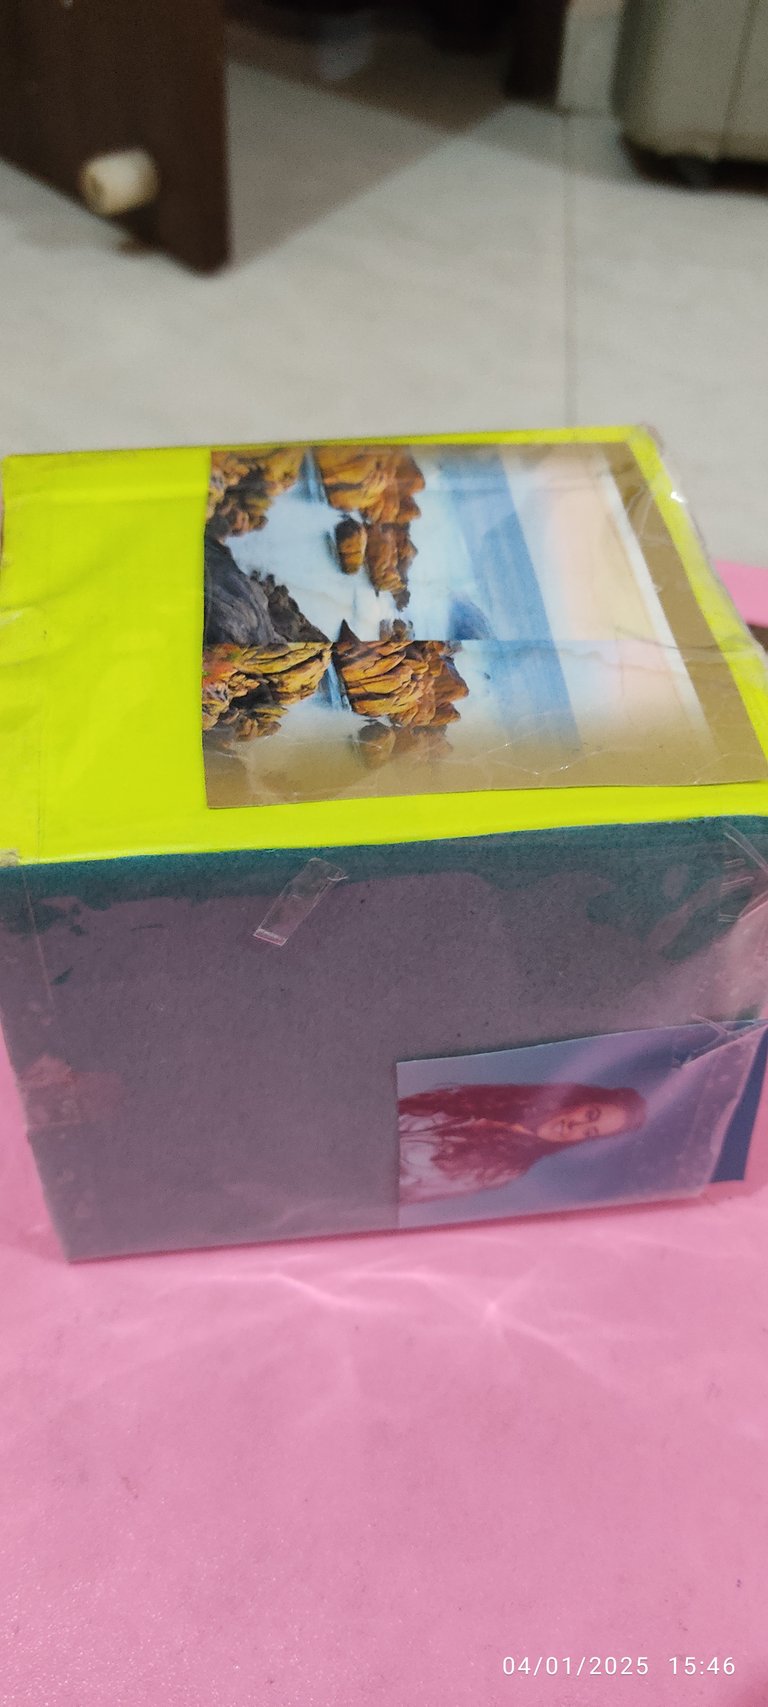
Enjoy creating and displaying your memories in style!
I hope you like my decor. You also try. Thanks for the waching my post.


