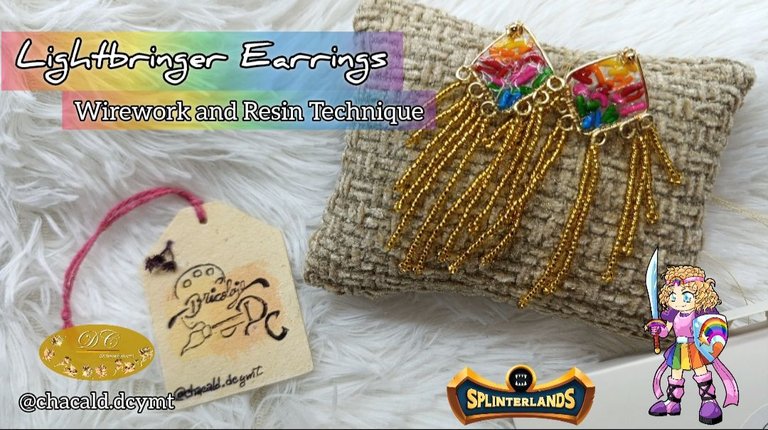
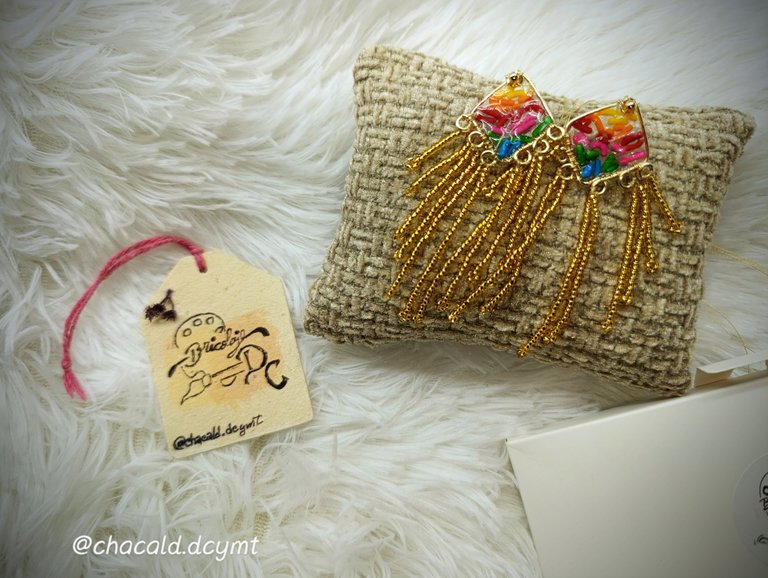
Greetings, fellow craft lovers! Welcome back to my workshop @bricolajedc. This time, we're going to make some dangling earrings inspired by the Kiara Lightbringer card from @splinterlands, continuing with the jewelry set. In this project, we will use three techniques: wirework and resin, so that they look just like the rainbow pendant. To give them a style more suited to the earrings I like, I have added some seed beads in the same colors. Join me and I'll show you the creative process.
Saludos amigos amantes de las artes manuales! Les doy la bienvenida una vez más a mi taller @bricolajedc, en esta oportunidad vamos a elaborar unos aretes colgantes inspirado en carta Kiara Lightbringer de @splinterlands continuando con el juego de bisutería. En este trabajo vamos a utilizar 3 técnicas: alambrismo y resina, para que sean iguales al colgante de arcoiris. Para que tengan un estilo más apropiado a los aretes que me gustan, he agregado unas cuentas de mostacilla en color dorado. Acompáñenme y les muestro el proceso creativo.
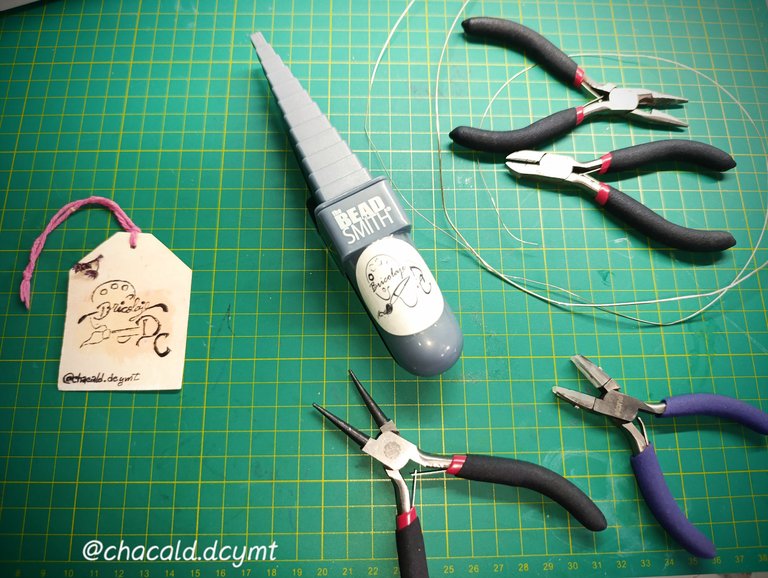
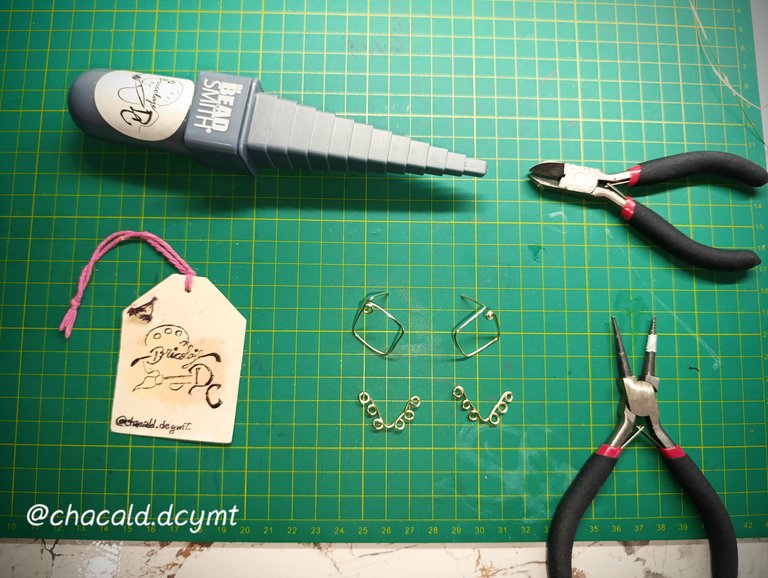
Materials:
18-gauge jewelry wire
26-gauge jewelry wire
2 gold-plated beads
Gold-colored seed beads
UV resin
Nylon thread
Colored chocolate sprinkles
Square mandrel
In addition to these items, we will need a UV lamp, a beading needle, jewelry pliers, scissors, and a lighter.
Materiales:
Alambre de bisutería #18
Alambre de bisutería #26
2 balines dorados
Mostacillas de color dorado
Resina UV
Hilo de nylon tejido
Chispas de chocolate de colores
Mandril cuadradoAdemás de esto vamos a utilizar la lámpara UV, aguja para mostacilla, pinzas para bisutería, tijera y encendedor.
We start by making a small ring with the tip of the round-nose pliers.
Comenzamos haciendo un pequeño aro con la punta de la pinza redonda.

Take the square mandrel and, at measurement #5, form a square starting from the ring you made in the previous step and ending at the same ring.
Tomamos el mandril cuadrado y en la medida #5 vamos a formar un cuadrado partiendo desde el aro que hicimos en el paso anterior y terminando en el mismo aro.
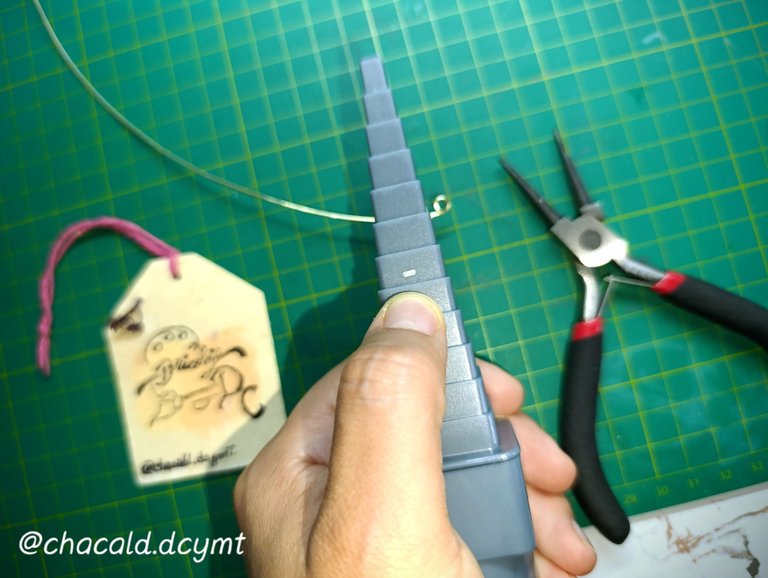
Once the diamond is finished, we will leave 2 centimeters for the hook of the top.
Una vez terminado el diamante, vamos a dejar 2 centímetros para el enganche del topito.
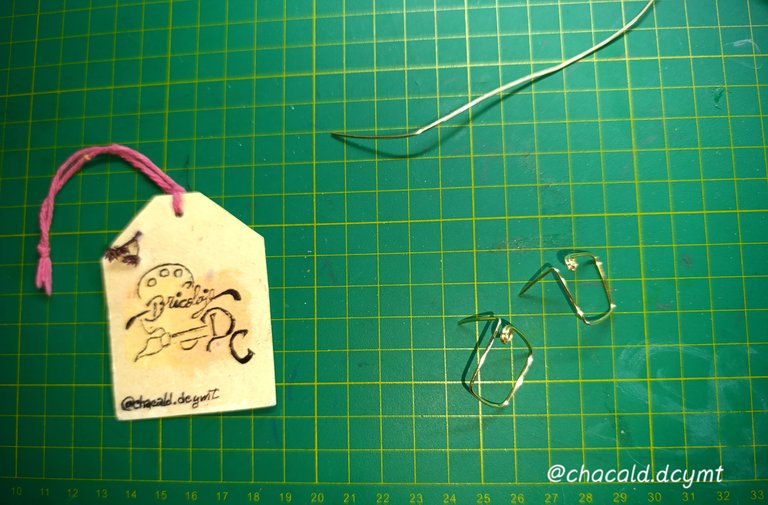
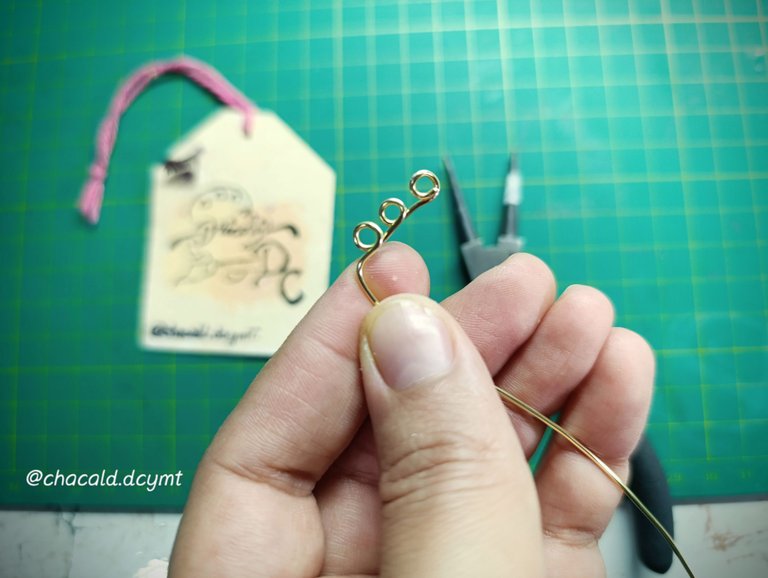
Now we will make a V-shaped piece with six loops using #18 wire. We will place three loops on one side, make a break, and then place three loops on the other side.
We will make one piece for each top.
Ahora haremos una pieza de 6 aros en forma de V con el alambre #18. Ubicaremos 3 aros de un lado, el quiebre y 3 aros del otro lado.
Haremos una pieza para cada topito.
 |  |
|---|
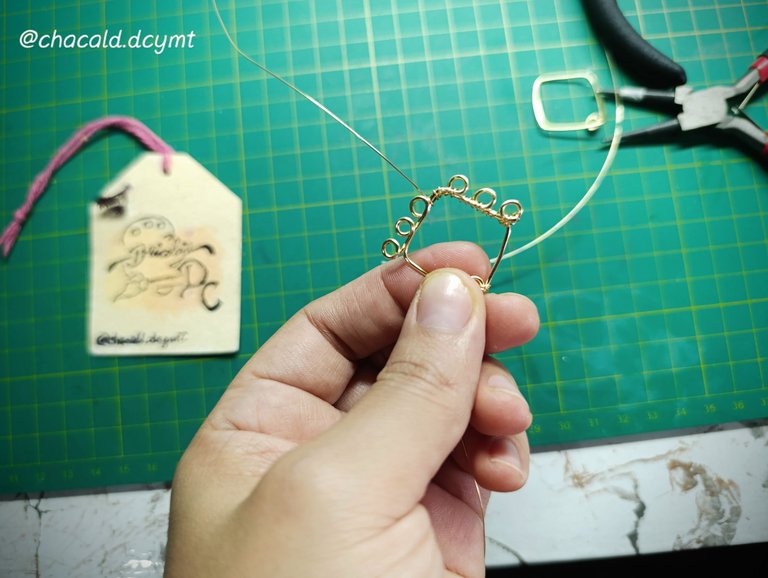
Next, take the #26 wire to join the pieces together. Locate the break in the V shape at what will be the bottom of the top. Secure by wrapping the wire around each space three times and twice inside the rings.
Luego vamos a tomar el almabre #26 para unir las piezas. Ubicamos el quiebre de la V en lo que será la parte inferior del topito. Vamos a asegurar dando 3 vueltas entre cada espacii y 2 vueltas dentro de los aros.
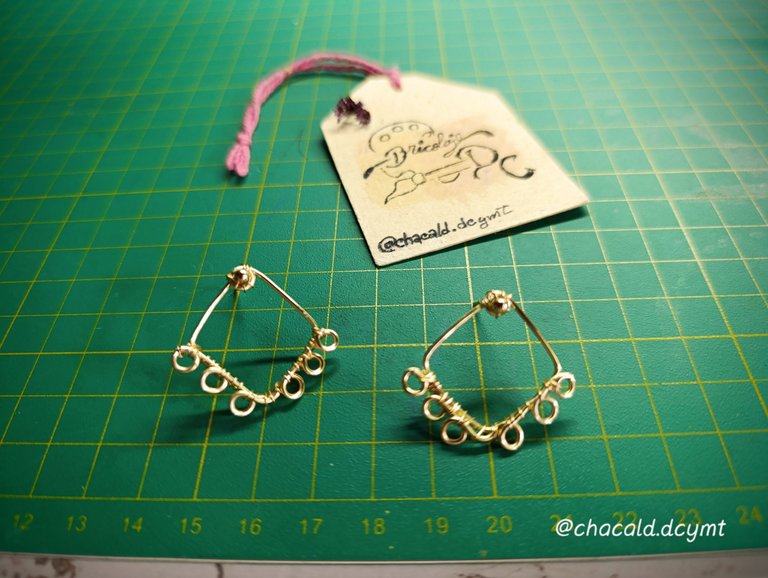
Once the pieces are attached to the dots, we will have our base. We can now begin the decorating process.
Una vez que las piezas estén unidas a los topitos tendremos nuestra base. podemos iniciar el proceso de decoración.
As with the pendant, prepare a piece of adhesive tape so that the earring piece sticks and you can work with the resin.
Apply a layer of resin and spread it with a wooden stick.
Igual que con el colgante, preparamos un trozo de cinta adhesiva para que la pieza del arete se pegue y podamos trabajar la resina.
Aplicamos una capa de resinas y la extendemos con ayuda de un palito de madera.

Arrange the chocolate sprinkles according to the colors of the pendant so that they match. Apply another layer of resin over the sprinkles.
Colocamos las chispitas de chocolate según los colores del colgante, para que hagan juego. Aplicamos una capa más de resina sobre las chispitas.

We place the UV lamp under the lamp for 120 seconds so that it solidifies and the sparkles remain encapsulated.
Llevamos a la lámpara UV por 120 segundos para que se solidifique y las chispitas queden encapsuladas.
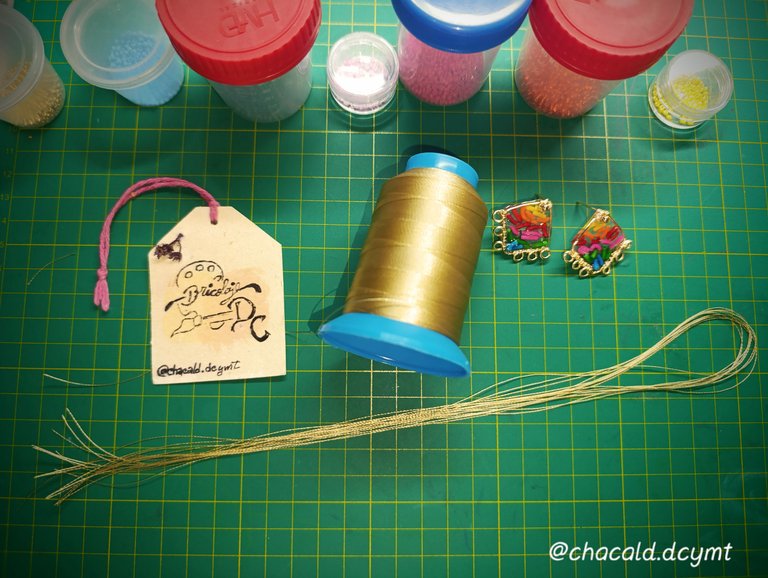
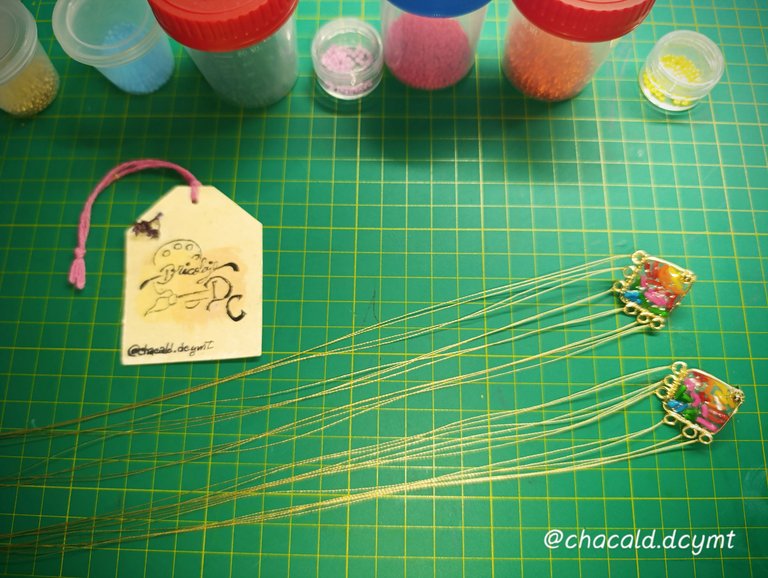
Then take the nylon thread and tie a double knot right in the middle of a 30-centimeter strand to attach each of the earring hoops.
Luego vamos a tomar el hilo de nylon, hacemos un nudo doble justo en la mitad de una hebra de 30 centrimetros para unir a cada uno de los aros del arete.
 |  |
|---|
Arrange a row of gold beads in order from largest in the center to smallest in the corners.
Colocamos una fila de mostacilla dorada en el orden: de mayor en el centro, a menor en las esquinas.

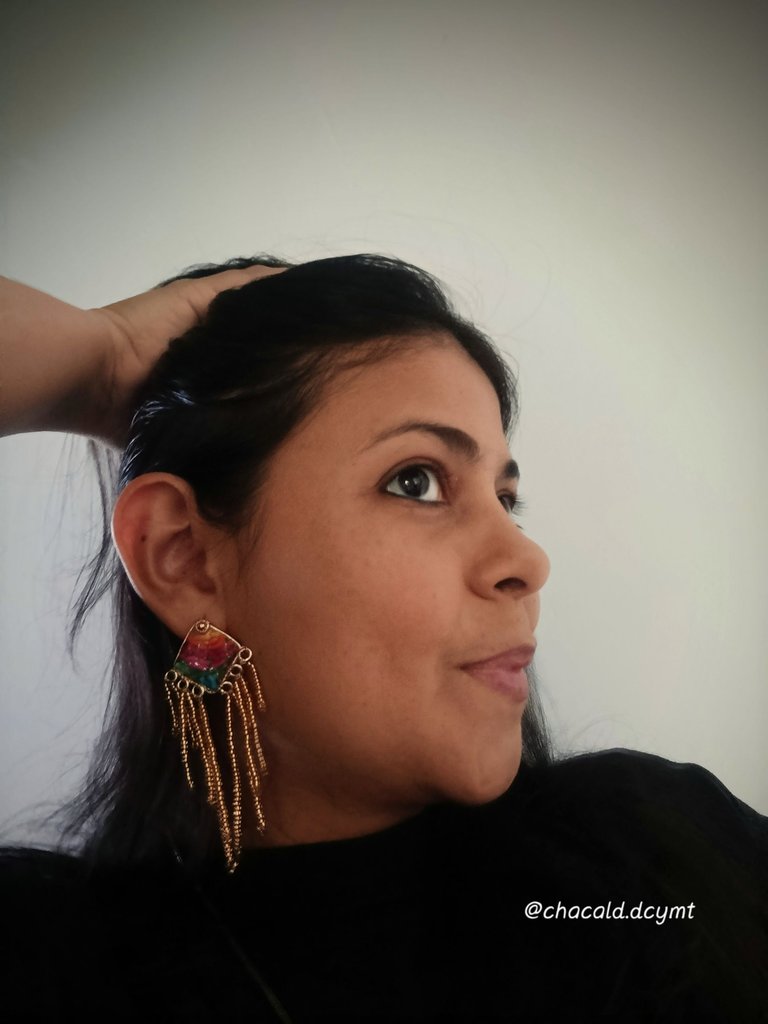
Cut and burn off any excess thread. And that's it! The earrings are ready to wear.
Cortamos y quemamos los excedentes de hilo. Y listos! Están los aretes listos para usar.
I loved this combined technique... Here is the link to the pendant (https://peakd.com/hive-130560/@chacald.dcymt/kubqycoh) so you can try this simple project with a beautiful finish.
See you next time. Bye!
Esta técnica combinada me encantó... Les comparto el link del colgante para que se animen a realizar este trabajo tan sencillo y con un bonito acabado.
Nos vemos en una próxima oportunidad. Chao!

If you are not yet playing Splinterlands go here and join the adventure.
Si todavía no estás jugando Splinterlands entra aquí y únete a la aventura.
Original content by the author.
Resources: App: Canva / Giphy / Inshot
📷 Redmi 13 note pro Smartphone
Translated with Deepl.com
✿ All Rights Reserved || © @chacald.dcymt 2025✿
💌 Discord: chacald.dcymt#3549
X: @chacald1
Reddit: chacald
Follow us on Instagram
_
Contenido original del autor.
Recursos: App: Canva / Giphy / Inshot
📷 Redmi 13 note pro Smartphone
Traducido con Deepl.com
✿ Todos los Derechos Reservados || © @chacald.dcymt 2025✿
💌 Discord: chacald.dcymt#3549
X: @chacald1
Reddit: chacald

Tienda virtual @bricolajedc
Síguenos en Instagram