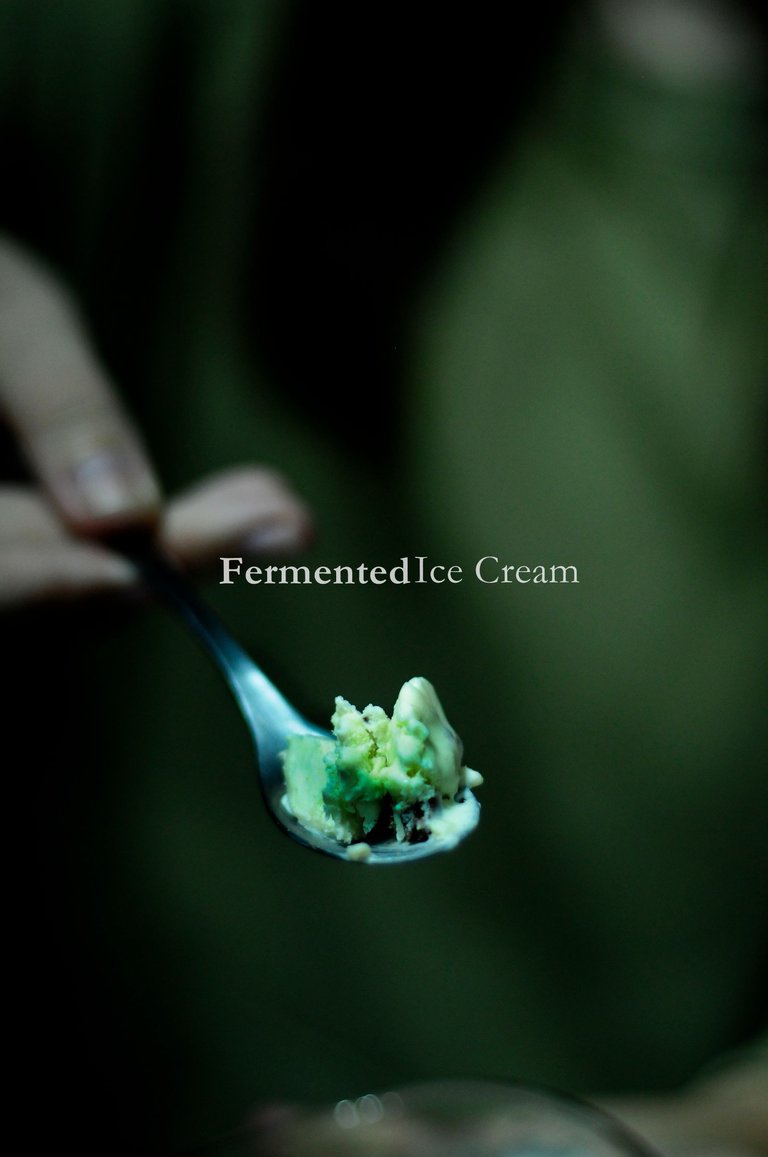
There is something incredibly dangerous about making your own no churn ice cream. Not only do you not need an expensive machine and extra equipment, the ingredients cannot get simpler: cream, condensed milk, and anything else that you want to add...
See the problem? It becomes something you can make on a regular basis without the need to drag down equipment or buy strange ingredients.
Like most of my own recipes and musings on cooking, this is a blank slate on which you can begin to write your own. In this case, I will show how I made KitKat ice cream and a peanut butter one. But the sky is really the limit of what you can add to ice cream. I have made a triple caramel one, and my mind is already beginning to think how I can make one that incorporates Stout beer.
So, please follow along as I show you this recipe and the process I followed to make it. I think you will regret knowing how easy it is, but you might also regret not trying to make this simple recipe at least once! Especially if you have some interesting ingredients you want to add and flavours you cannot buy in the store.
Without further ado...
Ingredients/Recipe
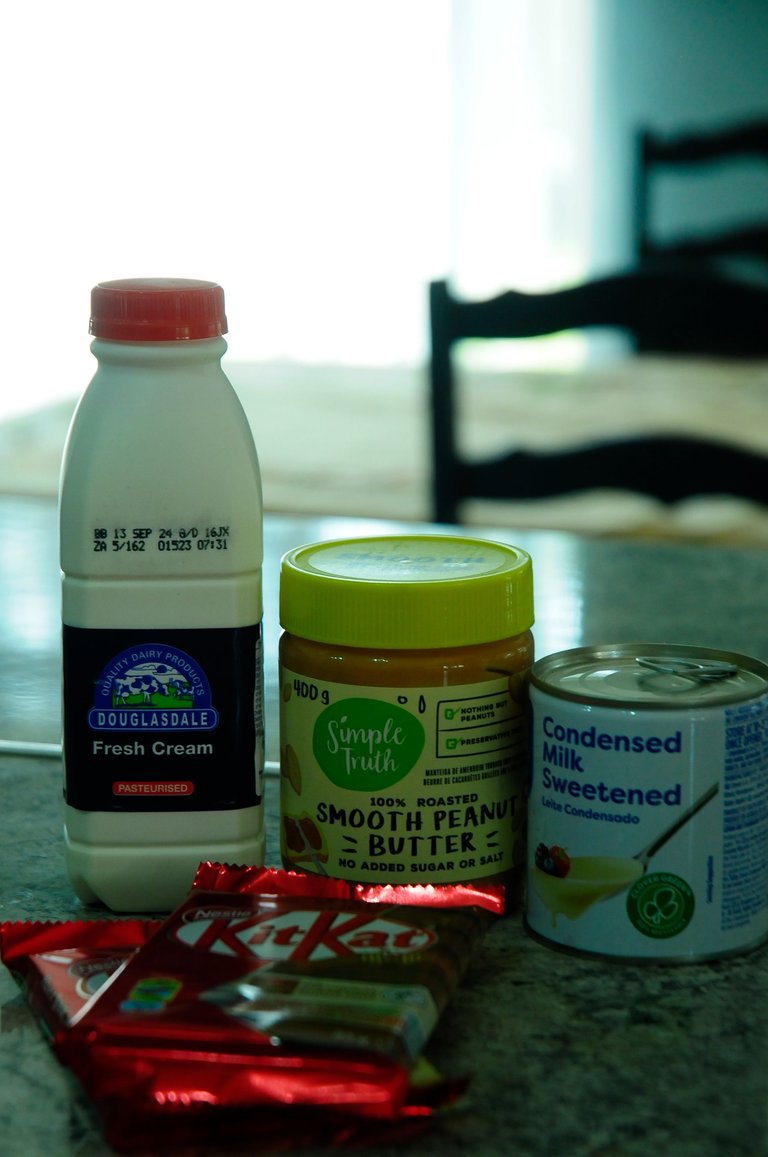
The ingredients and subsequent recipe cannot be simpler. It mainly consists of only two ingredients, and then the optional ones that you can think of. I will give the base recipe, and then the two I followed:
Base Recipe
My base recipe is shamelessly based on the incredible Food YouTuber Glen and Friends. They have a whole playlist on their adventures with no churn ice cream. See that playlist here. Warning: you will get addicted!
I follow their recipe but with my own changes. I like a 2-1 ratio of Cream to Condensed milk. But you can always play with this ratio. Just watch out, when you add too much cream, it will freeze more solidly than when you add more condensed milk.
Here is the base recipe:
- 300 ml of cream
- 1/2 can (190 gr) of condensed milk
- 2 - 5 ml of either vanilla extract or any type of alcohol (OPTIONAL)
Tip: It is good to add some kind of alcohol. So, if you want to add vanilla extract, use the real ones that contain alcohol and not the cheap stuff. But it is good to add some alcohol as it helps with the final product not freezing rock solid.
But this step is optional as I almost always forget to add this.
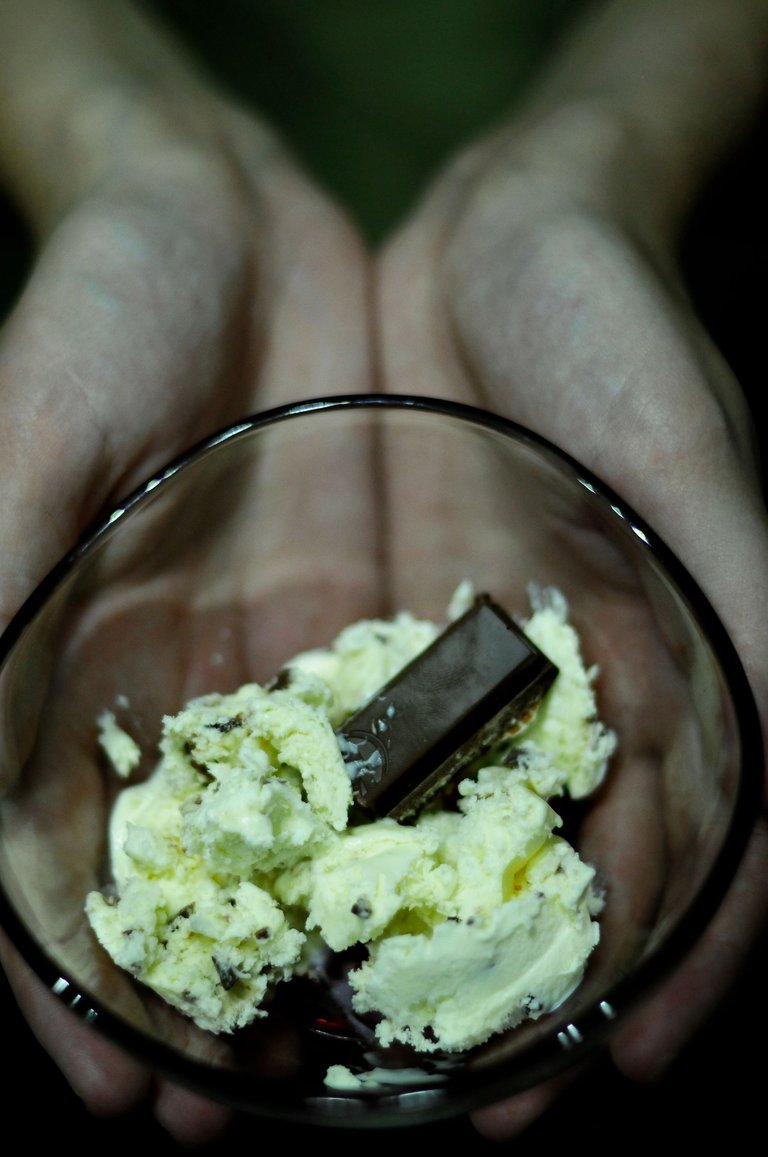
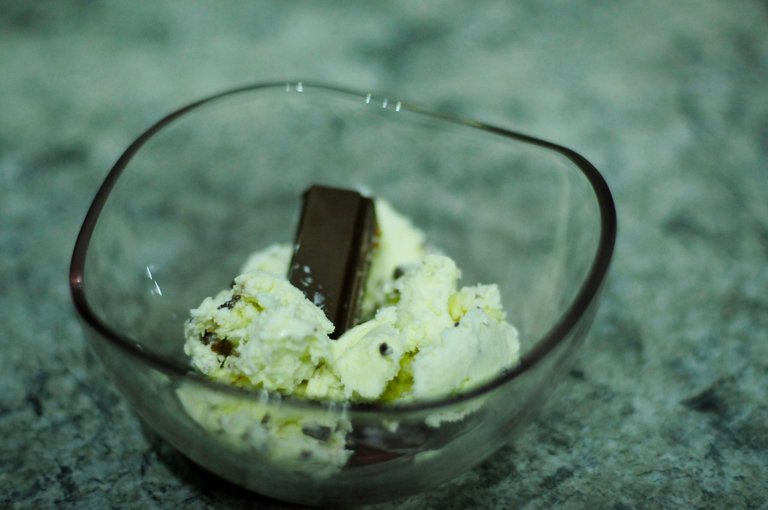
KitKat Recipe
For the first variant, I made some KitKat ice cream!
Here, I added:
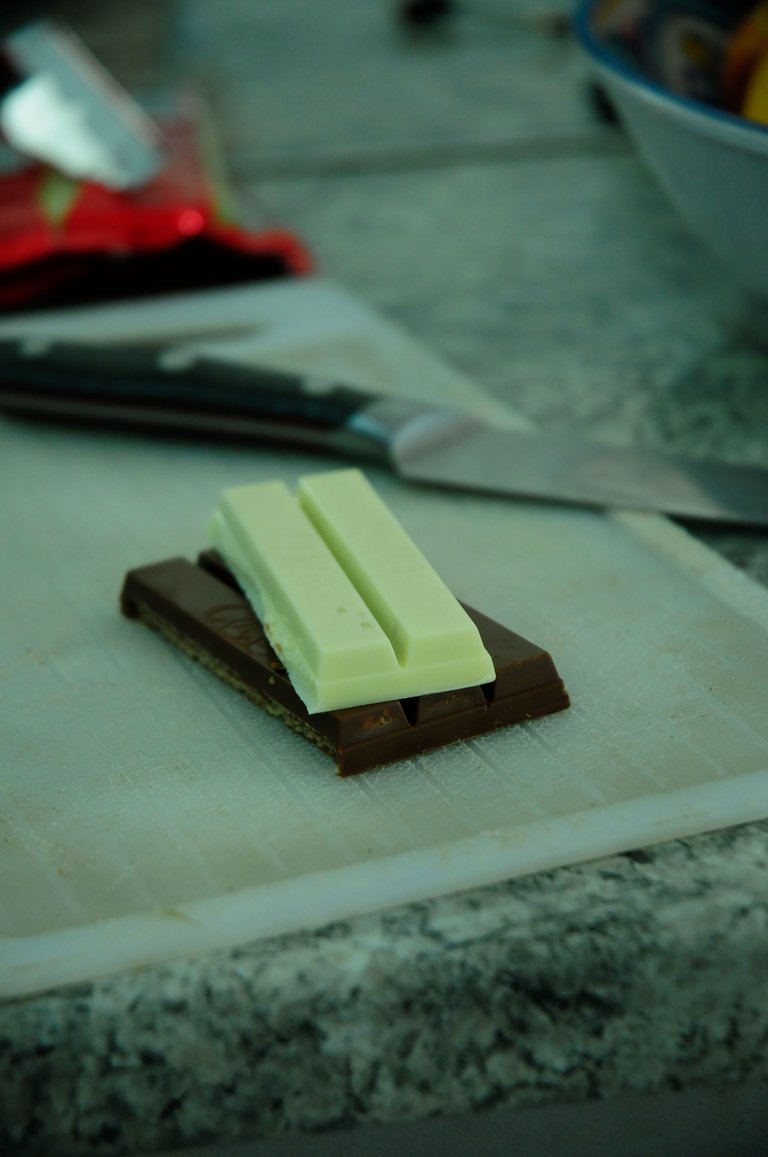
- 2 fingers of normal KitKat (chopped), and
- 2 fingers of white chocolate KitKat (chopped).
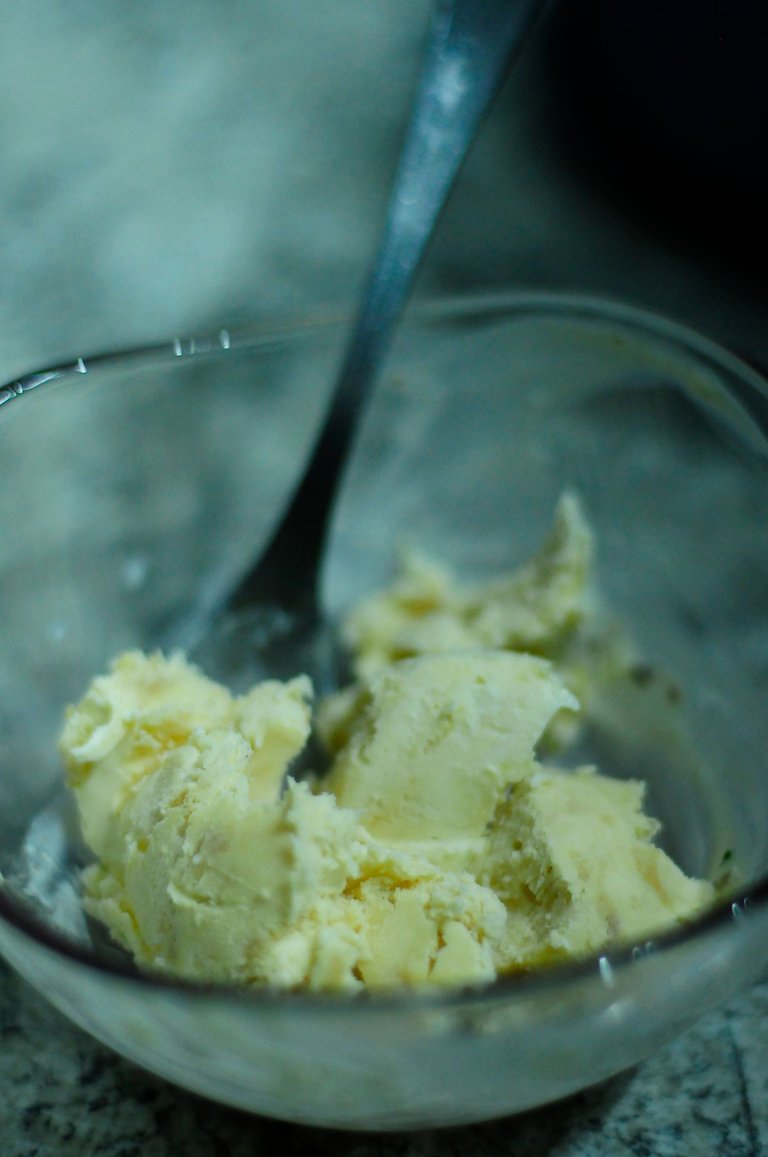
Peanut Butter Recipe
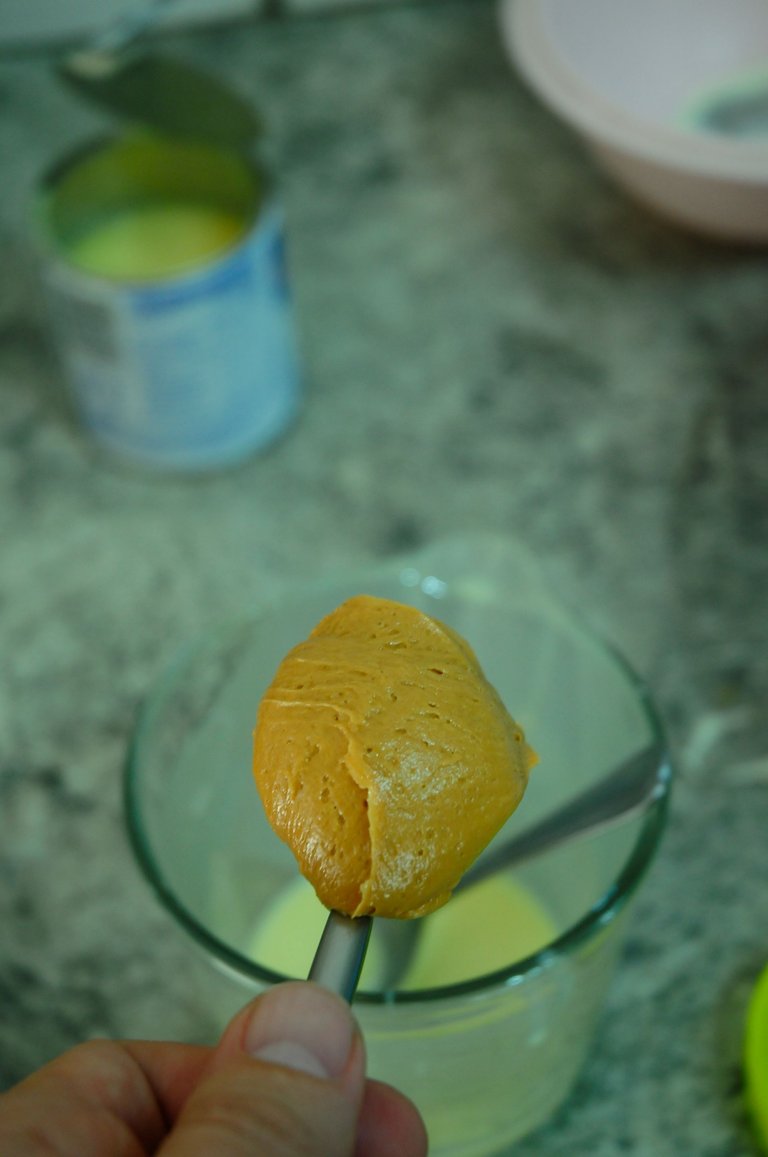
For the peanut butter variant, I added:
- 1 heaped teaspoon of peanut butter.
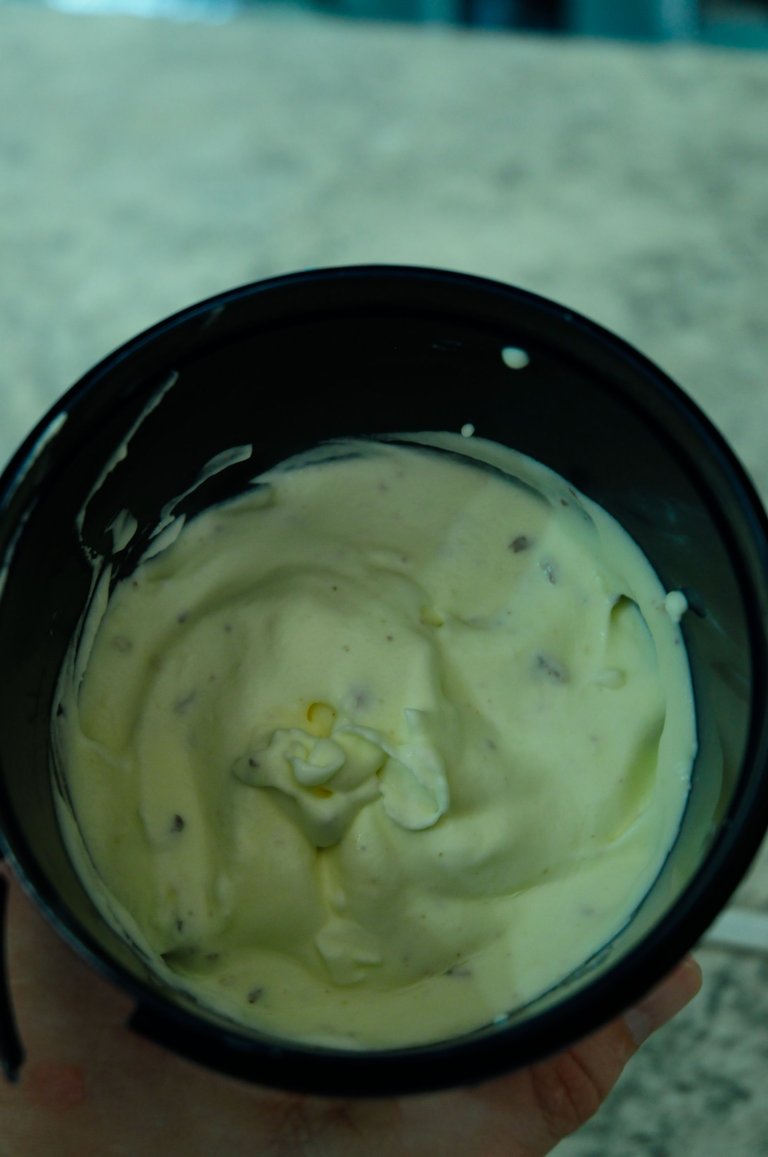
Portions/Servings
In total, this recipe yielded about 1 liter (volume) of ice cream. I had two 1 liter yoghurt holders that I filled roughly to half with each mix. So, in total, this recipe will yield about 1 liter of ice cream. Depending on how much you eat in one sitting, this will depend on how many servings this will produce. I always eat a couple of tablespoons in one go, but I can see myself eating almost all of it in a sitting.
Method/Process
The process is rather simple. There is nothing to it.
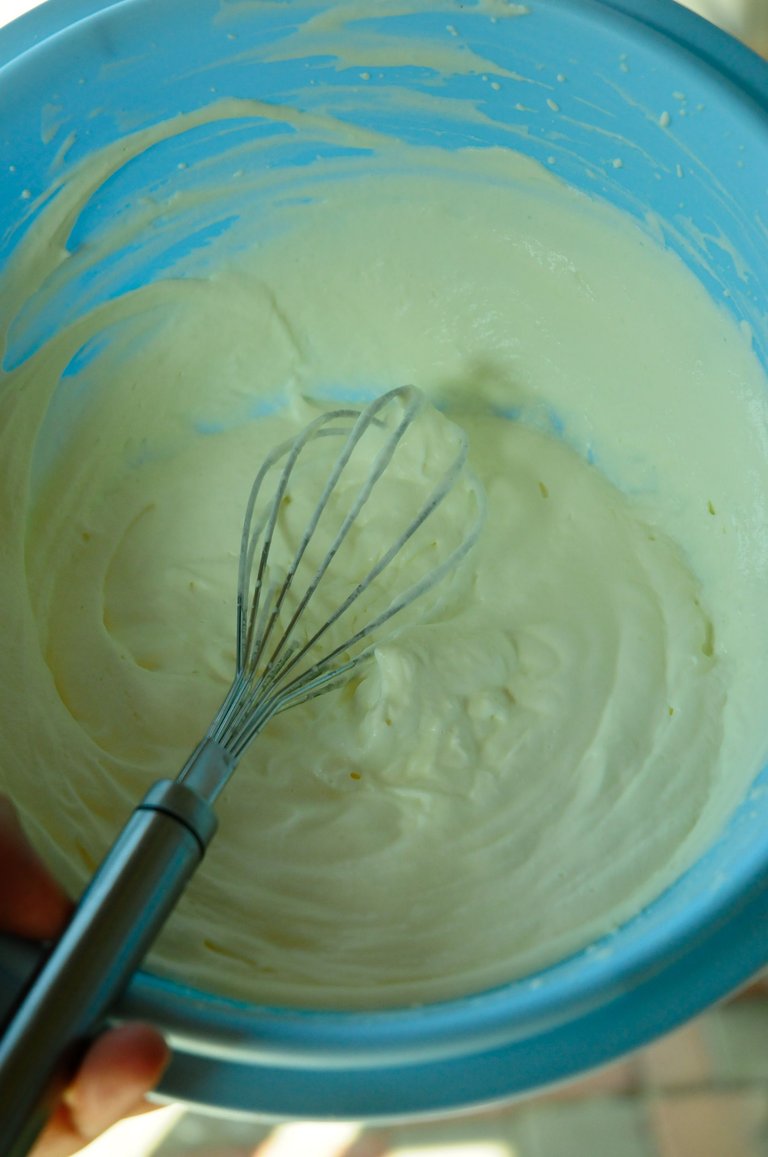
First, you beat the cream until it is almost stiff peaks. Do not make butter, so stop just before stiff peaks.
Secondly, you mix in the condensed milk. Just mix until all of condensed milk is gone.
Then comes the fun part! Mix in your different ingredients to make the ice cream truly your own recipe.
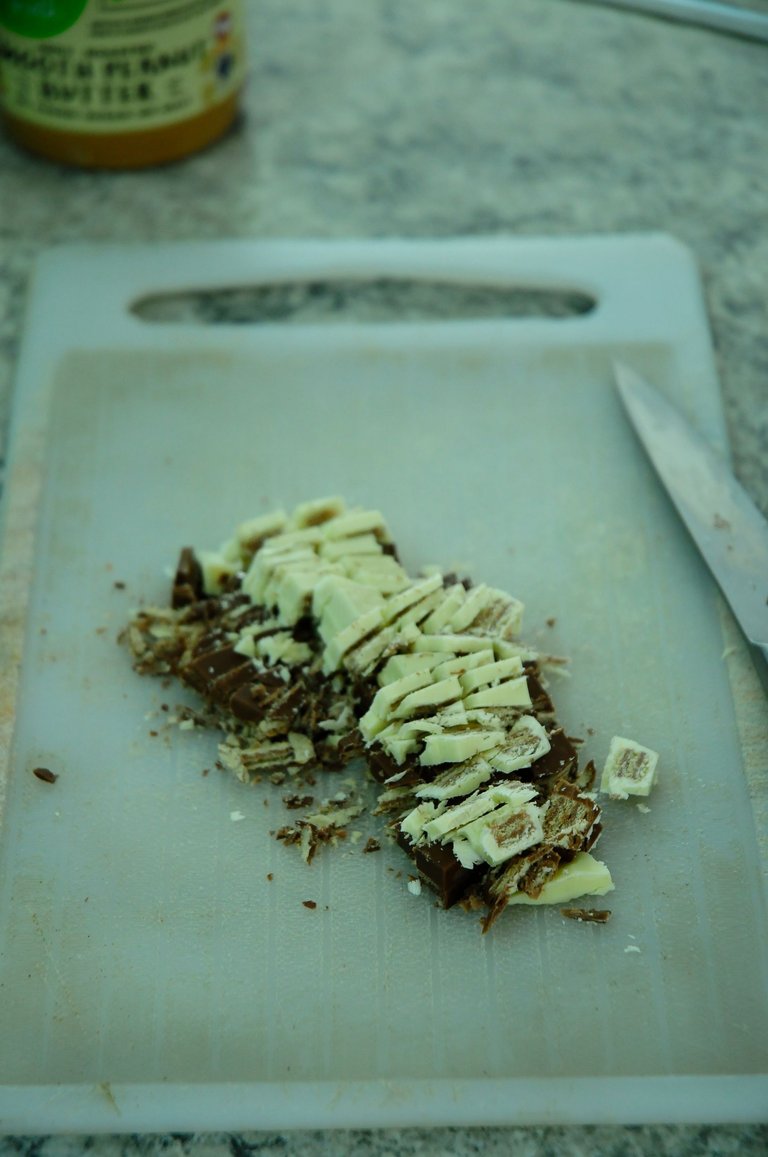
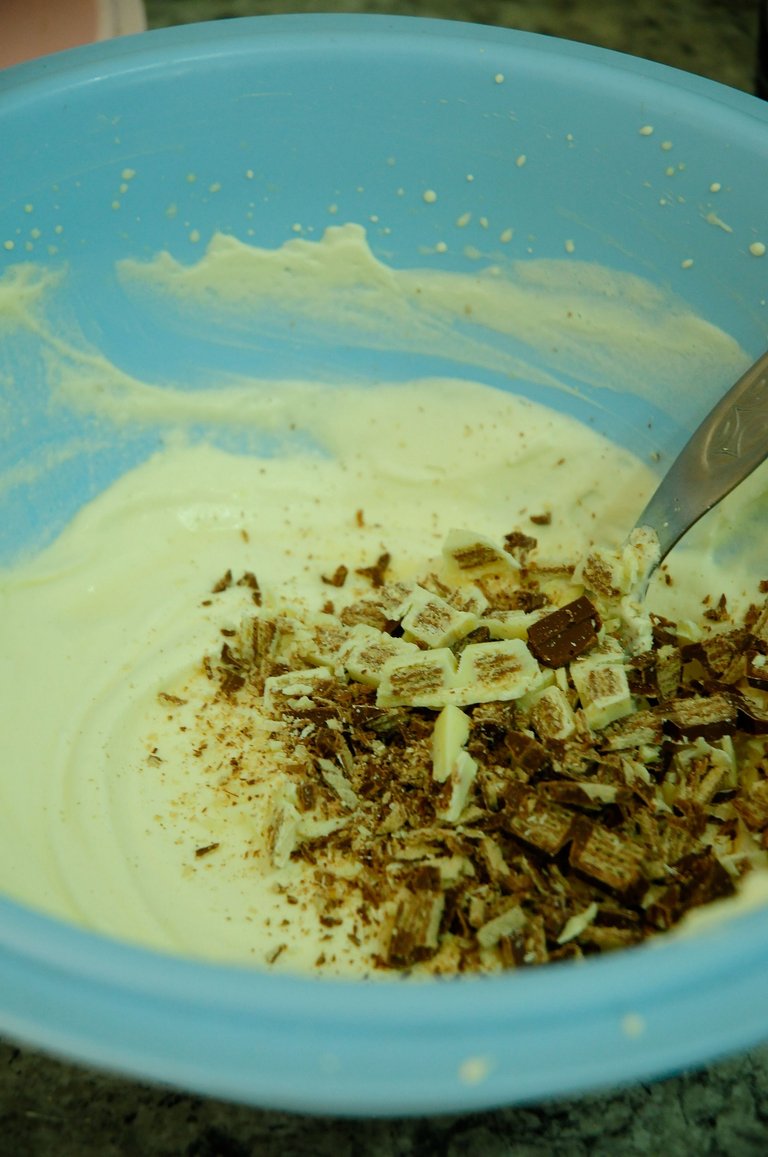
KitKat Variant
Here, I just chopped the individual fingers of KitKats into smaller pieces that I then mixed separately into the mixture.
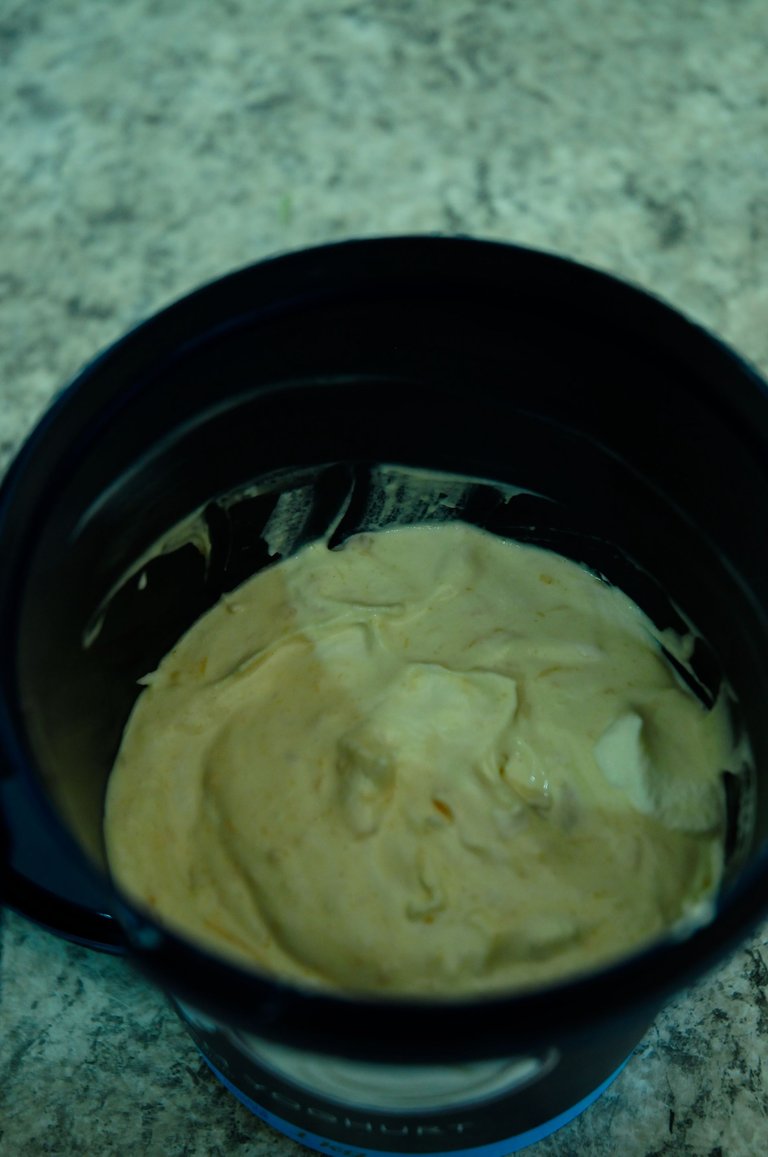
Peanut Butter Variant
Similar to the one above, I mixed in the peanutbutter. But in hindsight, I would have rather mixed the peanut butter with the condensed milk. But because I made two different recipes, I mixed the condensed milk beforehand and then I split the two different ice creams. Do not make this mistake.
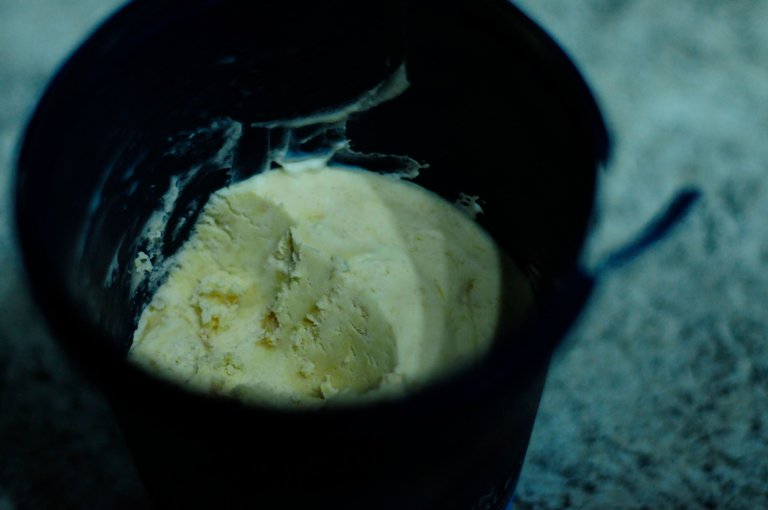
The Freezing Stage: Where the Magic Happens
The magic happens as soon as you place these holders into the freezer. It will take a couple of hours, and if you are impatient like me, you can check every now and again (this is code words for tasting while it freezes!).
But the best option would be to leave it overnight or for 12 hours, so that it turns into ice cream. If everything worked out, you will have some of the best ice cream you had in your life!
The goal will be to experiment. This is so important, I will write it again: The goal is to experiment. You might not like the sweetness, you might want it less or more creamy... But this is where the fun of cooking comes in: You are in control of how your ice cream will turn out.
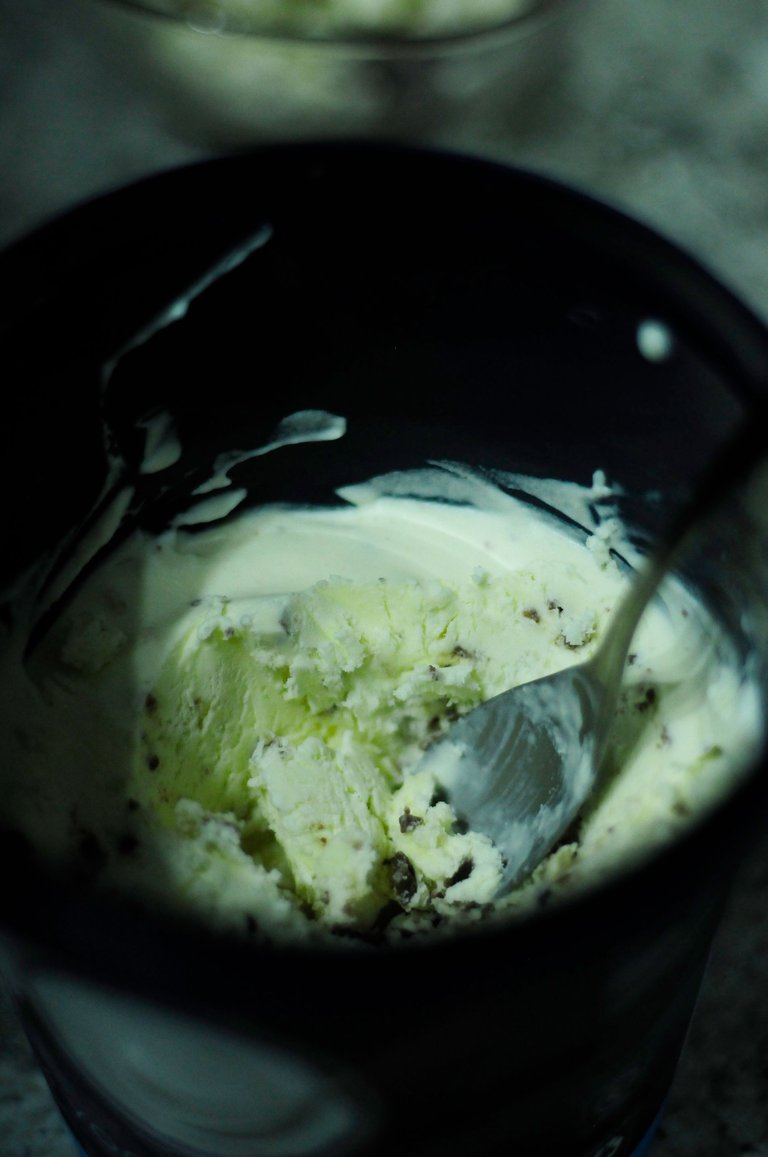
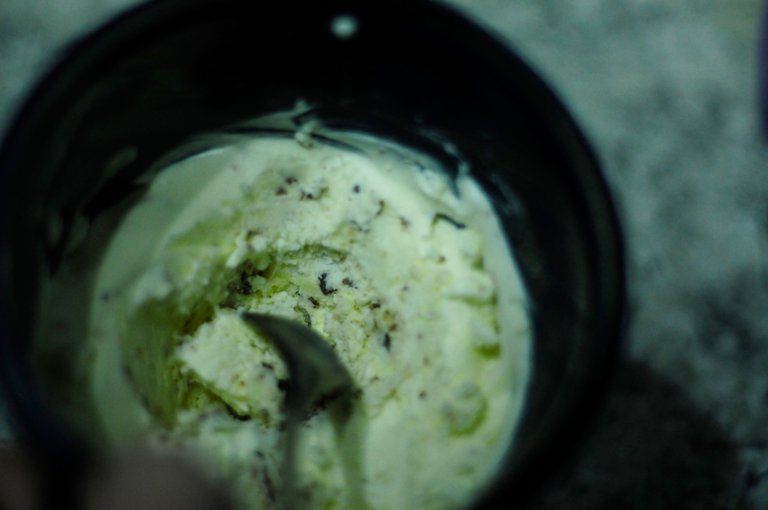
Scoop For the Love of Ice Cream
If all went to plan, after the freezing stage, you will have your very own ice cream! I have made various different flavours, and each time it just gets better and better.
The world of different flavours lay at the tips of your fingers. The world becomes a source of different flavours. You can stick to the usual, but go out and make some different ones.
I have always wanted to make peanut butter ice cream, as you do not really get it where I live. And this really changed my life! Now, I have an infinite source of peanut butter ice cream at my disposal. But this is where it gets dangerous...
Life is dangerous, but we can have some danger in balance. The simplicity behind making your own ice cream is really where the danger is: why is it so easy?
Moderation is key.
Postscriptum, or Moderate Consumption... Or Not?
Ice cream is not a health food. So the can of condensed milk with the copious amounts of cream should obviously be eaten in moderation. I made a triple caramel one, which has even more sugar in it. Moderation is key.
But we also only live once, so have something sweet!
I really hope that you will try to make this at home, and please let me know if you had tried to make your own ice cream in the past!
For now, happy cooking, and keep well.
All of the musings and writings are my own, but the recipe is kind of my own. See the hyperlink/s. The photographs are also my own, taken with my Nikon D300.