Summer Soltice has begun. We're already experiencing 100deg temperatures in this Hurricane Season. While the Pacific has been active this week, the Atlantic has been relatively quiet for the first month of the season. That's a good thing, because once it comes alive, buckle up is all I can say.
We've had a few bouts of Saharan dust blow our way. With allergies, I just stay indoors until it's passed and headed east.
But this weekend, on Saturday morning I woke with a feeling that I needed to do something; something that day; and something indoors.
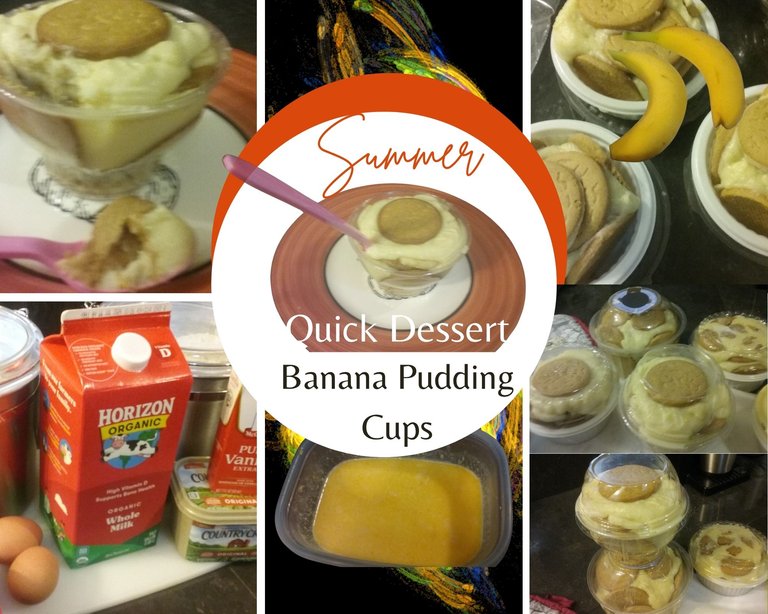
What makes this dessert special is how easy it is to prepare since I have arthritic knees. Standing for hours over a stove stirring in preparation of desserts or for a lengthy period of time preparing foods to bake or fry has limited my kitchen time substantially. This dessert is a spin off from my normal banana pudding recipe of long ago when I was younger.
The pudding is cooked in the microwave. And, you'd be surprised how delicious it is prepared that way. I was skeptical at first since I was accustomed to standing over the stove stirring until the pudding was the right consistency.
Let's begin.


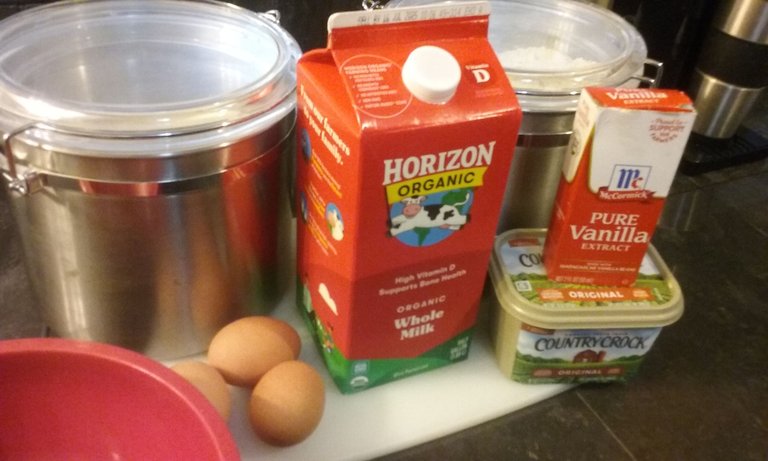
INGREDIENTS
The ingredients in this desserts you may already have on hand in your pantry and refrigerated.
6 small dessert cups with lids
(I use cups from take out that I keep just for these purposes instead of purchasing specific dessert cup molds.)
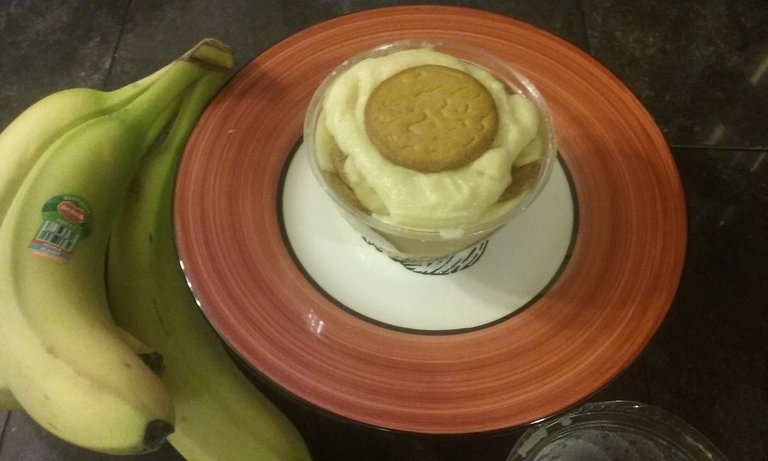
2 or 3 ripe bananas
*For my Diabetes, I lessen the amount of butter and sugar. The taste is not as sweet, which is perfect for me. I just want the taste of bananas and pudding.
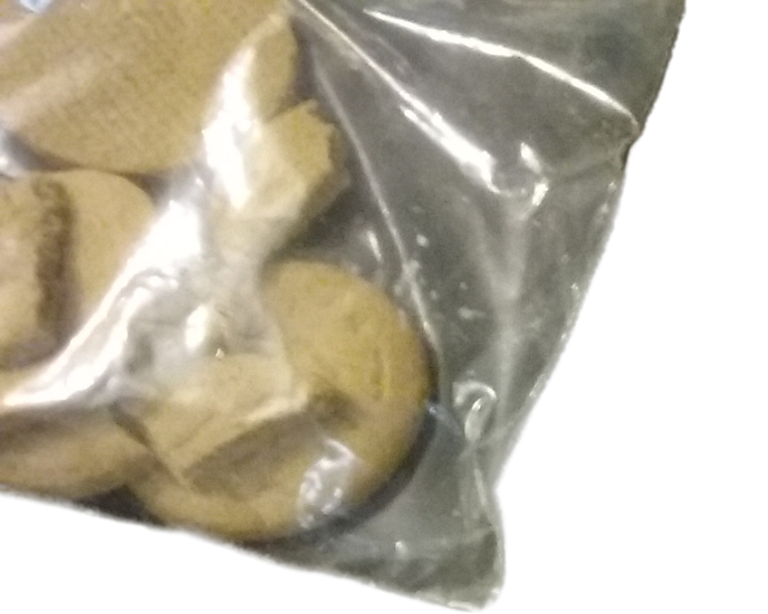
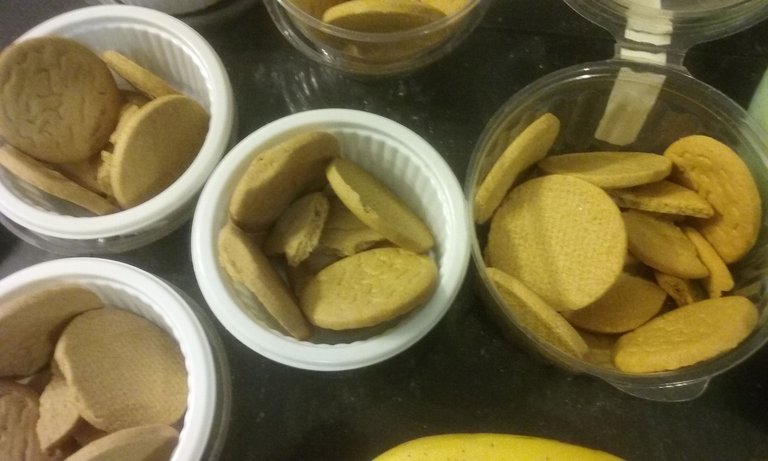
**My family had already eaten almost half of my Ginger Snaps, so the box isn't shown. Once they were opened, I always placed unused snacks in a Ziploc bag for storage.
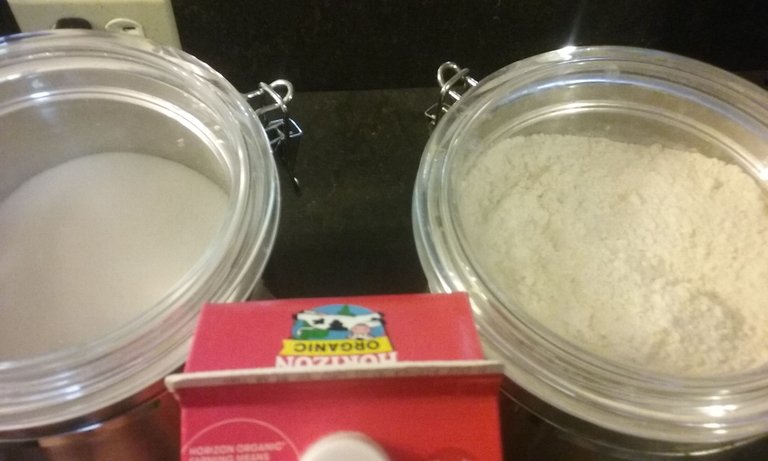
Dry Ingredients
1 Box Vanilla Wafers or Ginger Snaps**
1 cup Sugar
6 tablespoons Flour
Pinch of salt
Wet Ingredients
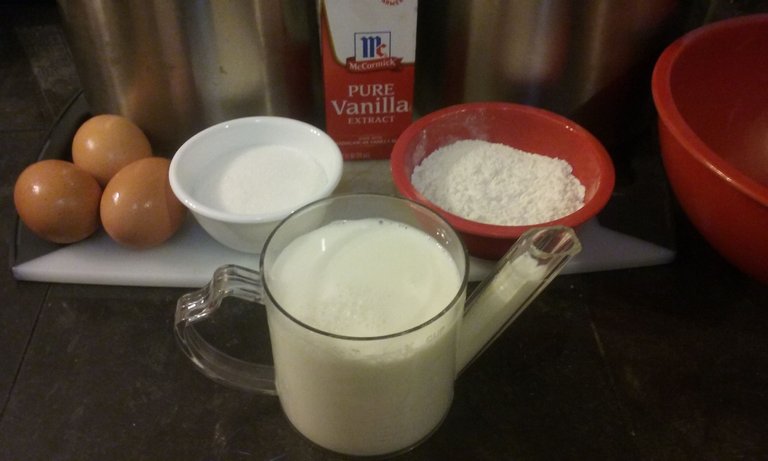
1/2 cup [1 Stick] Butter (I use *I Can't Believe It's Not Butter)
3 Egg yolks
2 1/2 cup Milk
1 teaspoon Vanilla flavoring
1 teaspoon Banana flavoring (optional)
PREPARATION
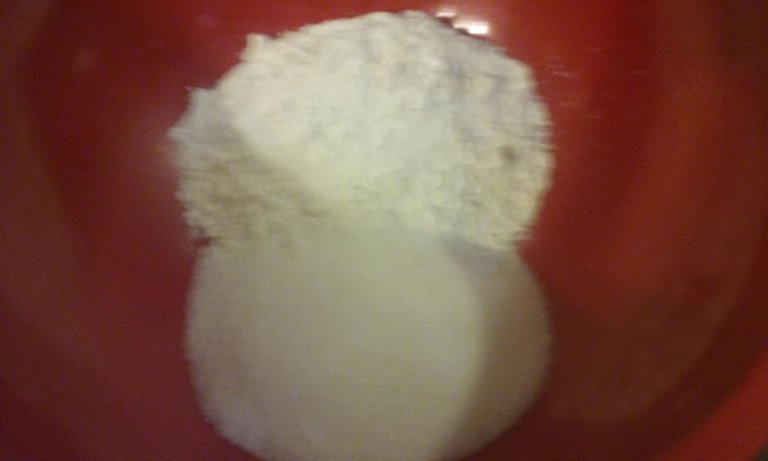
STEP 1: Prepare the pudding mix by first adding all the dry ingredients (except the wafers or snaps and bananas) to a medium bowl. Mix thoroughly.

Add the wet ingredients to the bowl and stir with a whisk until all lumps disappear.
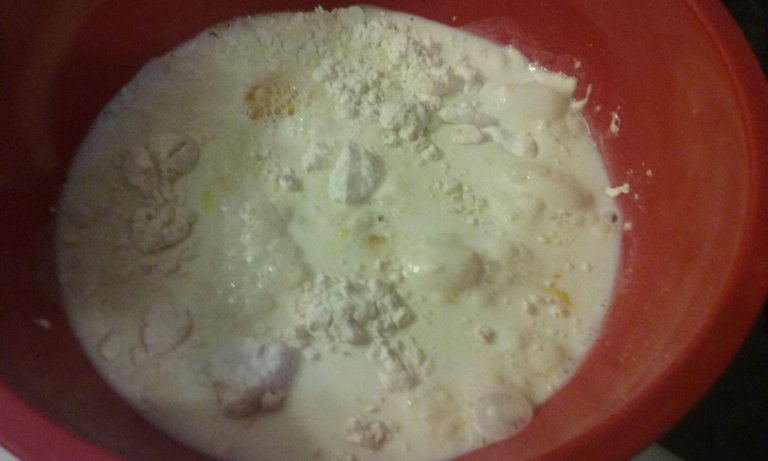


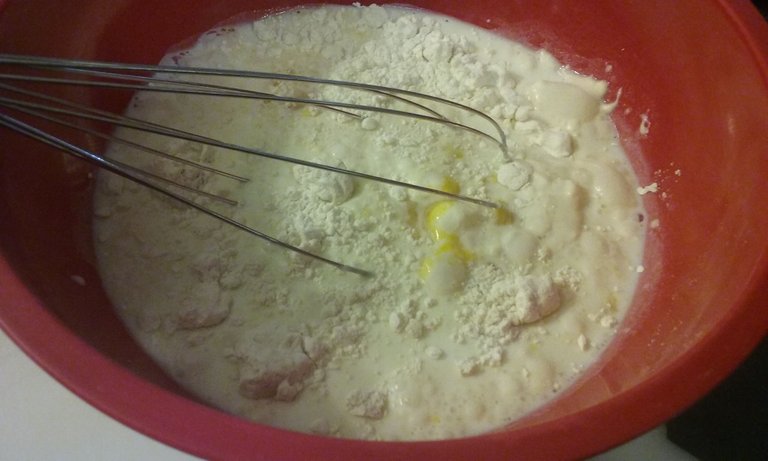
You'll notice that I transferred the pudding mix to a microwavable bowl.
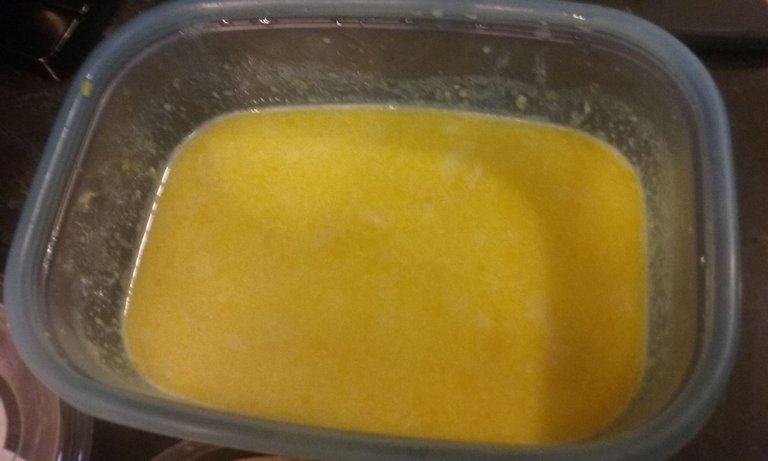
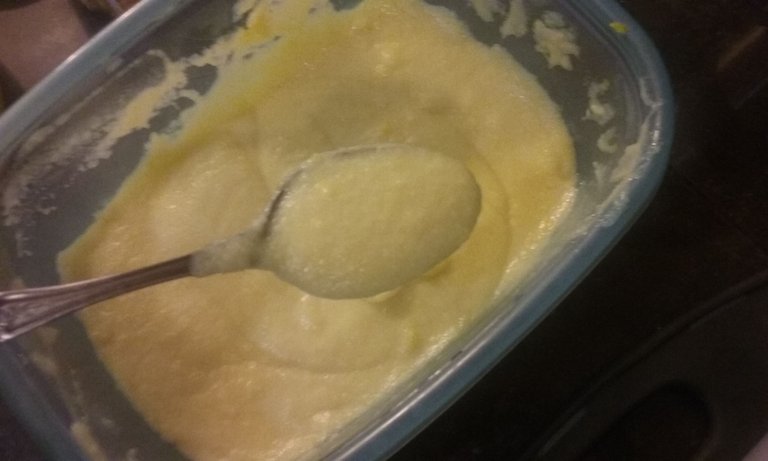
STEP 2: Time to cook the pudding in the microwave. The instructions may seem odd, but there's a reason for cooking the pudding only 2 MINUTES at a time.
a) Place bowl in microwave.
b) Set timer for 2 Minutes.
c) When done, stir the mixture, then return to the microwave.
d) Continue to cook for exactly 2 minutes each time until you achieve the consistency you desire.
For my taste, I cooked the pudding for 8 minutes total, so removed the bowl and stirred four times.
But don't worry, you won't have to stand and watch the microwave. Your time will be spent assembling the pudding cups to receive the pudding once it's finished cooking and cooling.
ASSEMBLY
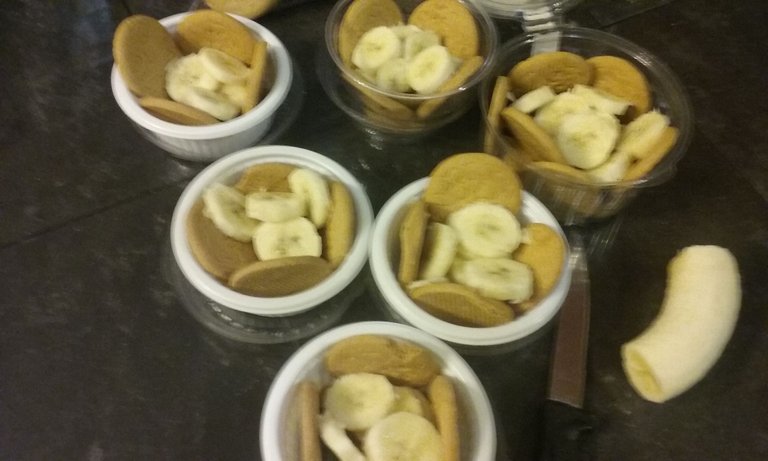
While the pudding is cooking in the microwave each two minutes, in between time, assemble the pudding cups.
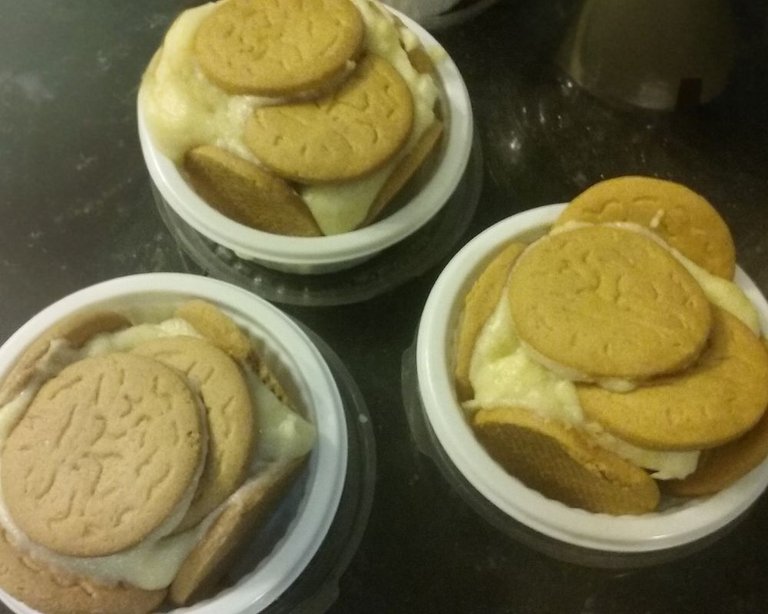
To each cup, add a bottom layer of vanilla wafers or ginger snaps. You won't need more than two for a small container.
Next add a layer of banana, cutting in small rounds to fill the cup. Again, you won't need more than three or four bananas.
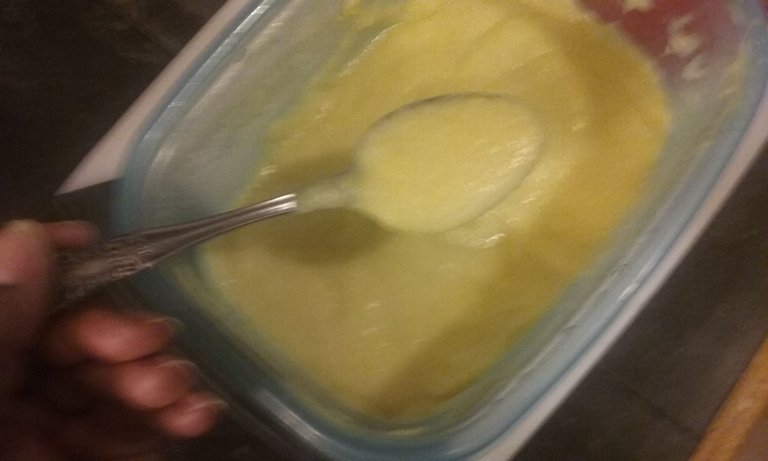
Once the pudding is the right consistency, remove from microwave and place on a cooling rack.
Now, it's time to complete your dessert cups. You should have enough filling for either six or seven cups depending on the size.
Scoop a small amount of filling into each cup on top of the bananas for the 1st layer.
Next, continue to layer the cup, adding vanilla wafers, bananas, and pudding until you have 2 or 3 layers, ending with the wafers on top. Be careful not to overflow your cups else they the lids won't fit.

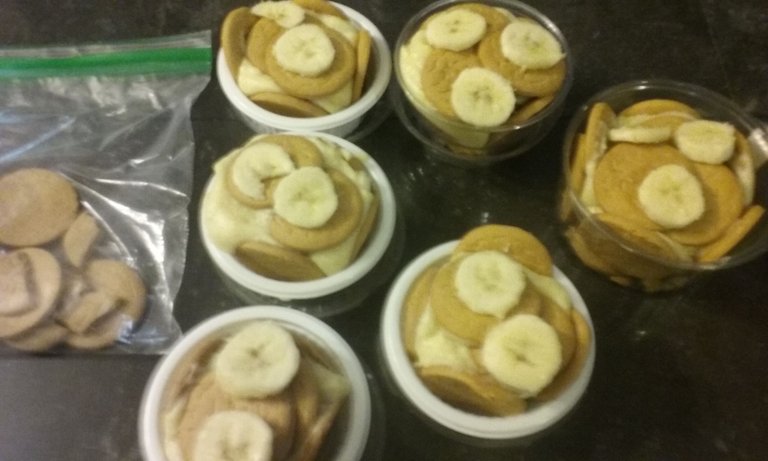

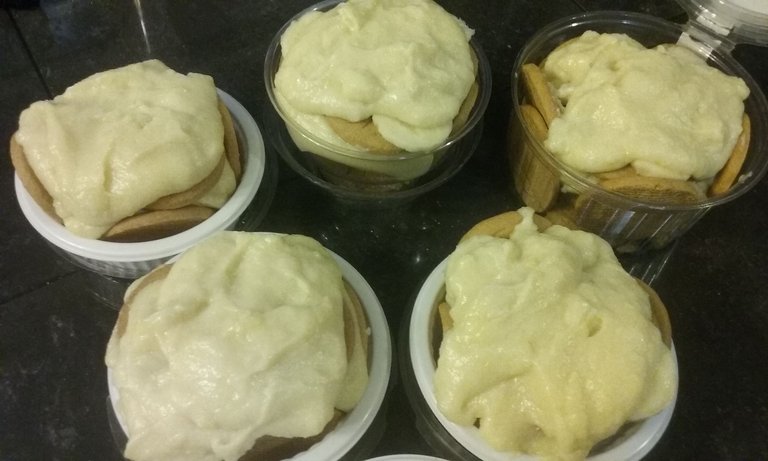
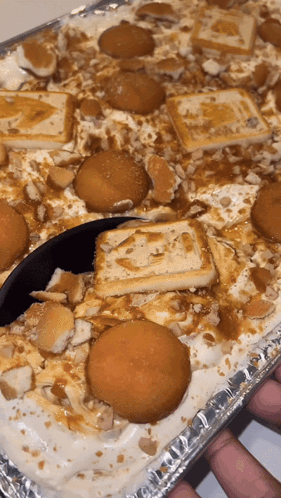
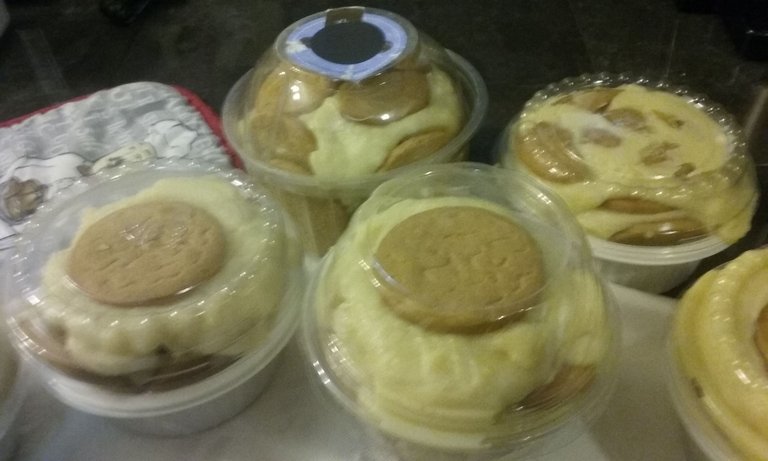
Here is how your banana pudding cups will look when completed:

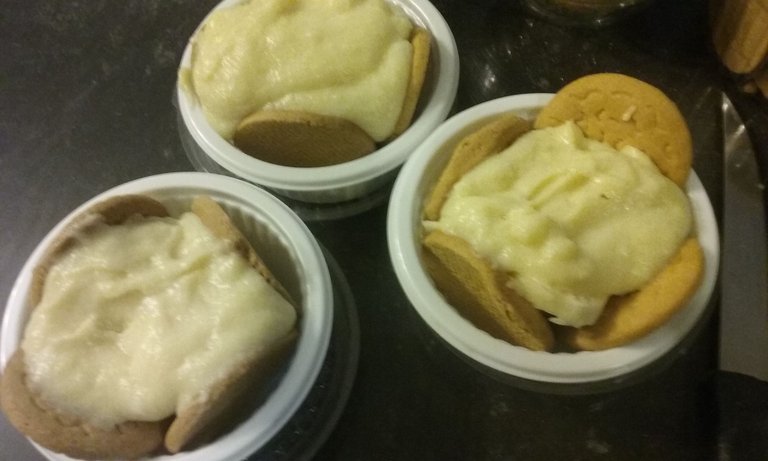
Placed the lids on all cups, and immediately place them in the refrigerator.
Finally, you can refrigerate for up to one week. After that, the bananas will become mushy and may turn dark in color.

ENJOY!


SOURCES:
a) JustClickindiva's Footer created in Canva utilizing its free background and images used with permission from discord admins.
b) Unless otherwise noted, all photos taken by me with my (i) Samsung Galaxy 10" Tablet, (ii) Samsung Phone, & (iii) FUJI FinePix S3380 - 14 Mega Pixels Digital Camera
c) Purple Butterfly part of purchased set of Spiritual Clip Art for my Personal Use
d) All Community logos, banners, page dividers used with permission of Discord Channel admins.
e) Ladies of Hive banner used with permission of and in accordance with the admin's guidelines
f) Thumbnail Image created by me in Canva.
g) "Flames." What is Apophysis 2.09. https://flam3.com/
If translation included, I use DeepL to assist my readers.
Thanks for your patience an understanding.
Si se incluye traducción, uso DeepL para ayudar a mis lectores.
Gracias por su paciencia y comprensión.