This post will be a day-to-day photo tutorial to see the progress of four different varieties of seed. Hopefully, this will give you some inspiration to grow some for yourself.
Microgreens are super-rich in nutrients compared to their full-grown counterpart, not to mention how quickly from seed to harvest you can enjoy them.
Seeds
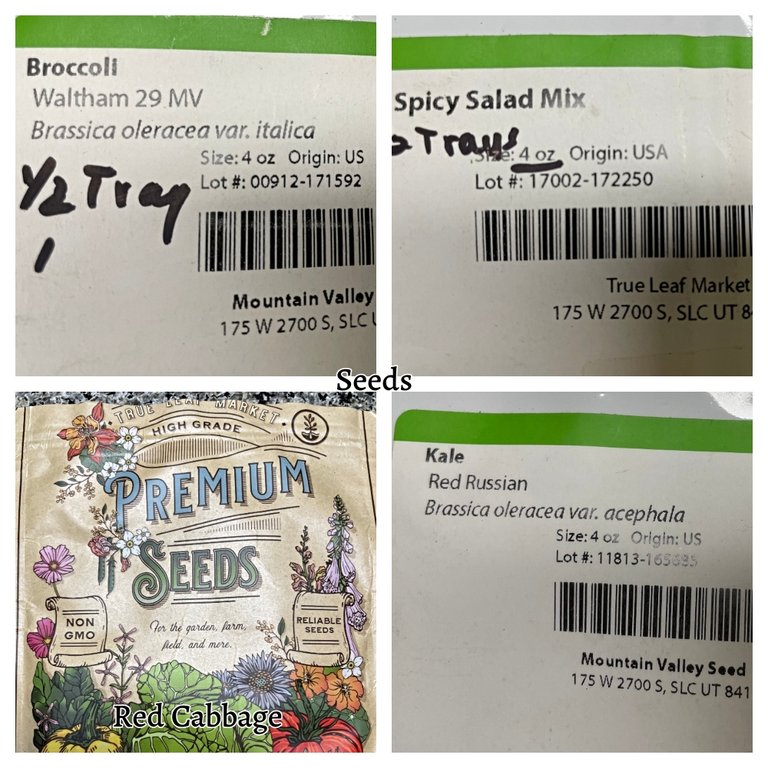
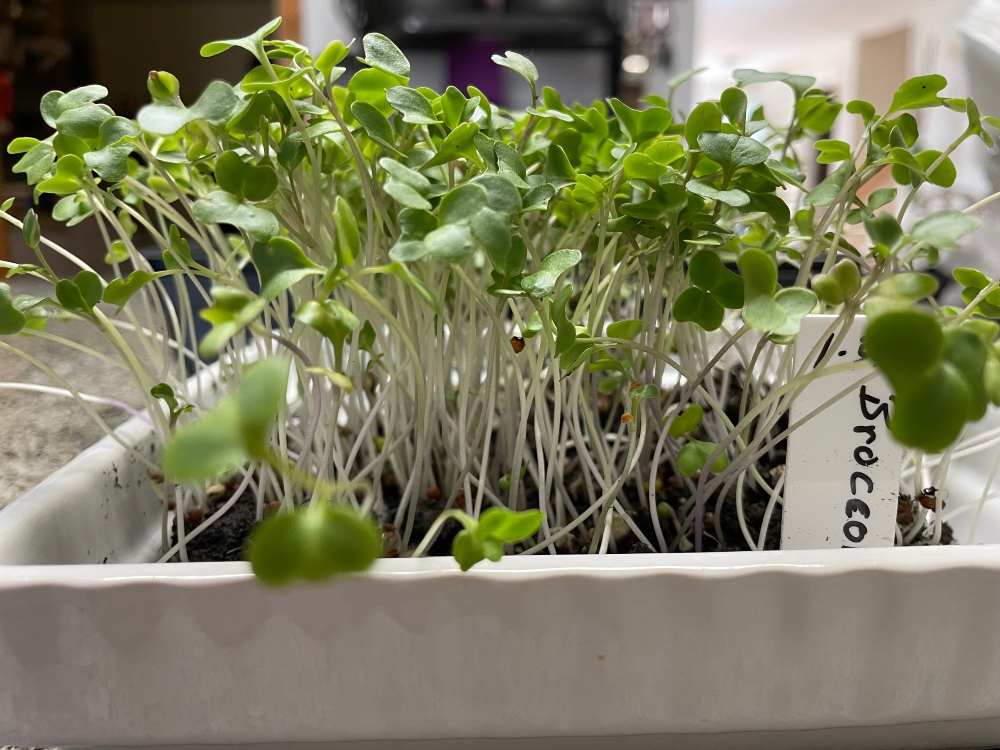
I have chosen Broccoli, Red Cabbage, Red Russian Kale, and Spicy Salad Mix for this round of greens.
Seeding the trays
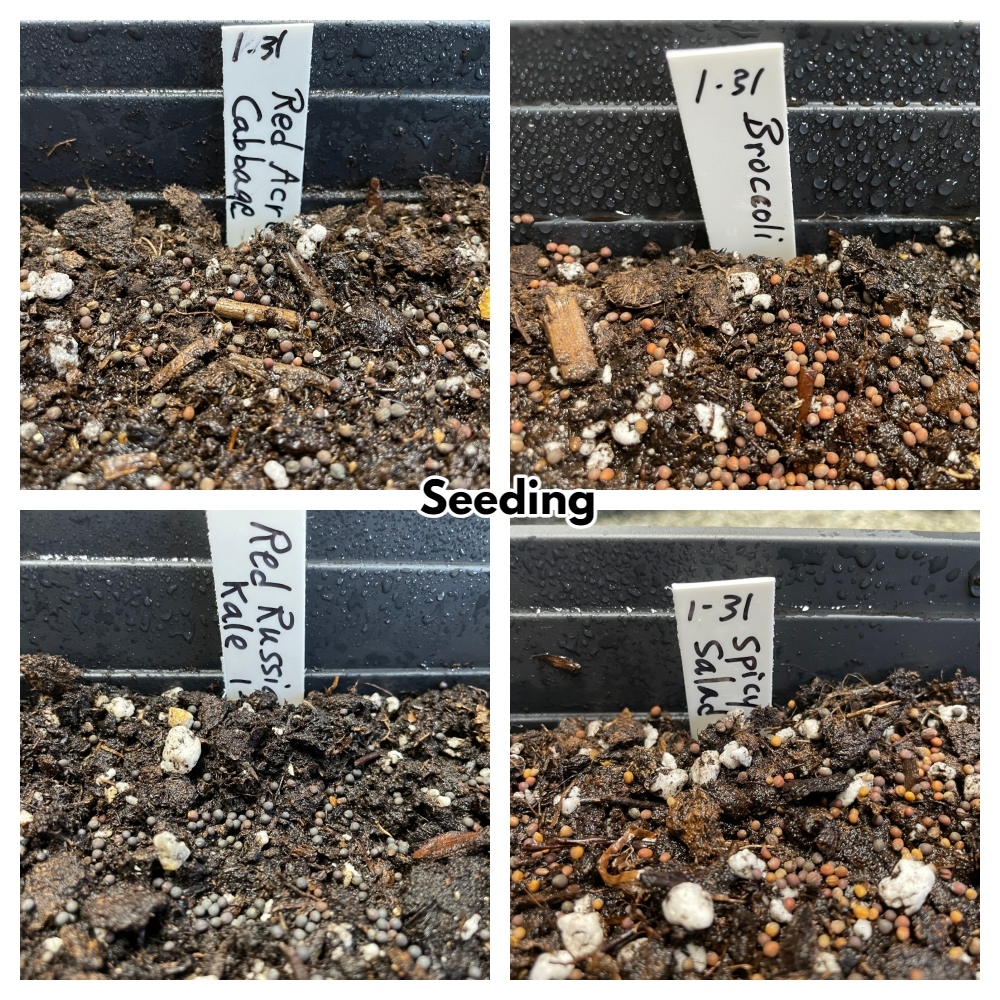
After placing 1 inch of soil into a tray with holes, I watered the soil mix enough to dampen but not too wet. Then I sprinkled approximately 2 oz of seed fairly densely on the surface. Next, cover the seed very lightly with soil and mist the surface thoroughly.
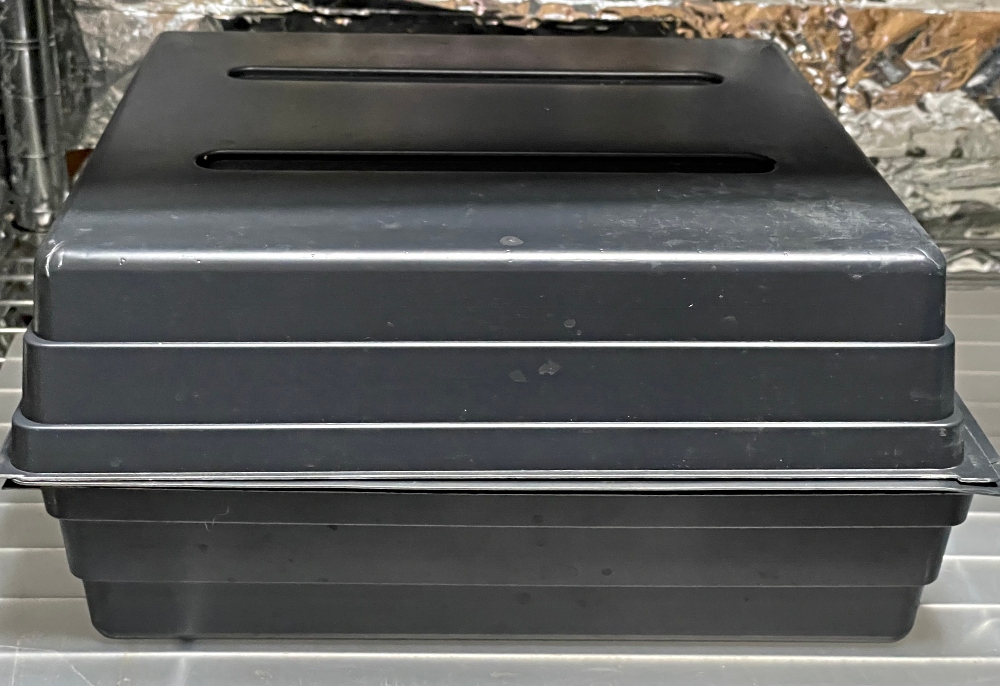
Blackout Phase
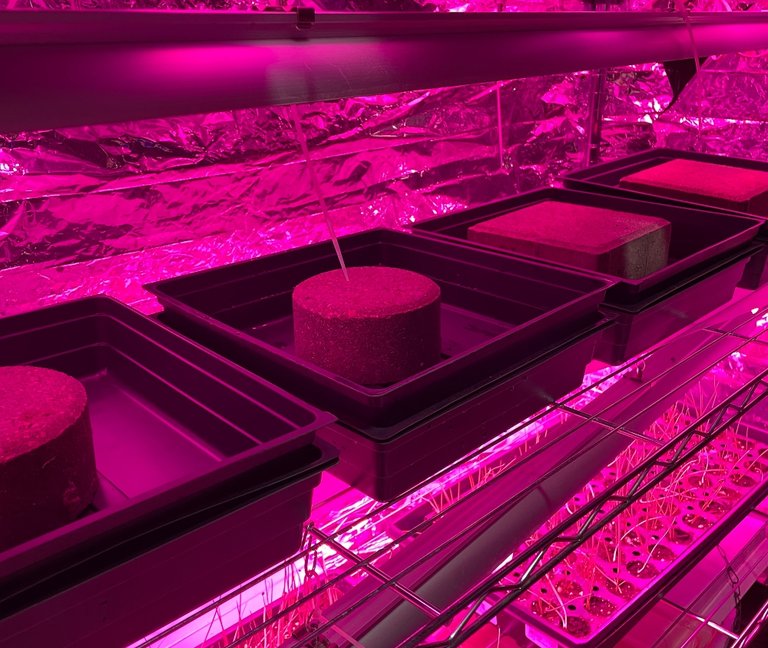
Every seeded tray is placed in another tray that does not have any holes in it. Place them on your growing shelf and put a tray on top of the seeds as seen in this photo. Placing a weight on top of the tray helps to keep the seed in even contact with the damp soil.
Day 2
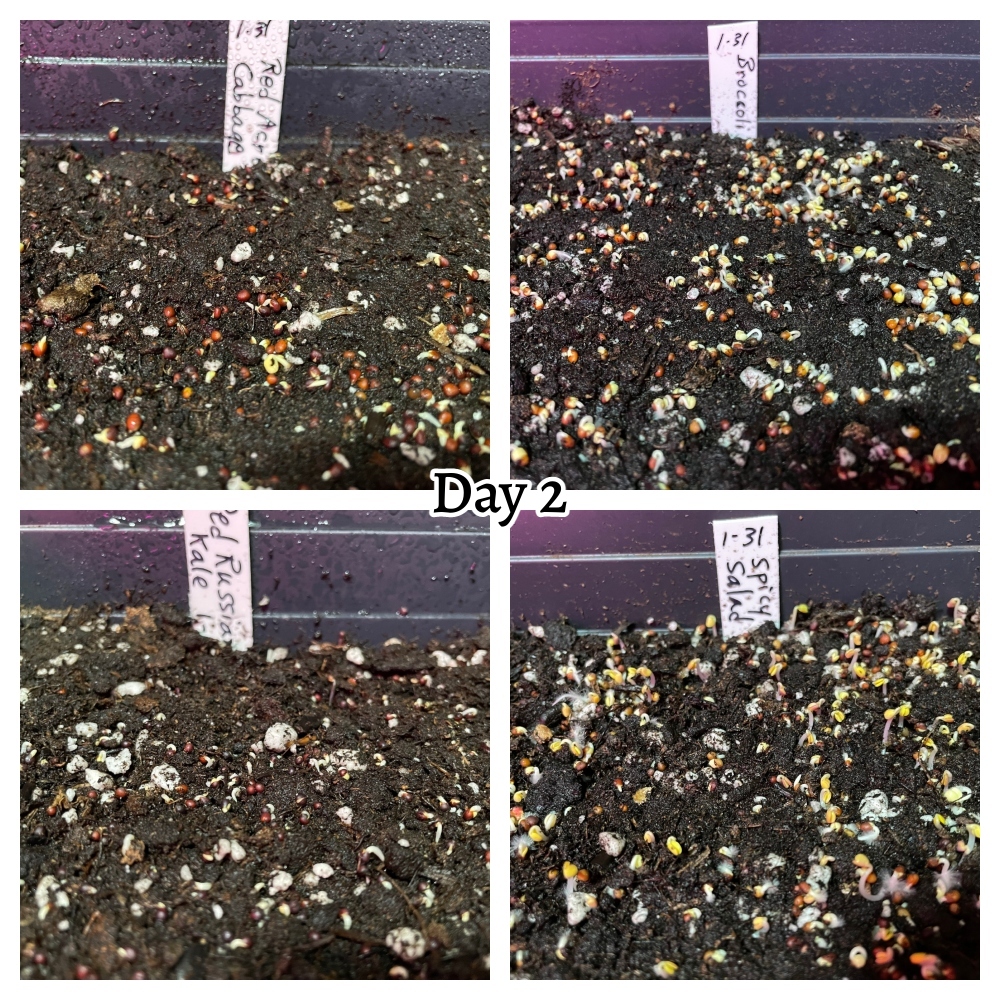
Take off the weight and top cover to see if any of your seeds are starting to germinate. Mist the surface with water if the surface seems dry (it shouldn't at this point) and replace the lid and weight. Checking every day is important to make sure the seeds stay damp during germination. You can see that a few of the seeds have already started to sprout on day 2.
Day 3 - 4
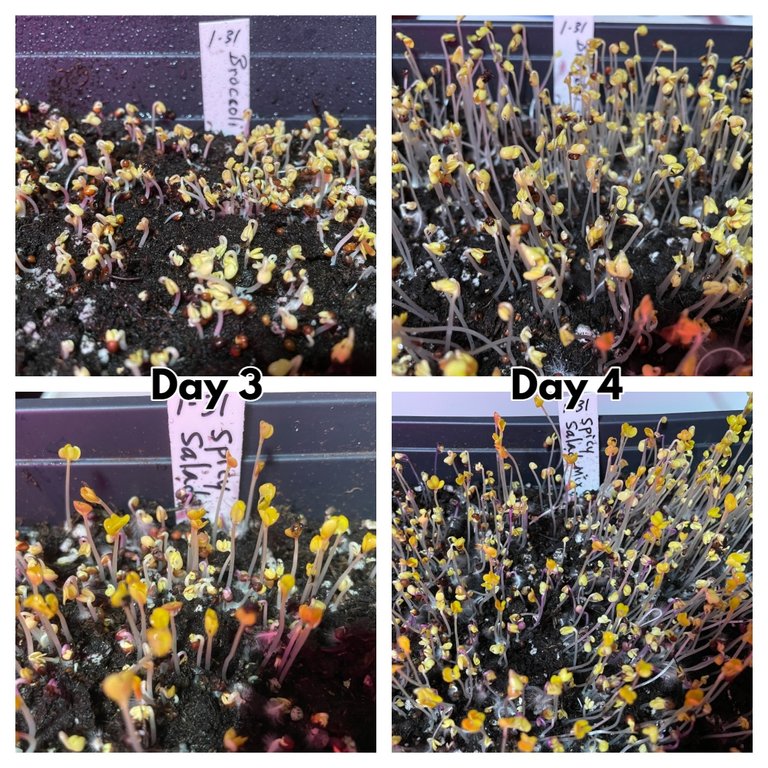
It always amazes me to see how quickly the seeds sprout. On day three the broccoli and the salad mix were doing well enough to take off the weight. At this point, I take the inverted tray off the seedlings and turn it upside down. Doing this for another day in a blackout condition causes the seedlings to stretch.
On day 4 I remove the cover and allow the seedlings access to the full-spectrum LED lights. You can see how much they stretched from the day before.
Lights
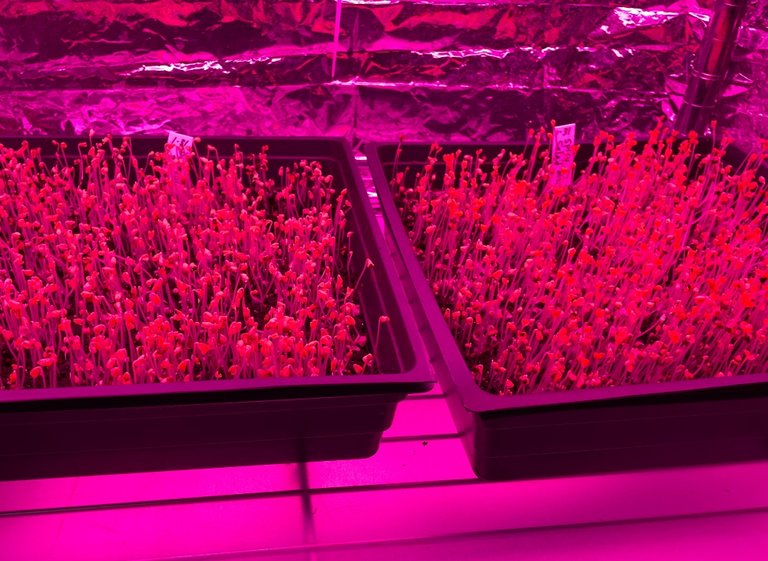
Once the top tray is off you will no longer mist but begin watering by lifting the seedling tray and adding a small amount of water to the bottom tray that has no holes.
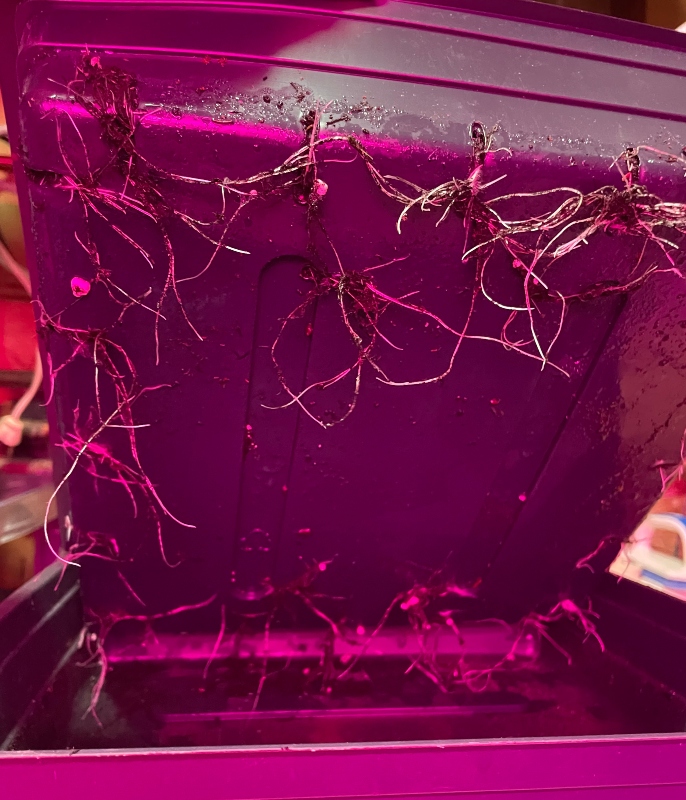
After a few days you will begin to see the roots emerging from the seedling tray.
Cabbage & Kale
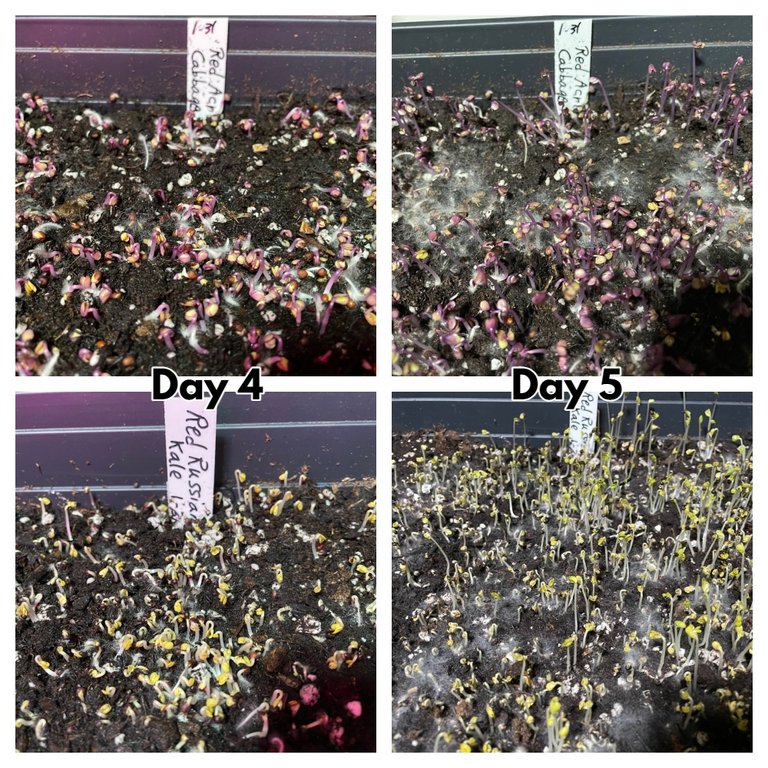
It took longer for both the cabbage and the kale to germinate compared to the broccoli and salad mix. Now, if you look closely at the photos from day 5 you can see a white mold had started to grow on the surface of the soil. This is a classic case of too much misting which caused the soil to become too wet during the blackout phase.
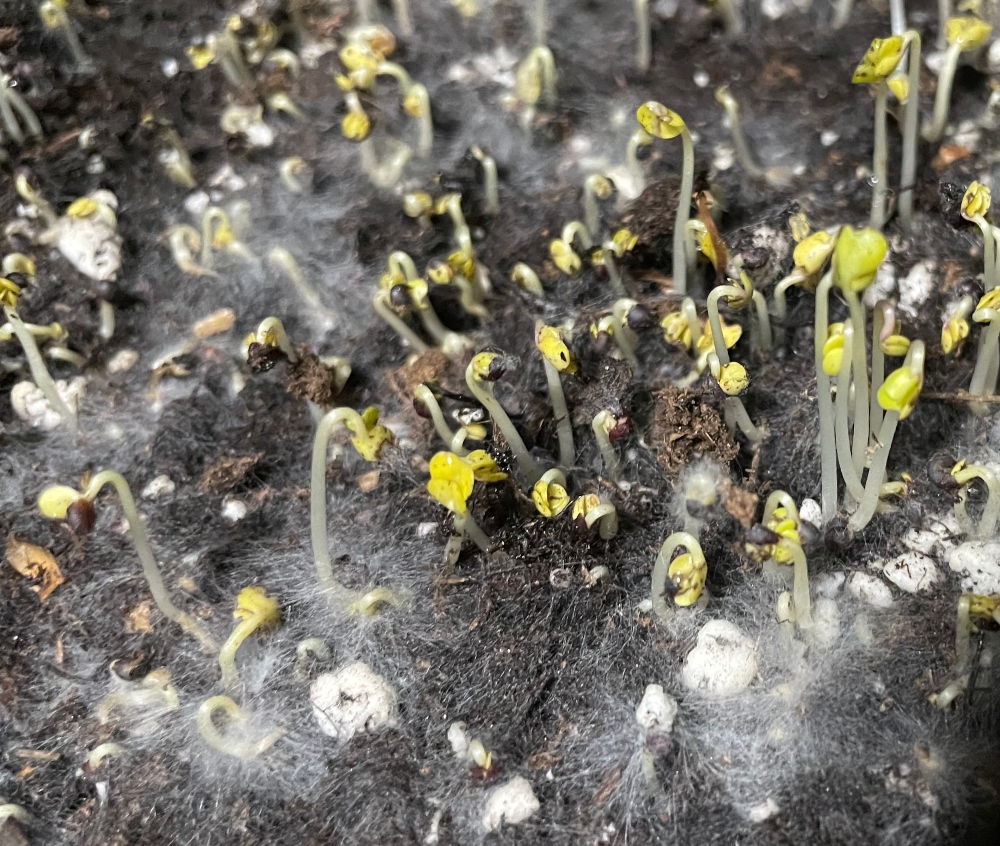
The only thing I know to do to try and save the situation is to mist the seedlings with a light spray of hydrogen peroxide and water solution. Sometimes this will knock out the mold, but it did cause some of the seedlings to suffer.
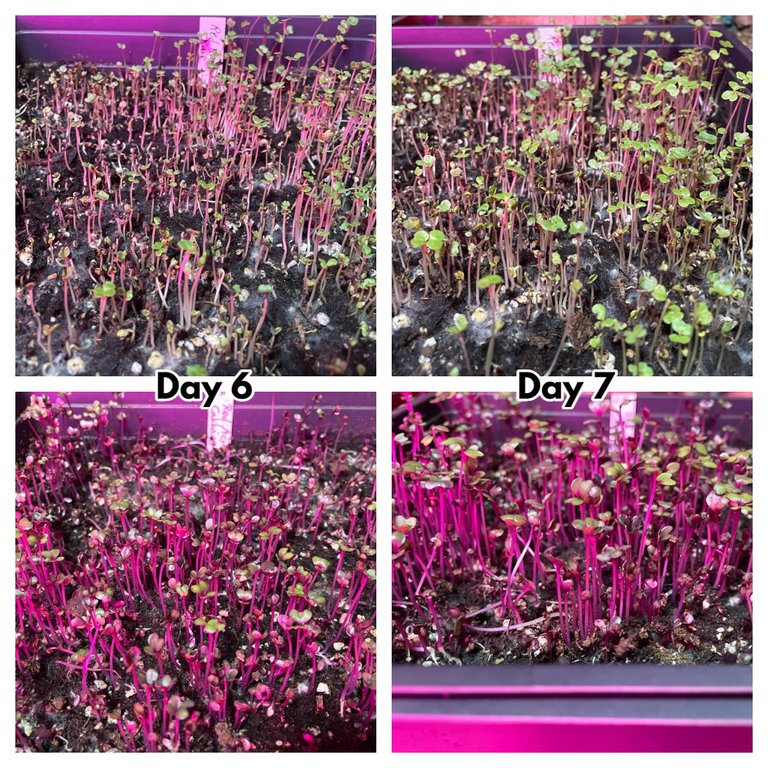
Days 6 - 7 show how a lot of the seedlings have stunted or are beginning to whither. However, the mold had diminished quite a bit, so I lightly misted the worst spots and left the rest alone. I wanted to see what would happen for the rest of the growing cycle.
Broccoli & Cabbage
Day 5
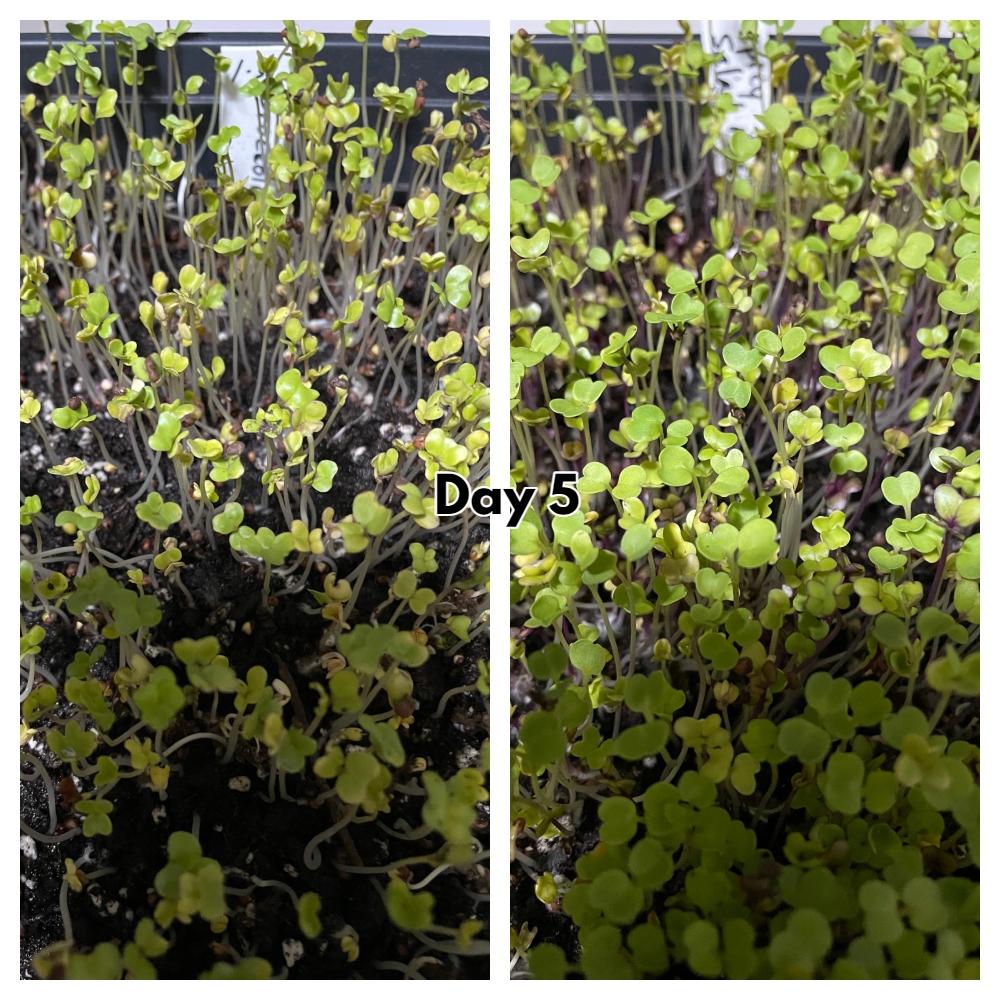
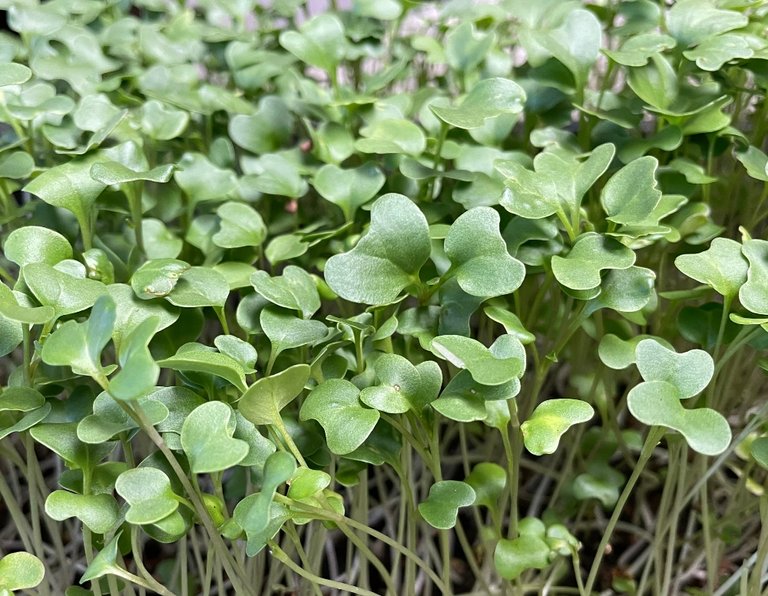
Now that the microgreens have been exposed to light for a day you can see that they are starting to green up a bit.
.jpg)
Look at the difference one more day can make on how healthy the greens are looking. It won't be long before they will be ready to harvest.
Remember to check the bottom tray to see if they need water. I do this first thing in the morning and once again in the evening. If they need a little bit I add enough to not make the soil too soggy.
Day 8
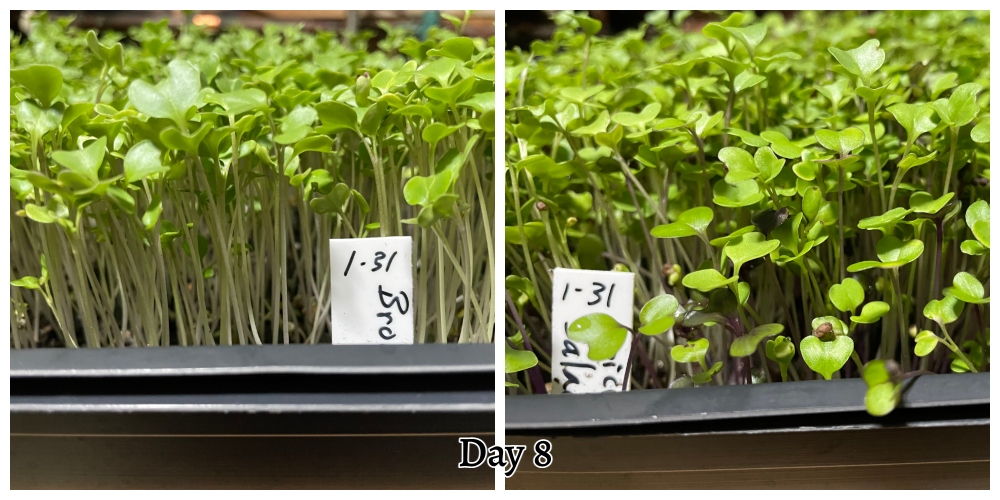
The broccoli and the salad mix are ready for harvest on the 8th day.
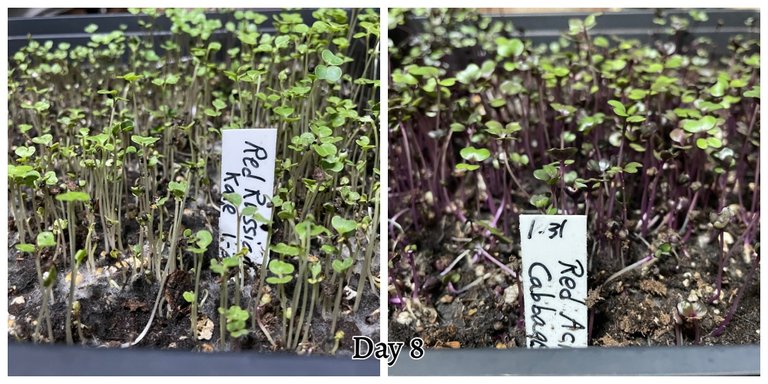
Unfortunately, the cabbage and kale are still far behind. Also, their quality is not looking very good at this point. I almost dumped the trays into the compost but decided to give them a few more days. I am still interested to see how they turn out after spraying them with the peroxide solution. So far it doesn't look too promising.
Harvesting
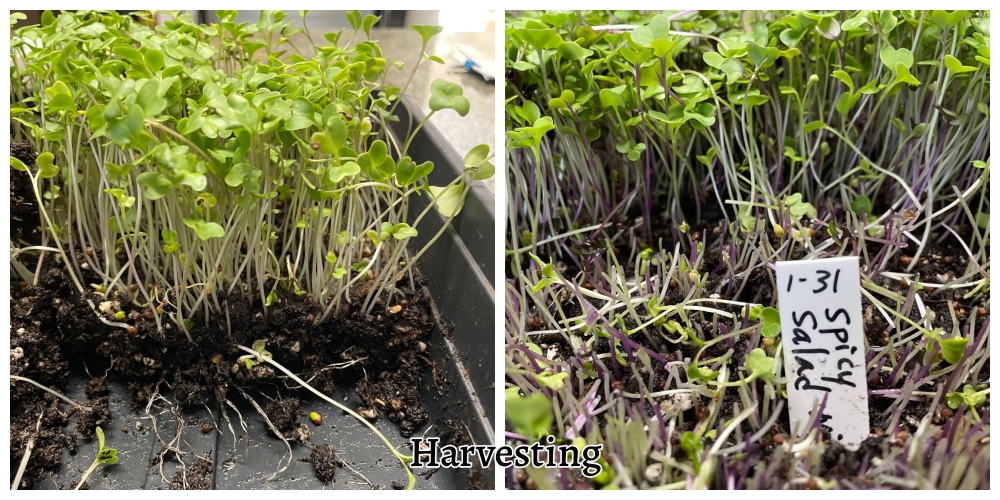
On the 8th day I did harvest the broccoli and salad greens. You can see by the photo the little amount of soil needed to grow the microgreens.
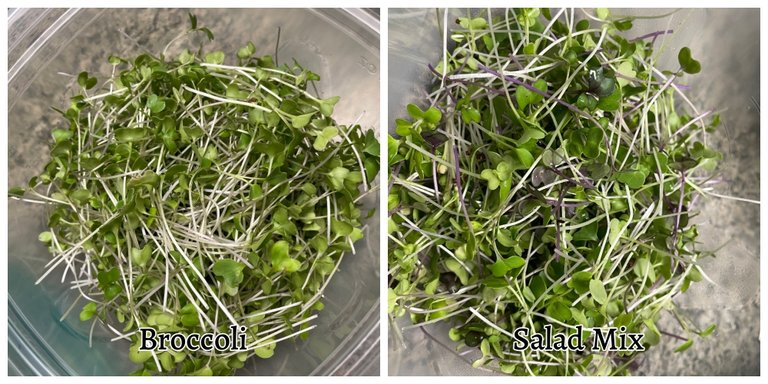
I am pleased with the amount of microgreens from the two varieties and had enough to share with my grandsons.
Day 9
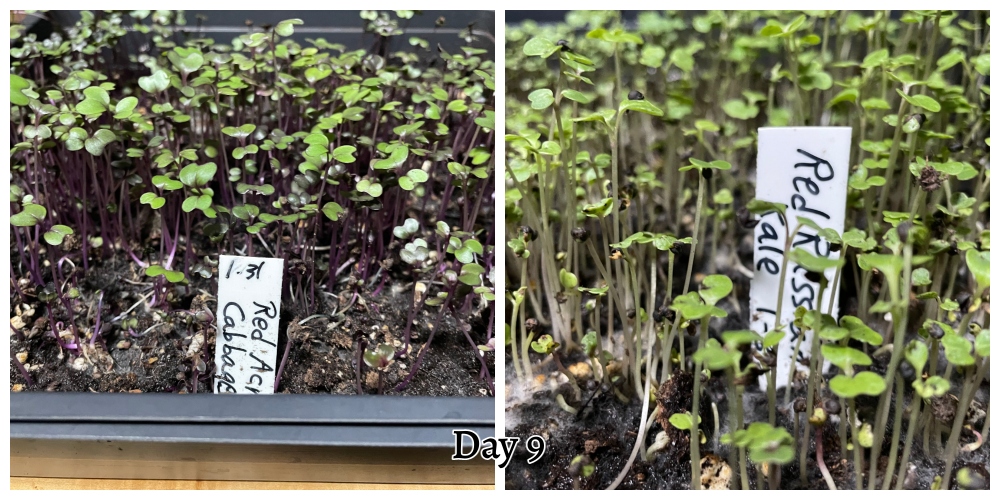
So far the cabbage and kale are still struggling and I probably will not harvest them for eating. Next week I will start brand new trays of each and start over. This time I will be careful not to over-mist the surface and see if that helps to alleviate the molding issue.
I hope you have enjoyed seeing the growth process from start to finish and are encouraged to grow some for your family.
Here is a link to the first post I did on how to grow "Nutrient-Rich Microgreens"
Until next time, this is Sunscape
Sun. Scape. Ing Your Day
