[EN]
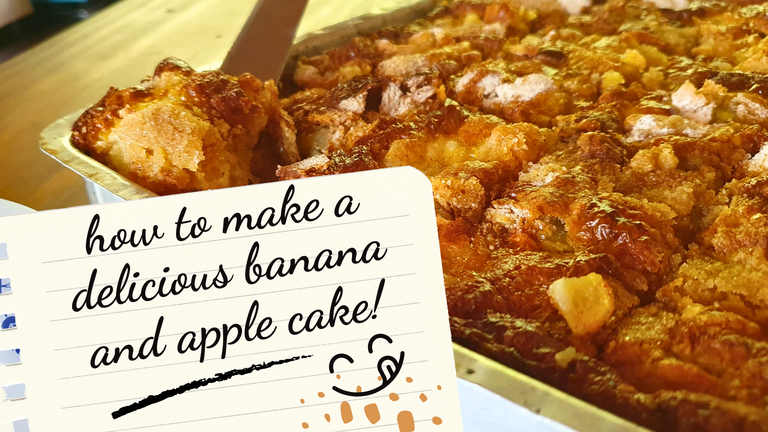
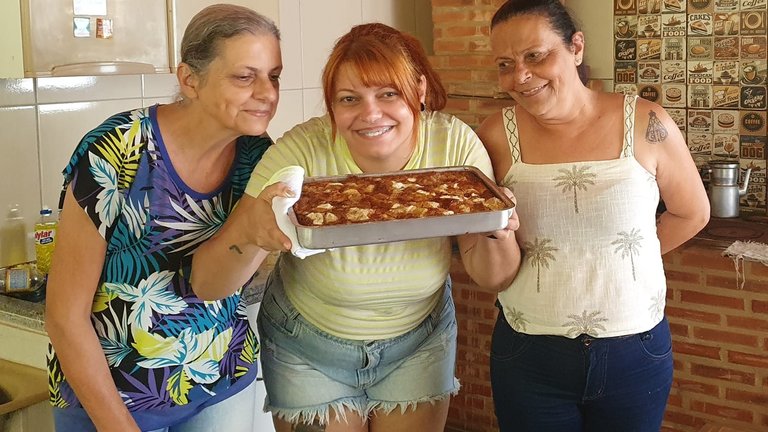
Last Sunday, during my dear godmother's birthday, she, my mother, and I gathered in the kitchen to make a delicious banana and apple cake. I promised to share the recipe and a fun step-by-step of this culinary adventure, so here it is!
To start, we gathered all the necessary ingredients:
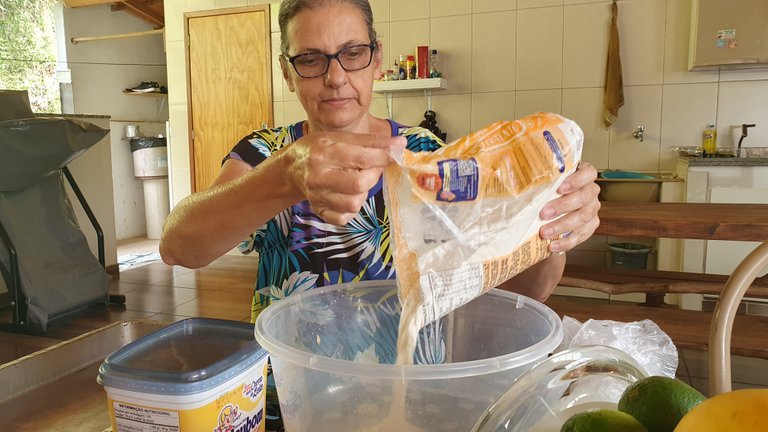
- 2 cups of flour
- 1 1/2 cups of sugar
- 1 tablespoon of baking powder
- 4 apples
- 5 bananas
- 4 eggs
- 1/2 cup of milk
Additionally, for sprinkling, we prepared:
- 1/2 cup of sugar
- Ground cinnamon to taste
Now, let's go through the step-by-step process!
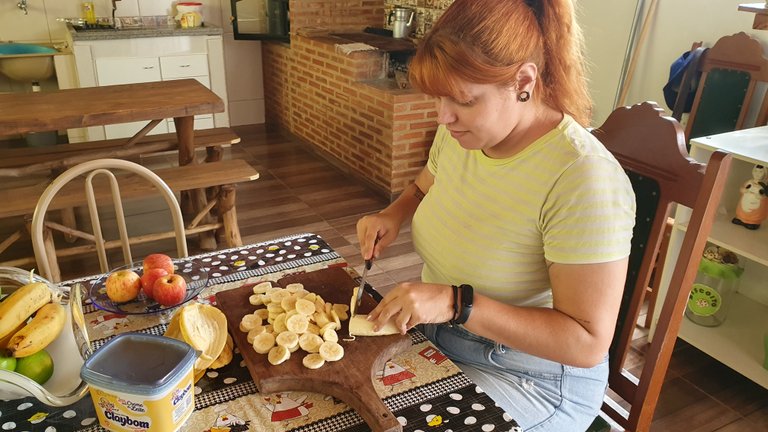
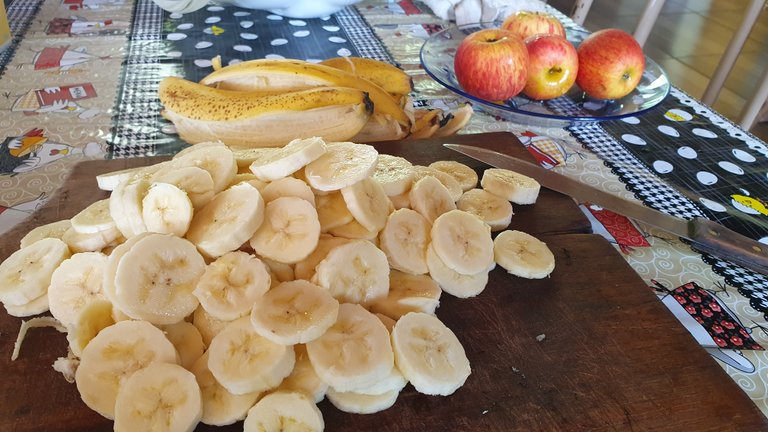
The first step was to chop the 4 apples and the 5 bananas. I took charge of this task.
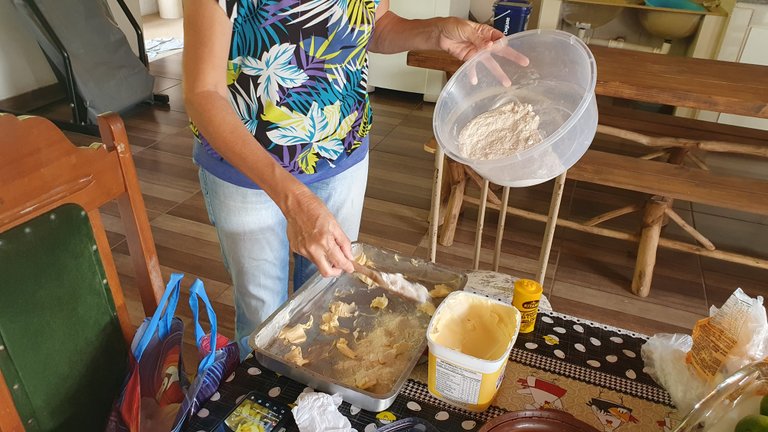
Then, while I chopped the fruits, my godmother prepared the rectangular pan, spreading butter pellets on it.
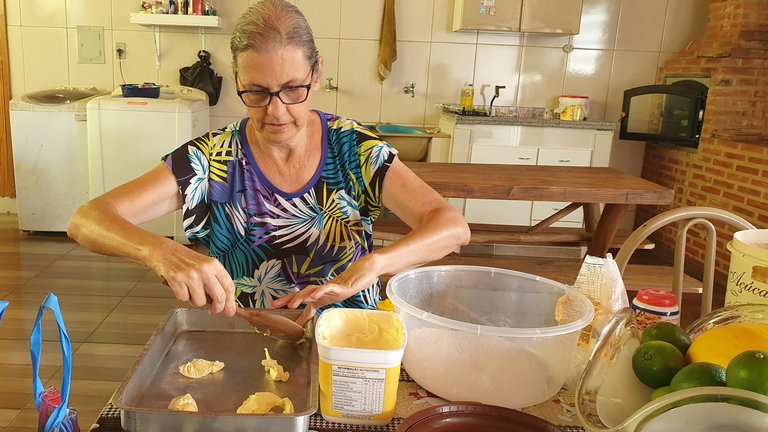
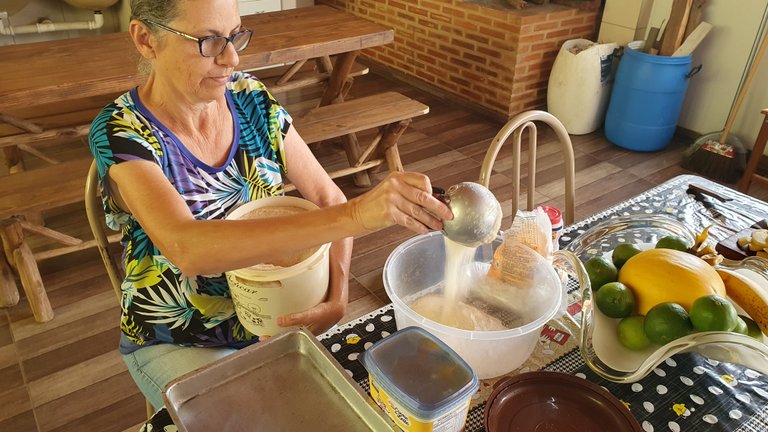
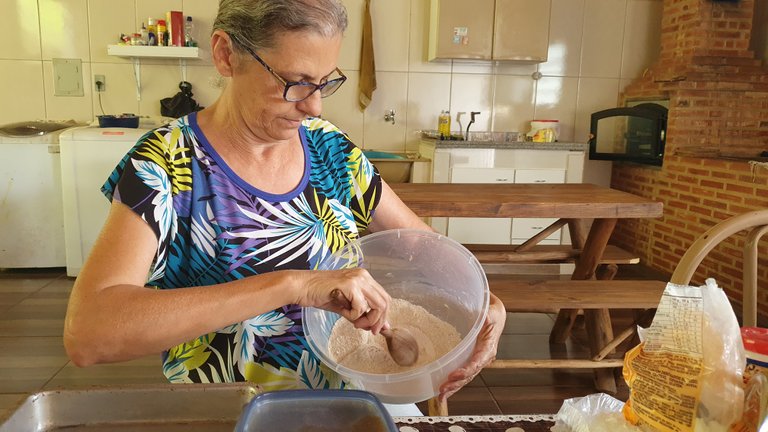
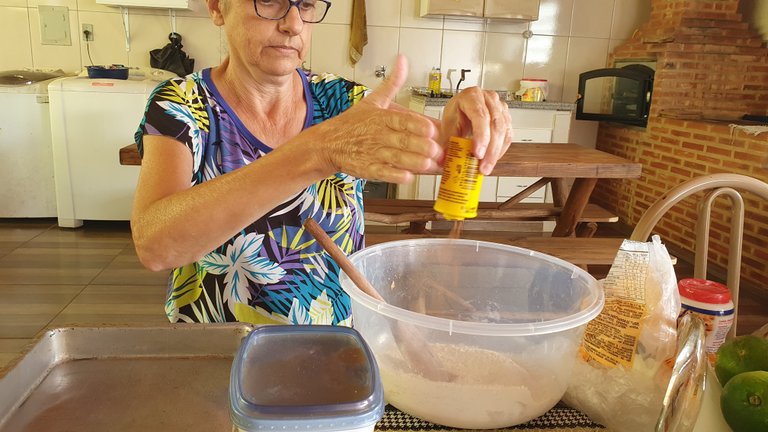
Next, in a bowl, she mixed 2 cups of all-purpose flour, 1/2 cup of sugar, and 1 tablespoon of baking powder. This mixture was spread in the pan, creating a base for our cake.
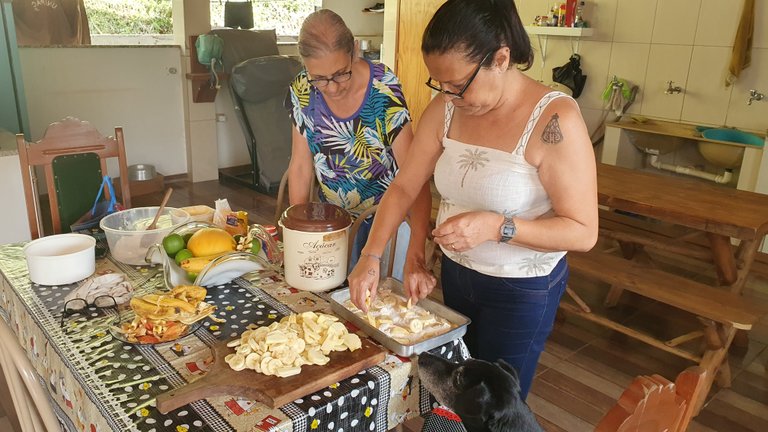
Then, it was time to add the chopped fruits in layers, which was taken care of by my mother, but my godmother helped, and I captured the moment.
A layer of banana and apple, followed by a layer of the dry mixture, and so on until all the fruits and dry mixture were used up.
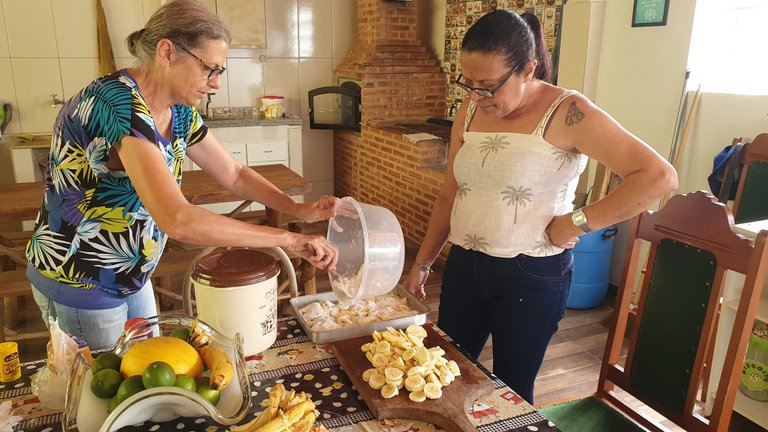
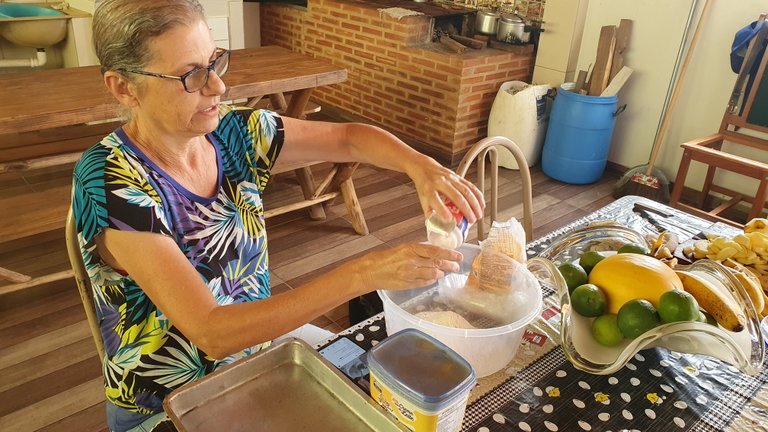
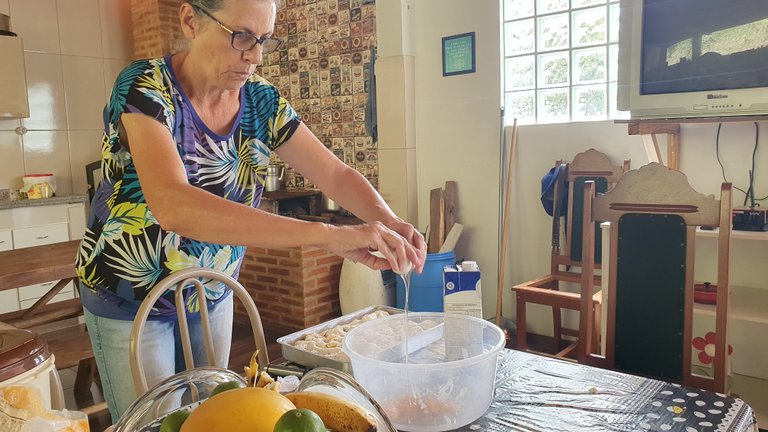
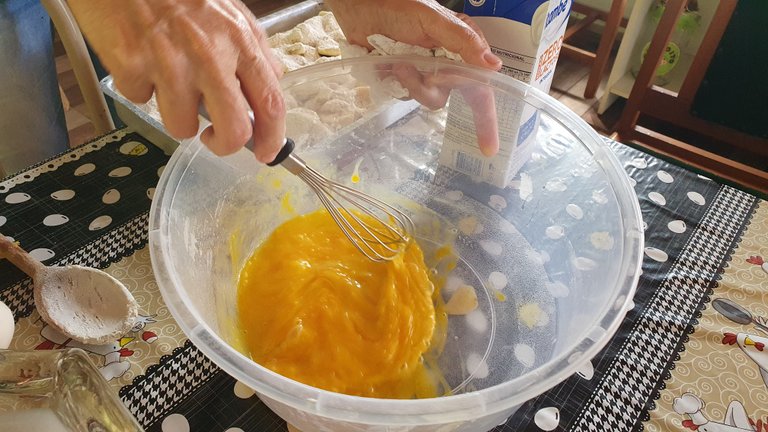
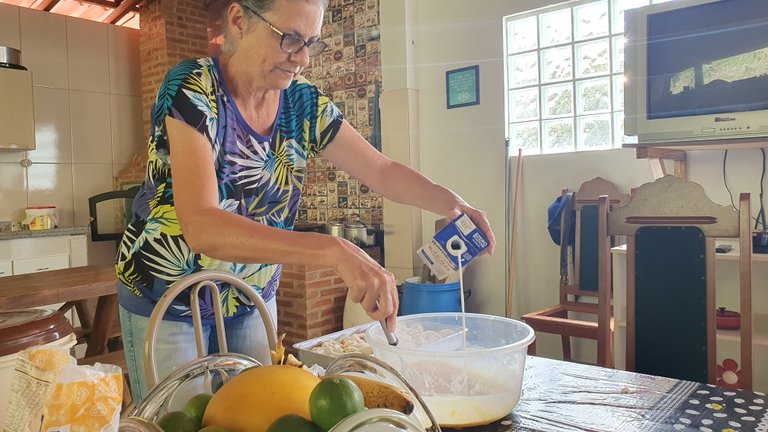
In another bowl, my godmother beat the 4 eggs, mixing the yolks and the whites well, and then we added 1/2 cup of milk.

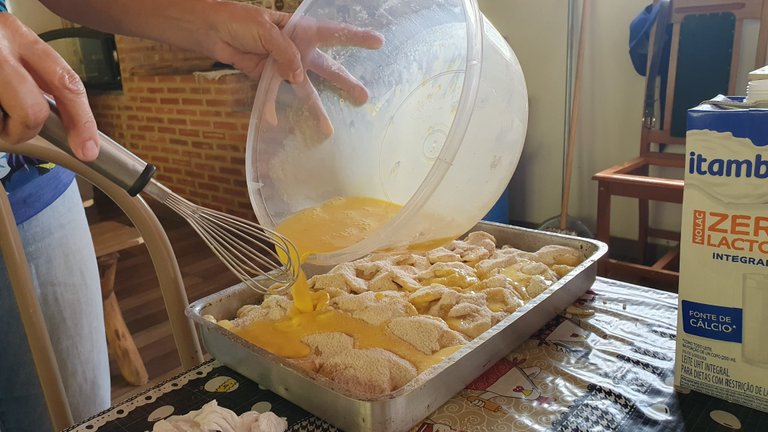
This liquid mixture was poured over the cake, covering everything evenly. We didn't worry about small flour lumps; we knew everything would come together perfectly in the oven.
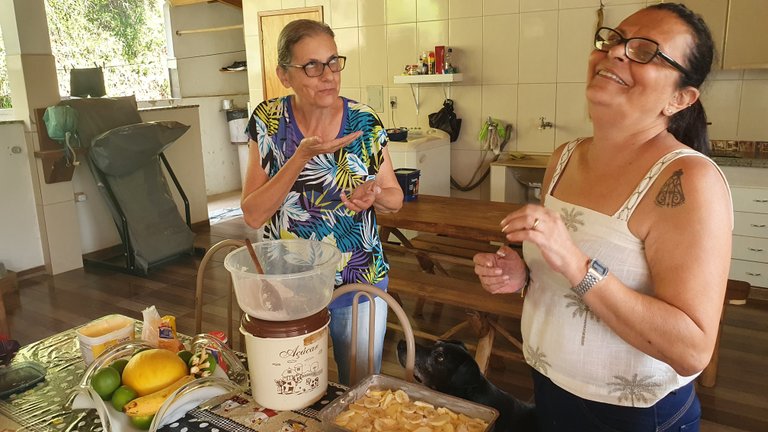
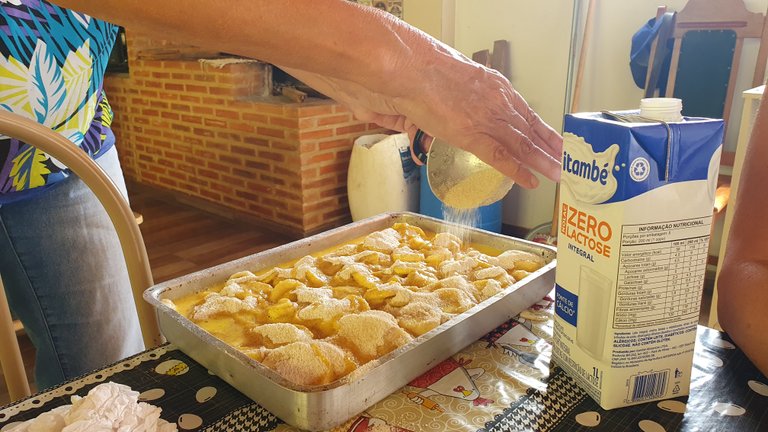
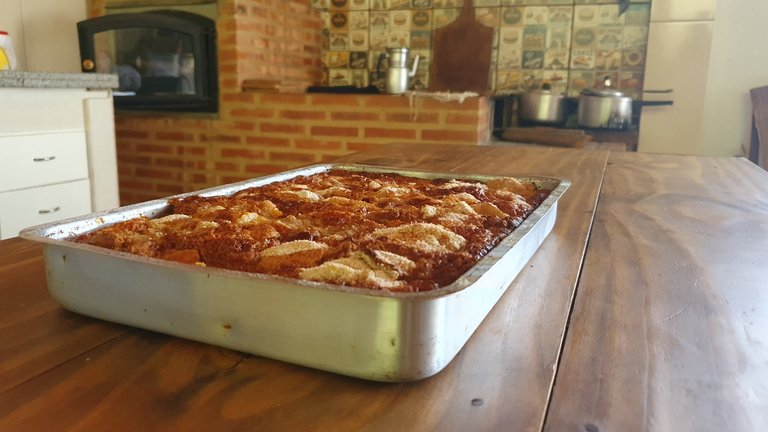
To finish, we prepared a mixture of 1/2 cup of sugar with ground cinnamon to taste and sprinkled it over the batter. This final touch added an irresistible flavor to our cake.

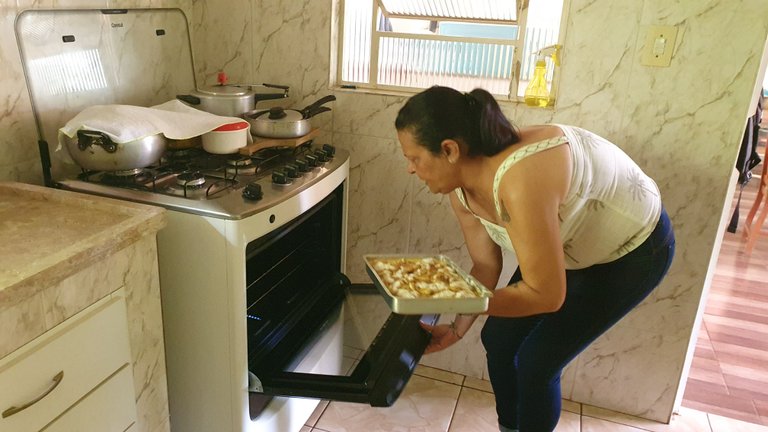
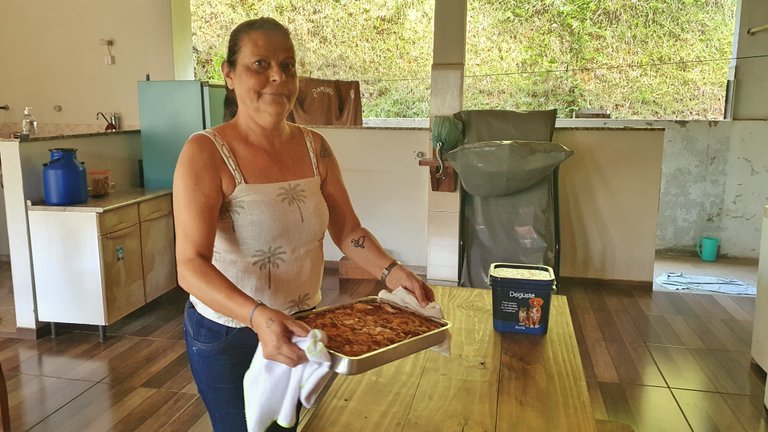
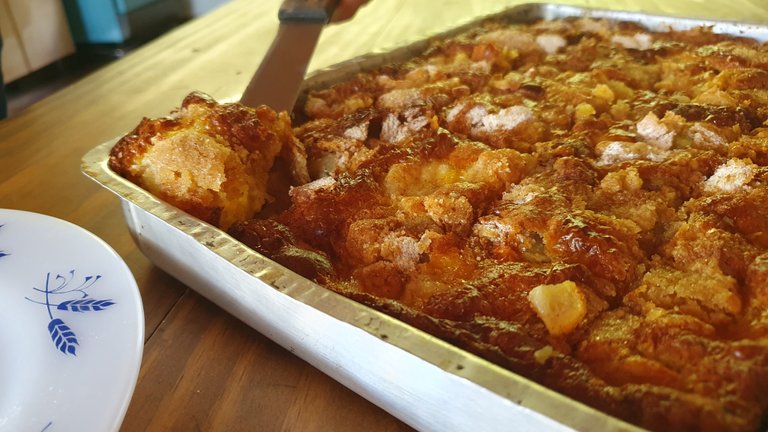
With everything ready, we preheated the oven to 356°F and baked our cake for about 40 minutes, until it was golden and delicious. The aroma that spread throughout the house while the cake baked was simply divine.

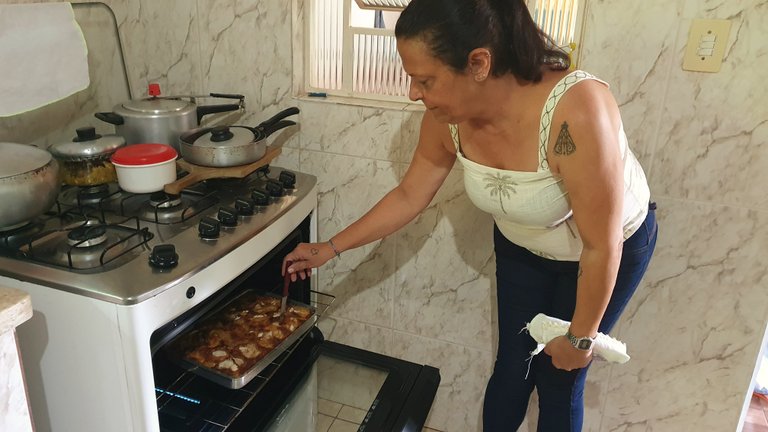
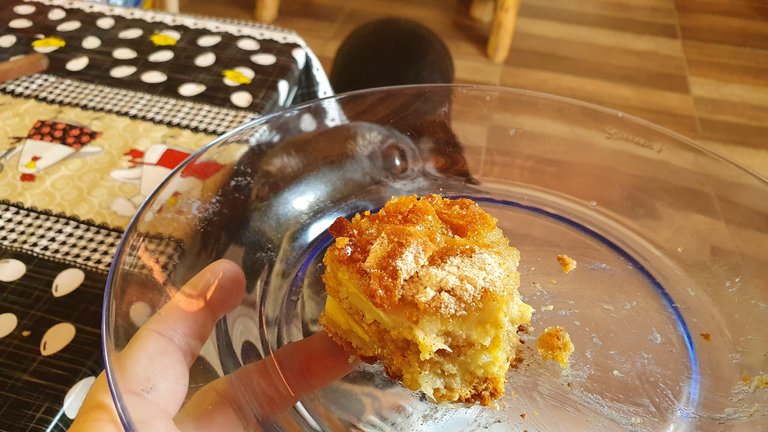
After baking, we removed the cake from the oven and let it cool slightly before cutting. The anticipation to taste the result of our effort was palpable. Each slice revealed a perfect combination of flavors, with the sweetness of the fruits contrasting with the softness of the cake.
And a special participation from Pitty, my godmother's dog! She was also eager for a piece of cake, but we know that sugar is harmful to our furry friends.
A tip I share with you is that this cake is even more delicious if left in the refrigerator overnight. The flavors intensify, and the texture becomes even softer.

And so, amid laughter, conversations, and much collaboration, we created not just a cake, but precious memories that we would cherish forever in our hearts. How delightful it is to share moments like this with loved ones! I hope you also have fun and enjoy this cake as much as we did. Bon appétit!
All the content, pics and editions are of my authorship.
Cover: created by Canva.
No último domingo, durante o aniversário da minha querida madrinha, ela, minha e eu nos reunimos na cozinha para fazer um delicioso bolo de banana com maçã. Prometi compartilhar a receita e um passo a passo divertido dessa aventura culinária, então aqui está!
Para começar, reunimos todos os ingredientes necessários:
- 2 xícaras de farinha de trigo
- 1 1/2 xícara de açúcar
- 1 colher de sopa de fermento químico
- 4 maçãs
- 5 bananas
- 4 ovos
- 1/2 xícara de leite
Além disso, para polvilhar, preparamos:
- 1/2 xícara de açúcar
- Canela em pó a gosto
Agora, confira o passo-a-passo!
O primeiro passo foi picar as 4 maçãs e as 5 bananas. Essa tarefa ficou por minha conta.
Em seguida, enquanto eu picava as frutas, minha madrinha preparou a forma retangular, colocando bolinhas de manteiga espalhadas por ela.
Depois, em uma tigela, ela misturou 2 xícaras de farinha de trigo, 1/2 xícara de açúcar e 1 colher de sopa de fermento químico. Essa mistura foi espalhada na forma, criando uma base para o nosso bolo.
Então, foi a vez de adicionar as frutas picadas em camadas, que ficou por conta da minha mãe, mas minha madrinha deu uma ajuda e eu, registrei o momento.
Uma camada de banana e maçã, seguida por uma camada da mistura seca, e assim por diante até acabar com todas as frutas e a mistura seca.
Em outra tigela, lá foi minha madrinha de novo, batendo os 4 ovos, misturando bem as gemas e as claras, e então adicionamos 1/2 xícara de leite.
Essa mistura líquida foi despejada sobre o bolo, cobrindo tudo de forma uniforme. Não nos preocupamos com pequenos grumos de farinha, sabíamos que tudo se juntaria perfeitamente no forno.
Para finalizar, preparamos uma mistura de 1/2 xícara de açúcar com canela em pó a gosto e polvilhamos sobre a massa. Esse toque final adiciona um sabor irresistível ao nosso bolo.
Com tudo pronto, pré-aquecemos o forno a 180°C e levamos nosso bolo para assar por cerca de 40 minutos, até que ficasse dourado e delicioso. O aroma que se espalhou pela casa enquanto o bolo assava era simplesmente divino.
Depois de assado, retiramos o bolo do forno e o deixamos esfriar um pouco antes de cortar. A ansiedade para provar o resultado de nosso esforço era palpável. Cada fatia revelava uma combinação perfeita de sabores, a doçura das frutas contrastando com a suavidade da massa.
E uma participação especial da Pitty, a cadelinha da casa da minha madrinha! Ela também estava doida por um pedaço do bolo, mas sabemos que o açúcar é prejudicial para nossos amigos peludos.
Uma dica que compartilho com vocês é que esse bolo fica ainda mais saboroso se deixado na geladeira de um dia para o outro. Os sabores se intensificam e a textura fica ainda mais macia.
E assim, entre risadas, conversas e muita colaboração, criamos não apenas um bolo, mas memórias preciosas que guardaríamos para sempre em nossos corações. Que delícia é compartilhar momentos como este com pessoas queridas! Espero que vocês também se divirtam e apreciem este bolo tanto quanto nós. Bom apetite!
Todo o conteúdo, imagens e edições são de minha autoria.
Capa: criada com Canva.

