¡Bienvenidos a mi rinconcito en Hive!
Cada vez que tengo la oportunidad de ver ponerse el arcoiris en el cielo, no puedo evitar admirar sus luminosos colores y sentir una sensación de calma y tranquilidad, ya que después de una lluvia o tormenta, el arcoiris es el mensajero que nos anuncia que todo estará bien.
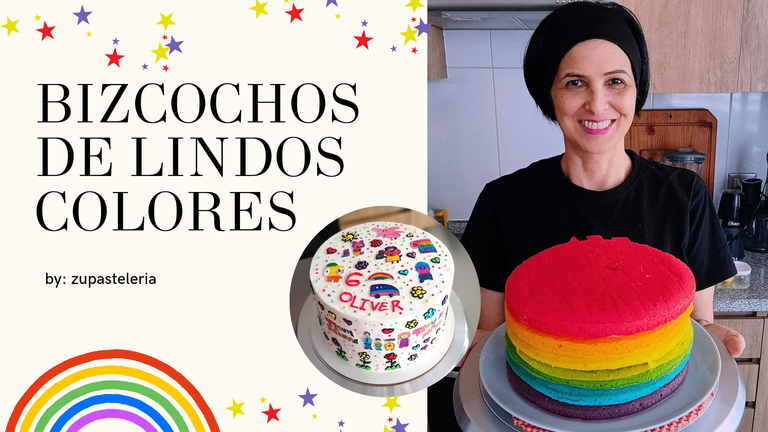
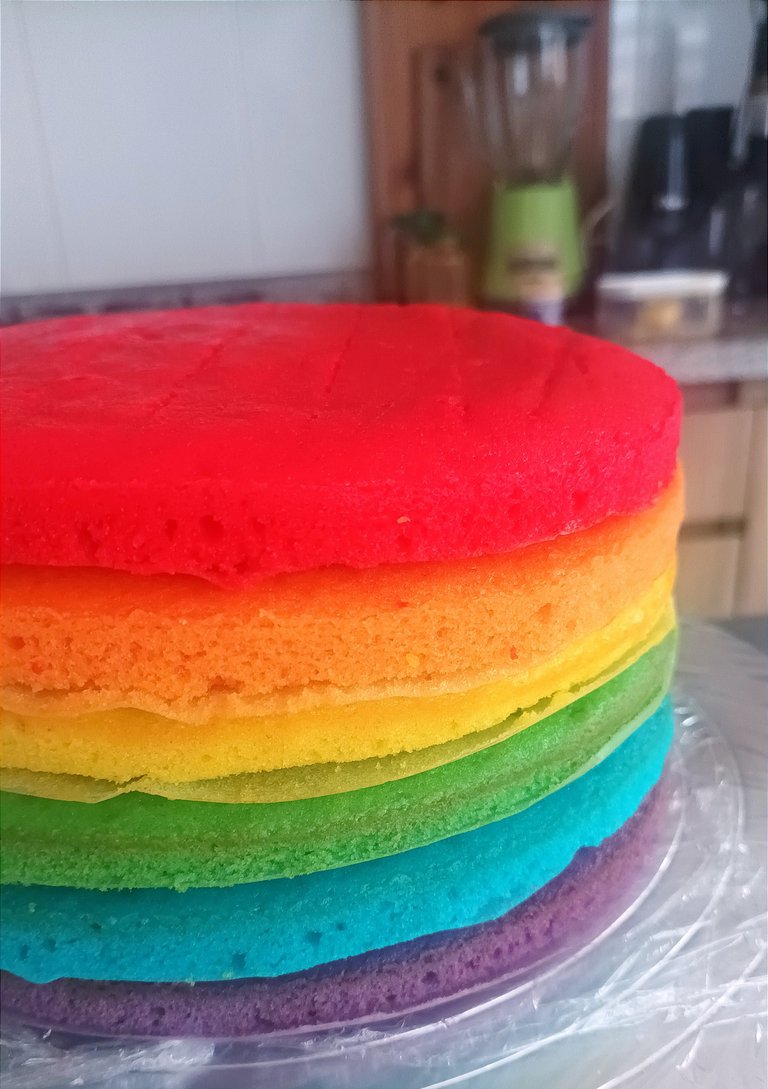
Y hablando de arcoiris, el día de hoy les mostraré como hice unos bizcochos de diferentes colores para hacer una deliciosa torta arcoiris para un niño muy especial y súper inteligente, su nombre es Oliver.
Por otro lado, les comento que me siento feliz de sumar este bizcocho arcoiris a mi recetario de bizcochos en @zupasteleria donde les enseño, detalladamente, como hacer un bizcocho de vainilla, chocolate, zanahoria y red velvet.
La primera vez que hice una torta arcoiris, la hice con una receta de Pam de @quierocupcakes. En este sentido, esta receta la tenía guardada como un bello tesoro y ahora que se dió la oportunidad se las comparto con mucho cariño.
Vas a necesitar los siguientes ingredientes:
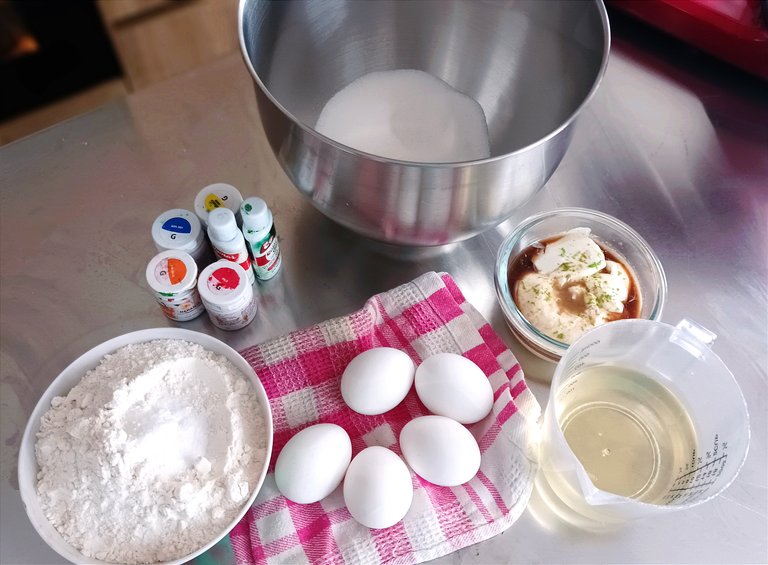
• 300 gm de azúcar.
• 420 gm de harina de trigo.
• 3 ½ cditas de polvo para hornear.
• 200 gm de yogurt.
• 5 huevos.
• 300 ml de aceite vegetal.
• ½ cda de esencia de vainilla
• La ralladura de un limón.
• ¼ cdita de sal.
• Colorantes comestibles.
Preparación:
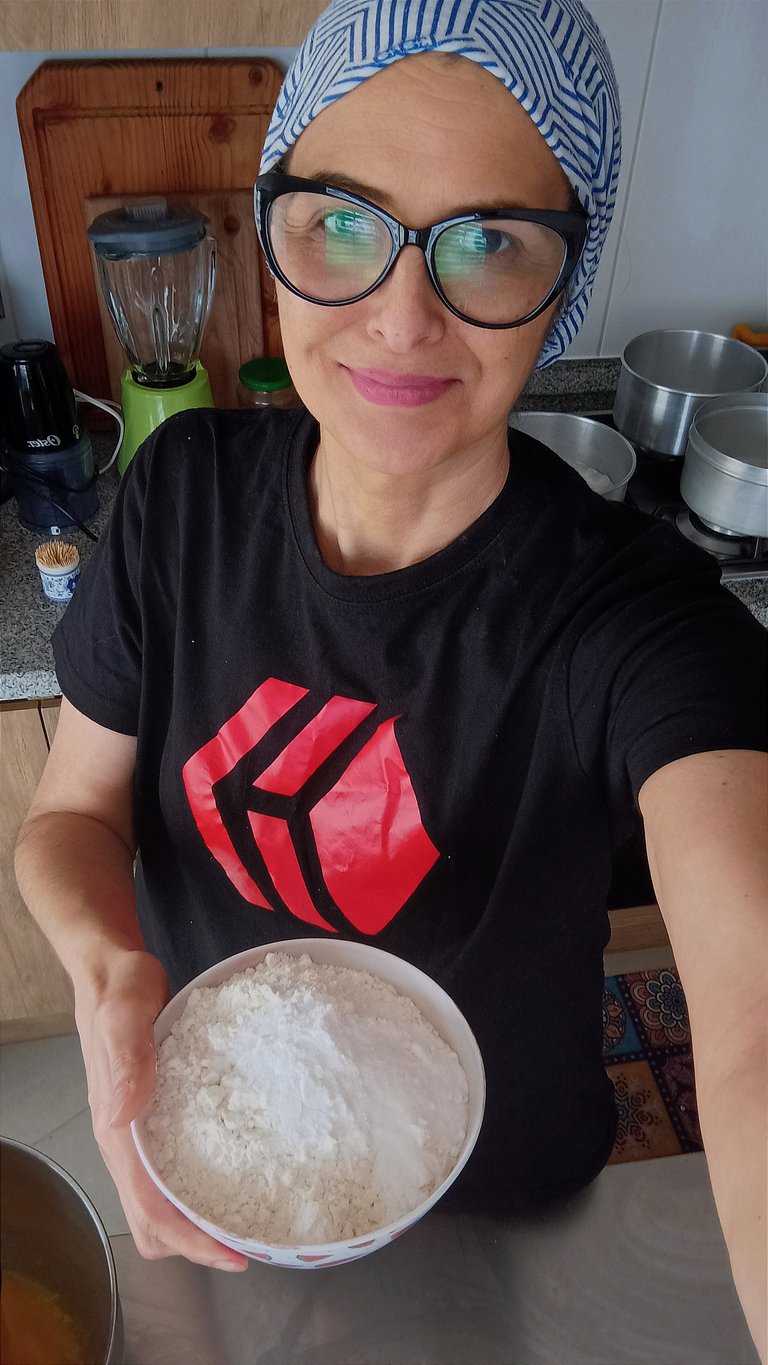
Empezaremos agregando la sal y el polvo para hornear a la harina de trigo y reservamos.
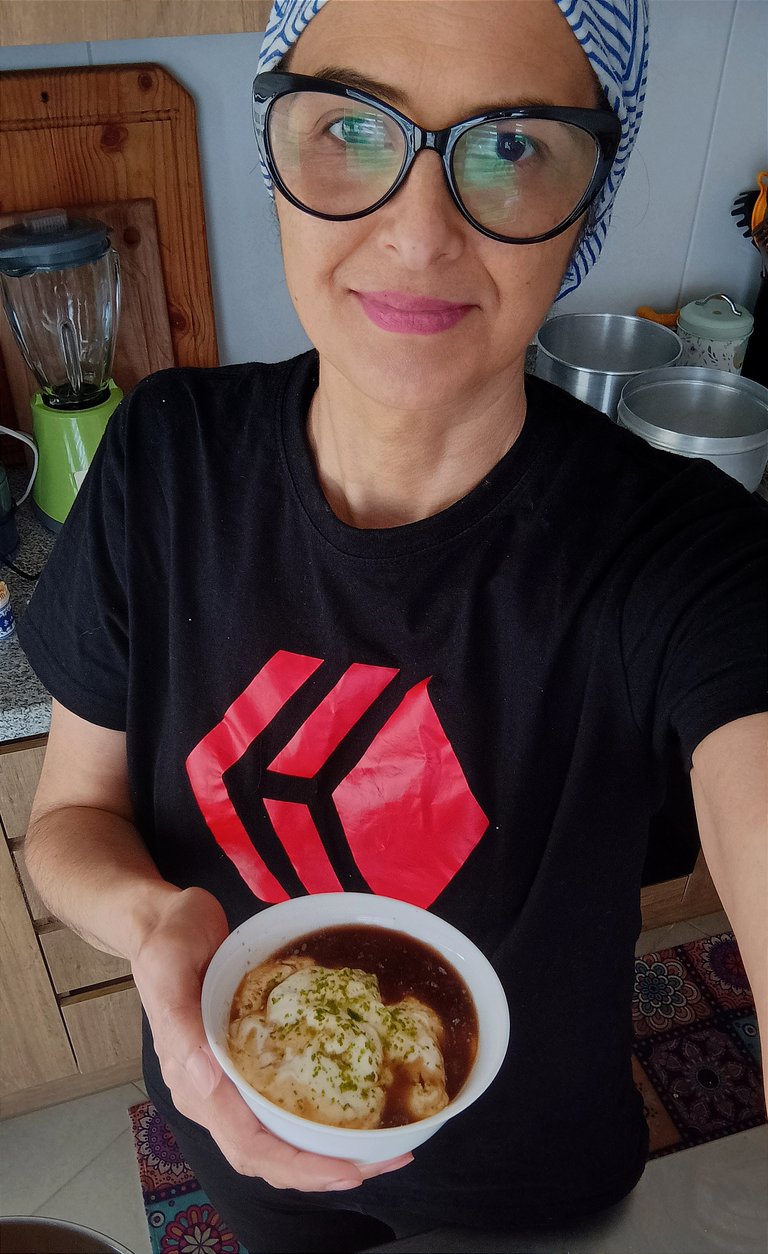
Después, añadimos al yogur, la esencia de vainilla y la ralladura de limón. Reservamos.
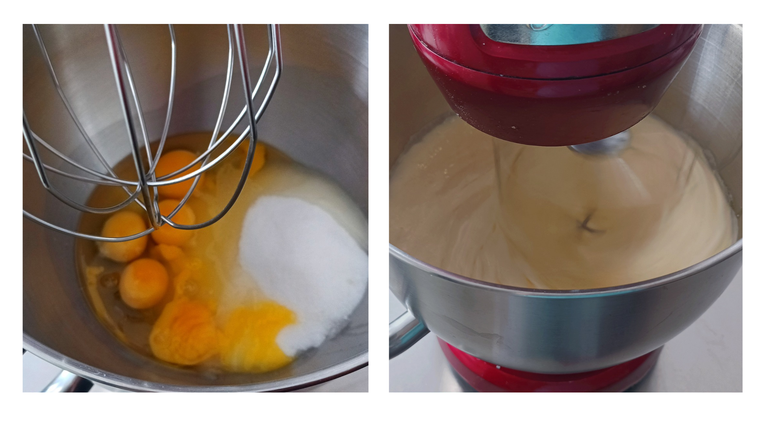
Por otro lado, colocamos el azúcar junto con los huevos en un bowl y batimos a velocidad alta por 5 minutos.
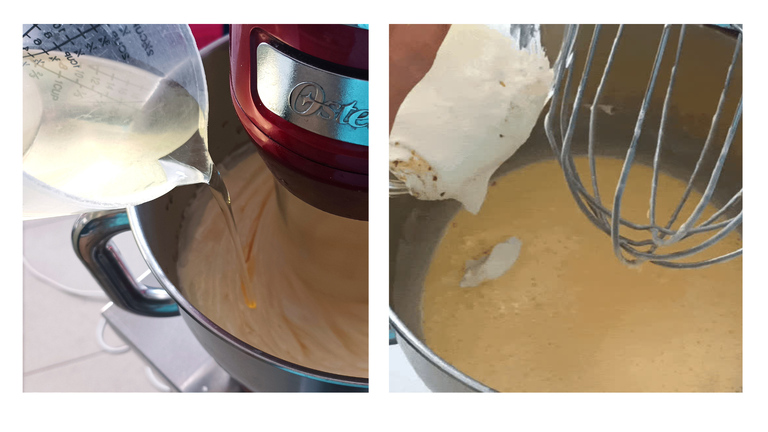
Pasado este tiempo, le bajamos la velocidad a la batidora y agregamos, poco a poco, el aceite vegetal y seguimos batiendo por unos segundos. Ahora es el momento de agregar el yogurt con la esencia de vainilla y la ralladura de limón e incorporar muy bien con los demás ingredientes.
Hecho ésto, cernimos la harina de trigo sobre la mezcla. Batir, preferiblemente, a mano para no activar el gluten.

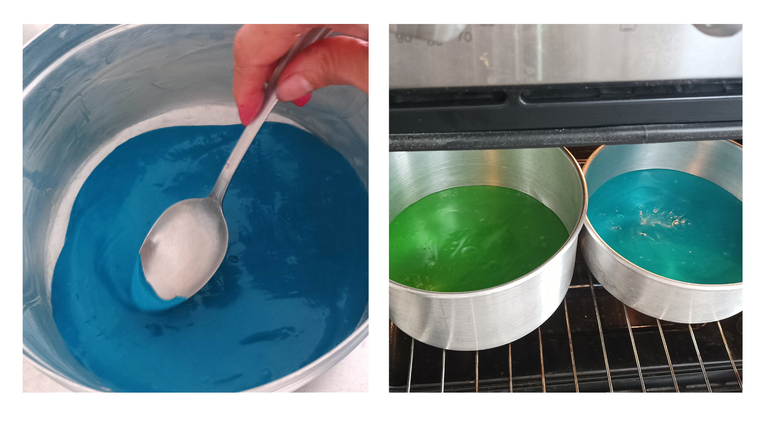
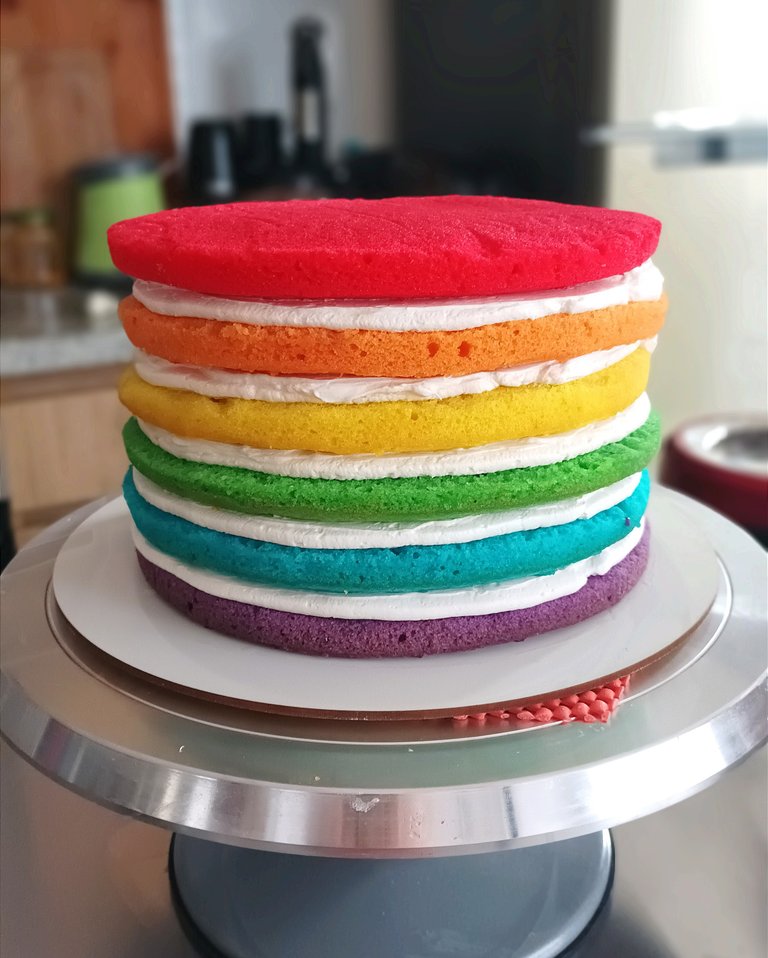
Ya que mi mezcla pesó 1463 gms, la dividí en 6, lo que me dió porciones de mezclas de 243 gm, aproximadamente, y a las que luego les agregué los colorantes comestibles.

Luego, de colocarle el colorante a cada porción, las pase a los moldes. Usé 3 moldes de 20 cm de diámetro c/u, pero si la quieres más alta, puedes usar moldes de 18 cm de diámetro.

Entonces, llevamos a un horno precalentado a 180° durante 10 a 15 minutos. El tiempo de cocción dependerá de la potencia de tu horno. Como pueden ver, los horneé de dos en dos.
Pasado el tiempo de horneado, sacar del horno y dejar reposar por 5 minutos antes de desmoldar.
El siguiente día, rellené y cubrí la torta con Frosting de queso crema. Aquí les dejo la receta
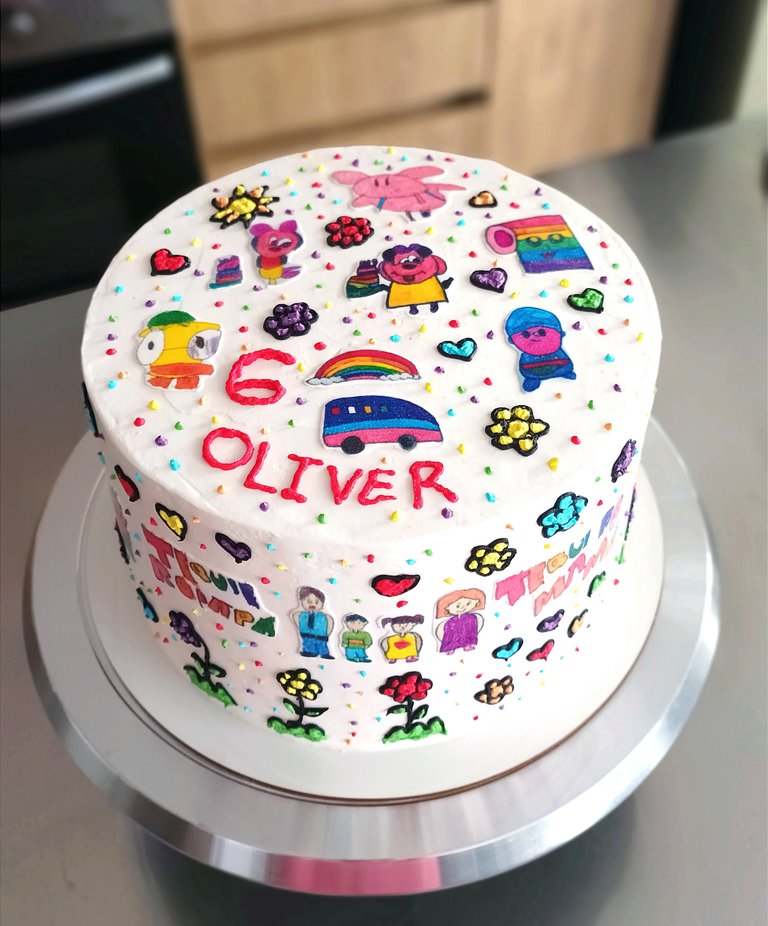
La decoración de la torta la hice con dibujos hechos por el mismo Oliver en su prescolar, que luego imprimí en papel de azúcar. Como pueden apreciar, parecen unos lindos stickers. Complementé el decorado con flores, corazones y el nombre del cumpleañero.
Por cierto, cuando el papá de Oliver vio cómo quedó la torta casi llora, porque se emocionó al ver los dibujos de su hijo decorando su propia torta de cumpleaños.
Espero está receta les sea de utilidad y no olvides llenar tu vida de lindos colores.
¡Gracias por todo el apoyo y cariño!
¡Tu amiga, Zuuu!

ENGLISH
Welcome to my little corner on Hive!
Every time I have the opportunity to see the rainbow in the sky, I can't help but admire its bright colors and feel a sense of calm and tranquility, because after a rain or storm, the rainbow is the messenger that announces that everything will be fine.
And speaking of rainbows, today I will show you how I made some different colored cakes to make a delicious rainbow cake for a very special and super smart boy, his name is Oliver.
On the other hand, I am happy to add this rainbow cake to my cake recipe book at @zupasteleria where I show you, in detail, how to make a vanilla, chocolate, carrot and red velvet cake.
The first time I made a rainbow cake, I made it with a recipe from Pam from @quierocupcakes. In this sense, I had this recipe saved as a beautiful treasure and now that I had the opportunity to share it with much affection.
You will need the following ingredients:
• 300 gm sugar.
• 420 gm wheat flour.
• 3 ½ teaspoons of baking powder.
• 200 gm yogurt.
• 5 eggs.
• 300 ml vegetable oil.
• ½ tablespoon vanilla essence.
• The zest of one lemon.
• ¼ teaspoon salt.
• Edible coloring.
Preparation:
Start by adding the salt and baking powder to the wheat flour and set aside.
Next, add the yogurt, vanilla essence and lemon zest to the yogurt. Set aside.
On the other hand, place the sugar together with the eggs in a bowl and beat at high speed for 5 minutes.
After this time, we lower the speed of the mixer and add, little by little, the vegetable oil and continue beating for a few seconds. Now it is time to add the yogurt with the vanilla essence and the lemon zest and incorporate very well with the other ingredients.
Once this is done, sift the wheat flour over the mixture. Beat, preferably, by hand so as not to activate the gluten.
Since my mixture weighed 1463 gms, I divided it into 6, which gave me portions of mixtures of 243 gms, approximately, and to which I then added the edible colorings.
Then, place in a preheated oven at 180° for 10 to 15 minutes. The cooking time will depend on the power of your oven. As you can see, I baked them two by two.
After the baking time, remove from the oven and let stand for 5 minutes before unmolding.
The next day, I filled and covered the cake with cream cheese frosting. Here is the recipe.
I decorated the cake with drawings made by Oliver himself at his kindergarten, which I then printed on sugar paper. As you can see, they look like cute stickers. I complemented the decoration with flowers, hearts and the birthday boy's name.
By the way, when Oliver's dad saw how the cake turned out, he almost cried, because he was thrilled to see his son's drawings decorating his own birthday cake.
I hope you find this recipe useful and ***don't forget to fill your life with beautiful colors!
Thank you for all the support and love!

All photos in this post were taken with my Xiaomi Redmi 10 cell phone.
Resources: DeepL Translator Free Version and Canva.
Posted Using InLeo Alpha