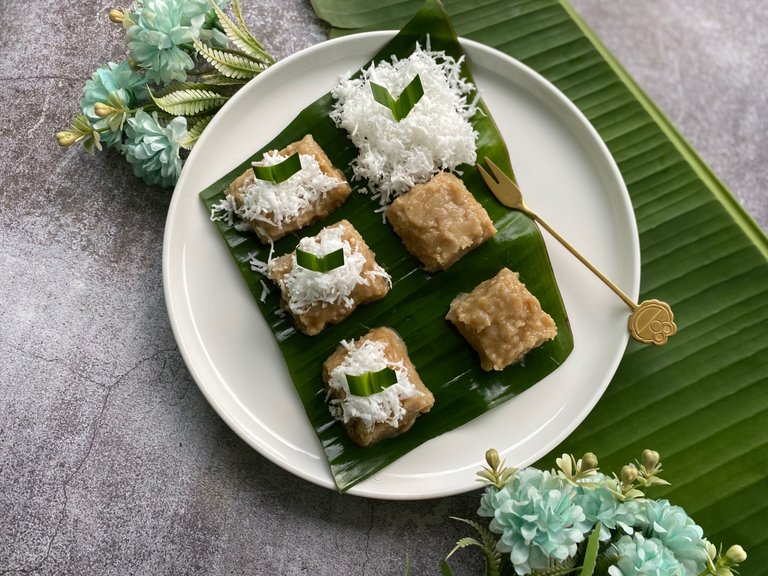
Authentic pounded taro deliciousness mixed with brown sugar and molded, then sprinkled with delicious grated coconut.
Traditional cakes usually come from local ingredients that are easily available. For example, traditional cakes made from tubers such as cassava and taro. In Indonesia, we have many types of traditional cakes made from tubers. I'm sure your area also has traditional cakes made from tubers.
This time I will share about a cake inspired by my late mother's favorite traditional cake. Taro cakes are inspired by traditional cakes made from boiled cassava which is then pounded and mixed with sugar, shaped, and sprinkled with grated coconut.
Actually, these taro cakes are my first try. So, you could say this is my own initiative to make taro into a cake variation like this. This is because I feel bored if taro is only served as boiled taro or just fried food.
I got a giant taro from my aunt. I thought quite hard at first, about what would I make with this taro because I avoid fried food. If it is served as boiled food, it is too general. Finally, I dared to make something new.
Indeed, people in my area usually make cakes like this with cassava ingredients. This is because cassava has a harder texture and produces a cake texture that is denser and set compared to taro.
I was quite nervous and worried that my taro cakes wouldn't be able to be cut later. But I am still someone who is always curious and wants to create something new. I hope you enjoy my cooking blog this time. Stay tuned!
PREAPRING TARO

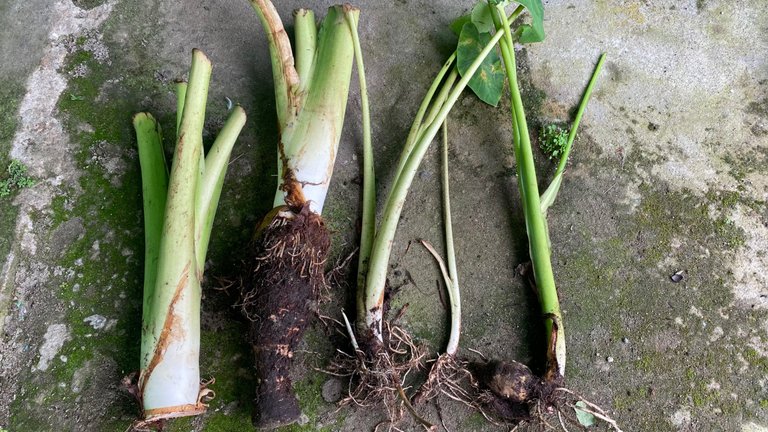
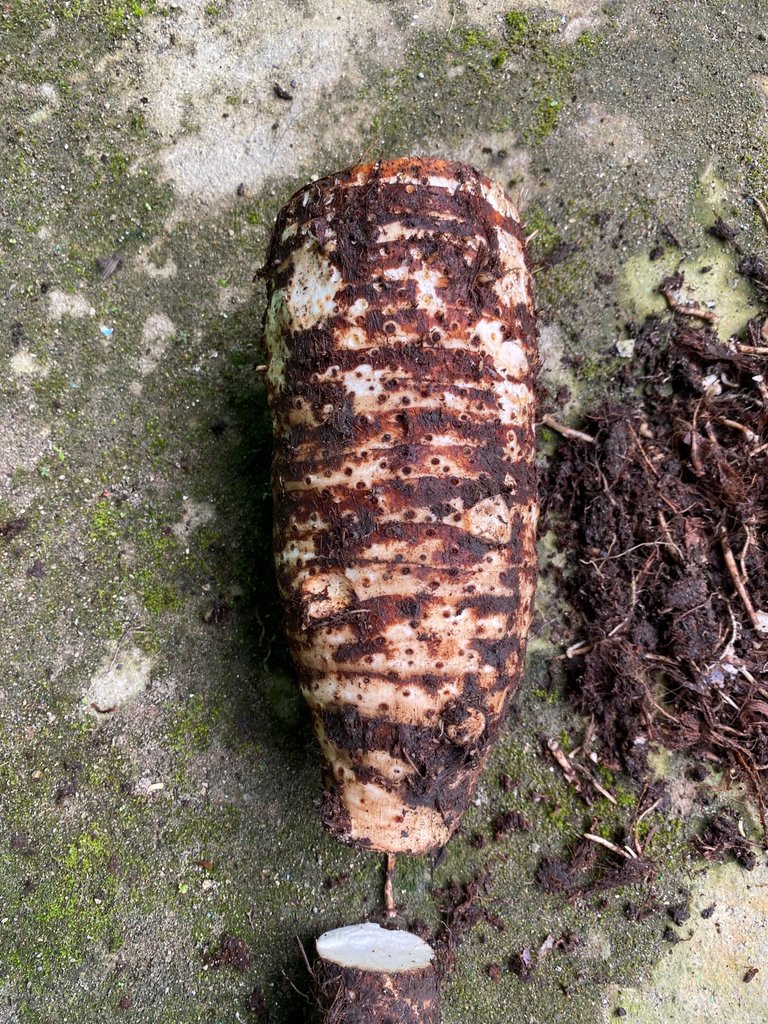
My aunt gave me a giant taro still complete with stems. Also, several other taro plants for me to plant in my garden.
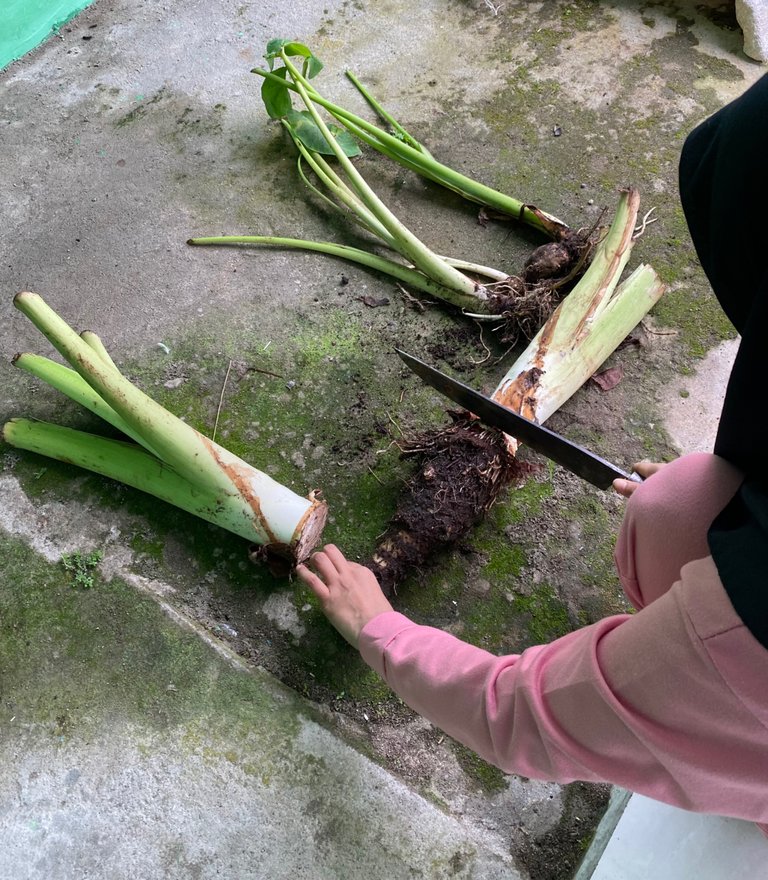
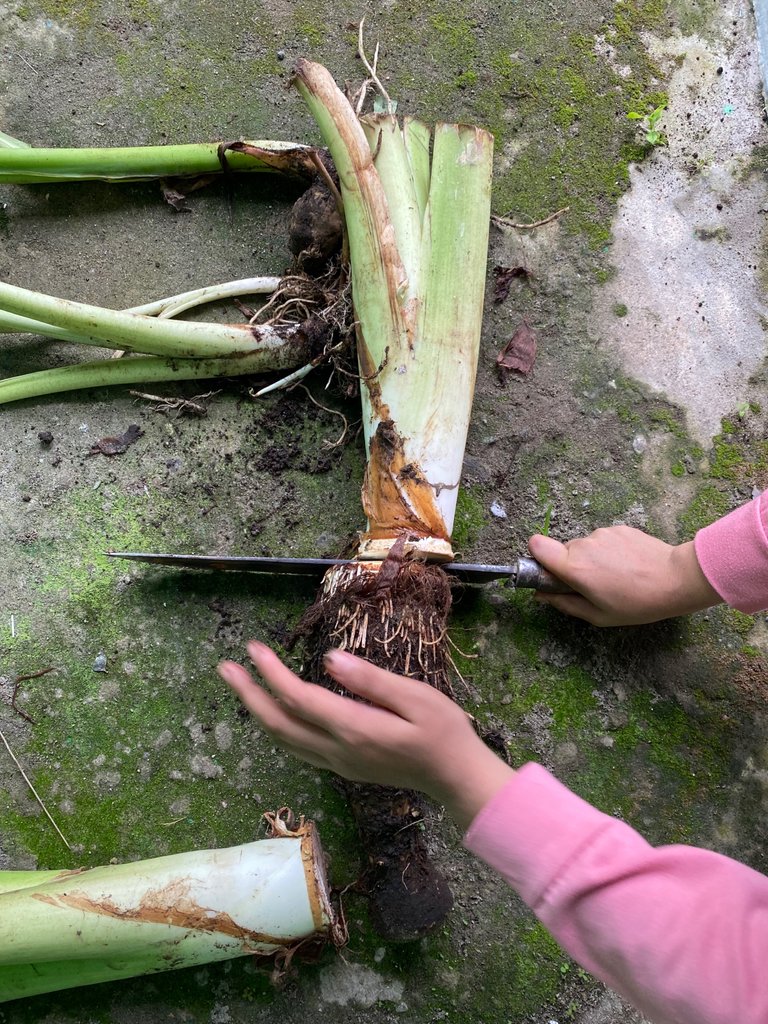
I also separated the tubers and stems first. After cutting this part, I cleaned the taro tubers from the soil and roots that were still attached.
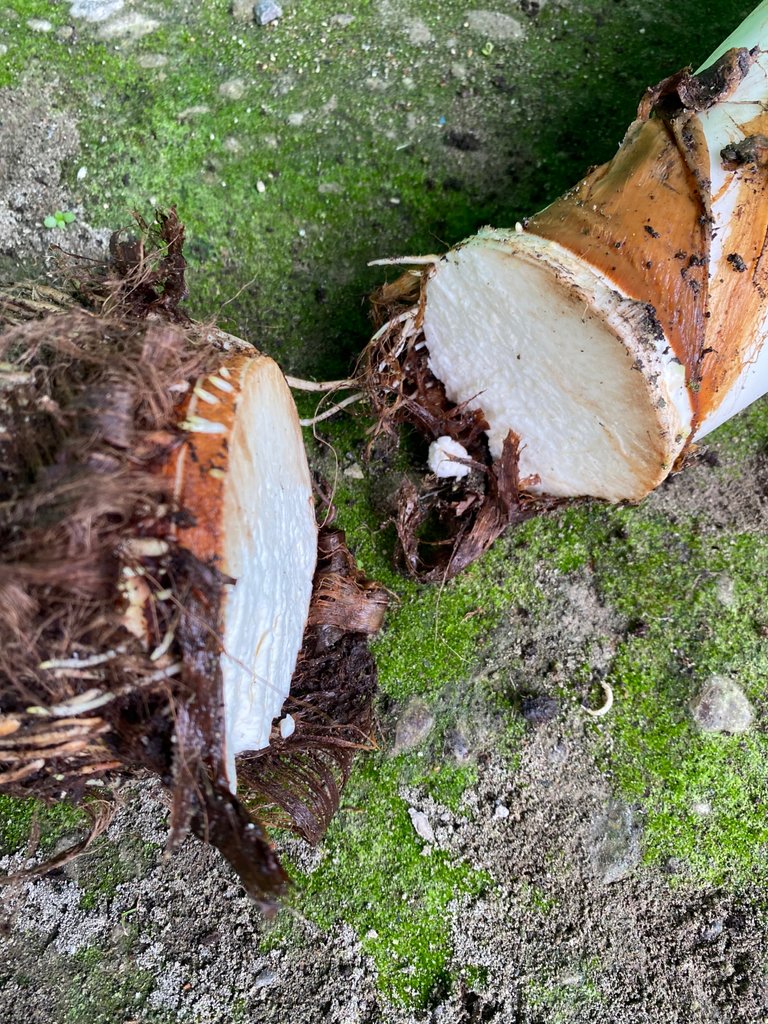
Oh, it looks great! About 500 grams of taro. The inside of the tuber also looks fresh and not rotten. Sometimes, I find that taro tubers are rotten if they are too big or due to the soil being exposed to excessive rainwater during the rainy season. So, I was quite amazed by this giant taro that my aunt gave me which wasn't rotten.
THE INGREDIENTS
- 500 grams of taro
- 200 grams of brown sugar, chopped into small pieces
- 1 tablespoon salt for soaking the taro

- 1 tablespoon salt for boiling the taro
- 1 liter of water to boil taro
coconut topping
- 250 grams of grated coconut (from a small coconut, or 1/2 large coconut)
- a pandan leaf
- a pinch of salt
COOKING INSTRUCTIONS
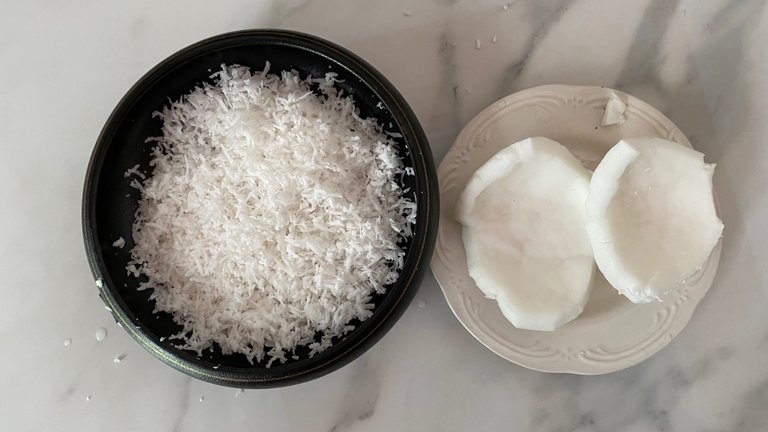
I used a cheese grater to grate coconut. Before grating the coconut, I removed the hard skin of coconut, so the coconut flesh has a clean white color.
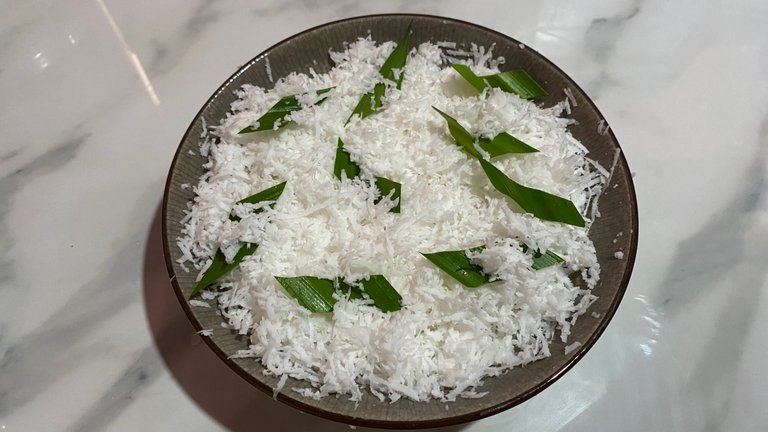
In a container, mix grated coconut with a pinch of salt, as well as a few pieces of pandan leaves.
Then, steam the grated coconut mixture for 10 minutes. This aims to prevent the coconut from becoming stale quickly for consumption.
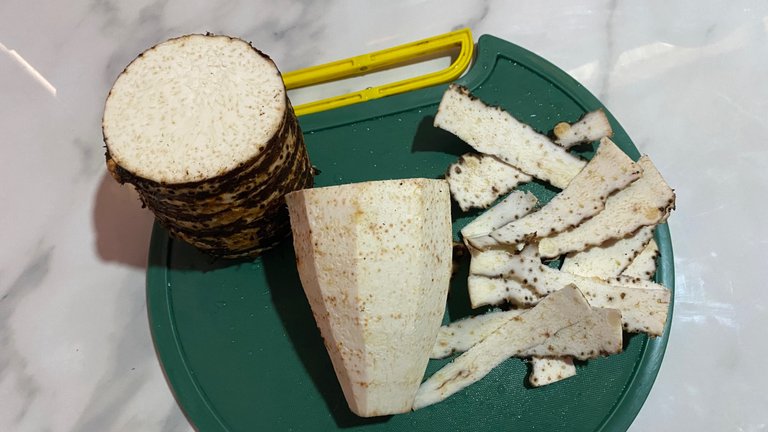
Peel taro. My advice, use gloves just in case the slimy taro sap doesn't make your hands itchy. Some types of taro cause the hands to itch. After peeling, cut the taro into pieces.
Wash the taro pieces thoroughly to reduce the slime. Indeed, next we have to soak the taro again to remove their sap.
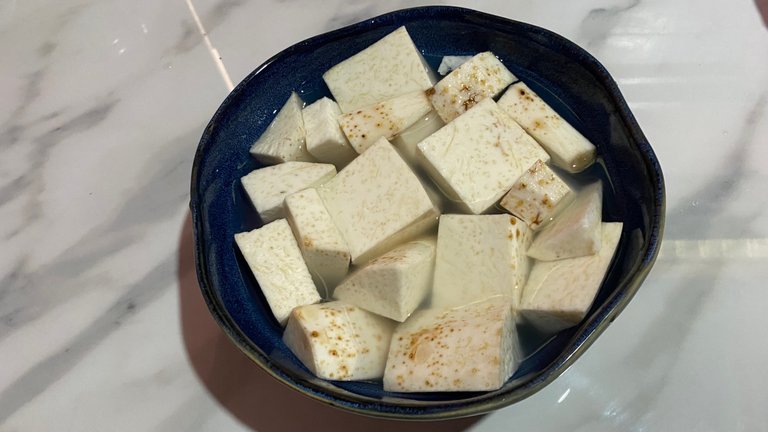
Soak the taro pieces in water with a tablespoon of salt. Soak for at least 15 minutes.
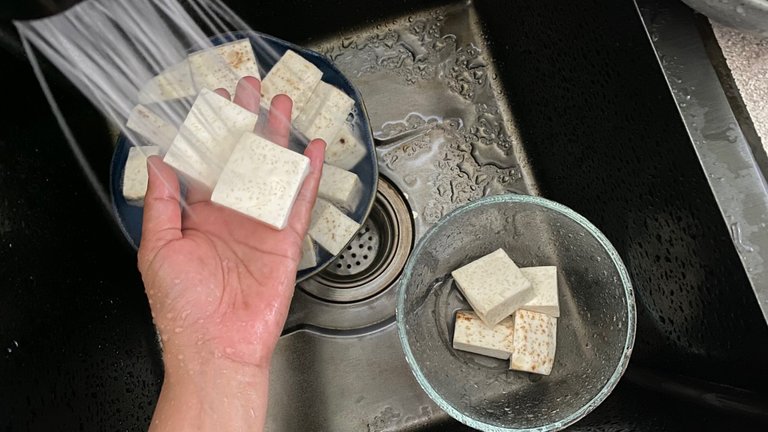
After soaking, the taro must be washed again to completely clean the mucus layer on the taro and eliminate the itching feeling that might attack the mouth and throat if it is not cleaned in the right way.

After soaking and washing thoroughly, boil the taro in 1 liter of water and add 1 tablespoon of salt.
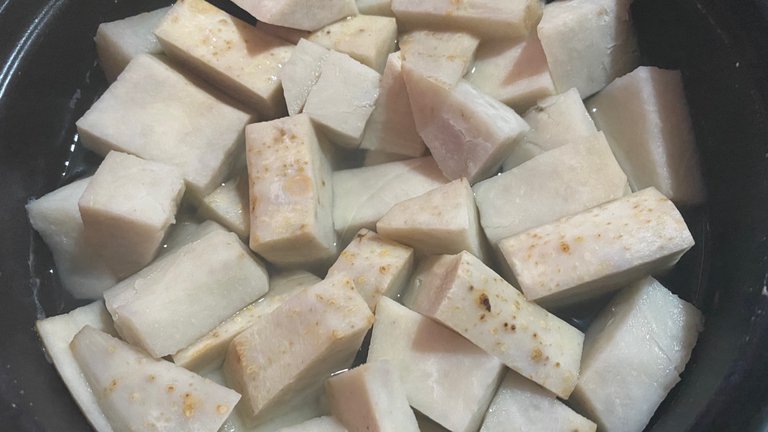
Boil for 15 minutes or until taro becomes tender.
Drain the boiled from the water. Make sure no water gets into the container.
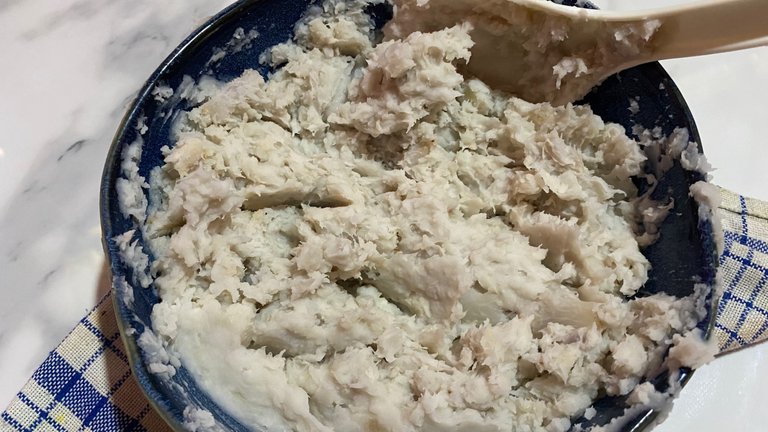
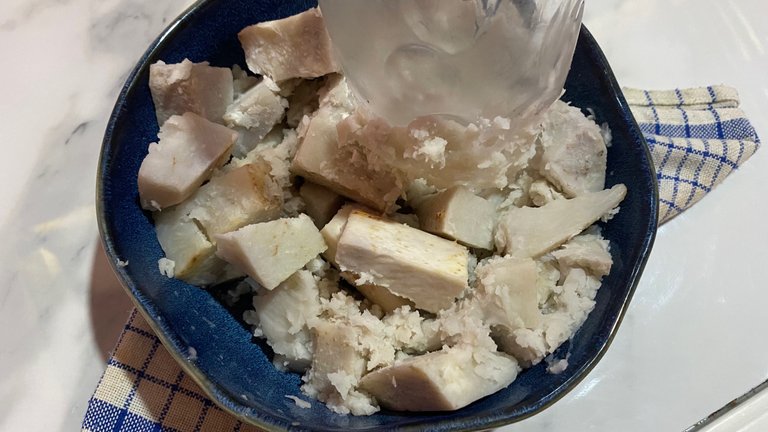
Next, mash the taro using a potato masher. Or, use the bottom of a glass like I do for mash taro.
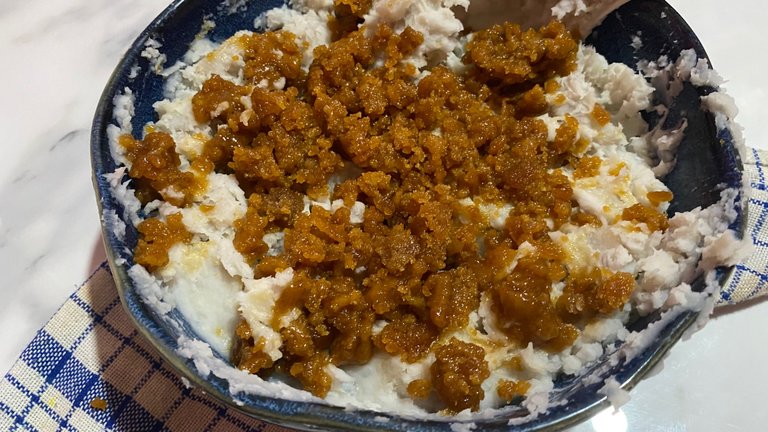

Mix taro with chopped brown sugar. Do not over mix because the texture of the mixture will become too watery from the melted brown sugar.
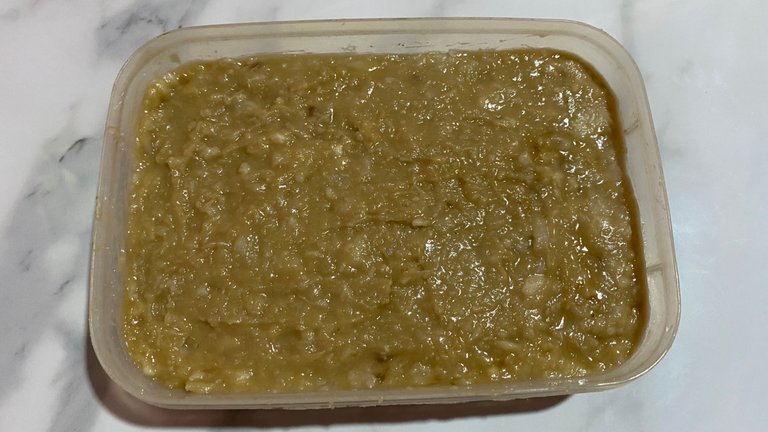
Prepare a cake mold. Here, I just use a box-shaped plastic container. My suggestion, use banana leaves or plastic at the bottom of the container to make it easier to remove the cake later.
Transfer the taro mixture into a mold, then store in the refrigerator for at least 1 hour or until the mixture looks set and solid, and can be cut into pieces.
SERVING WAYS
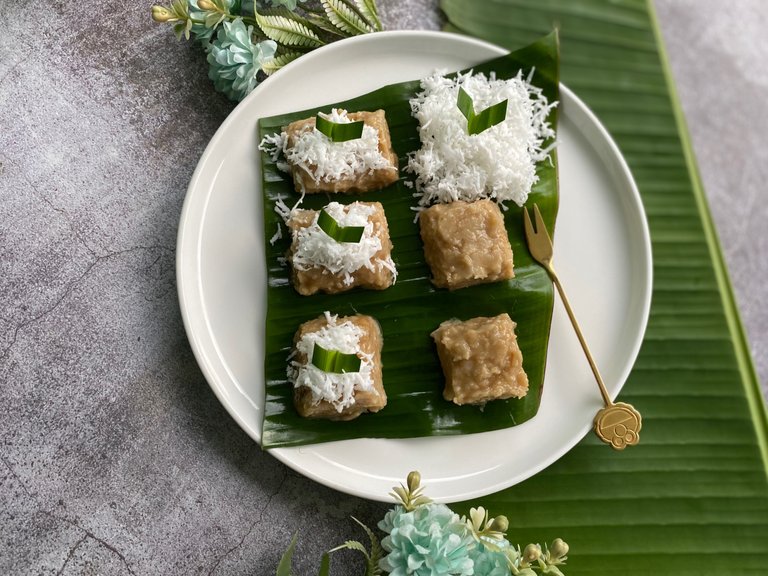
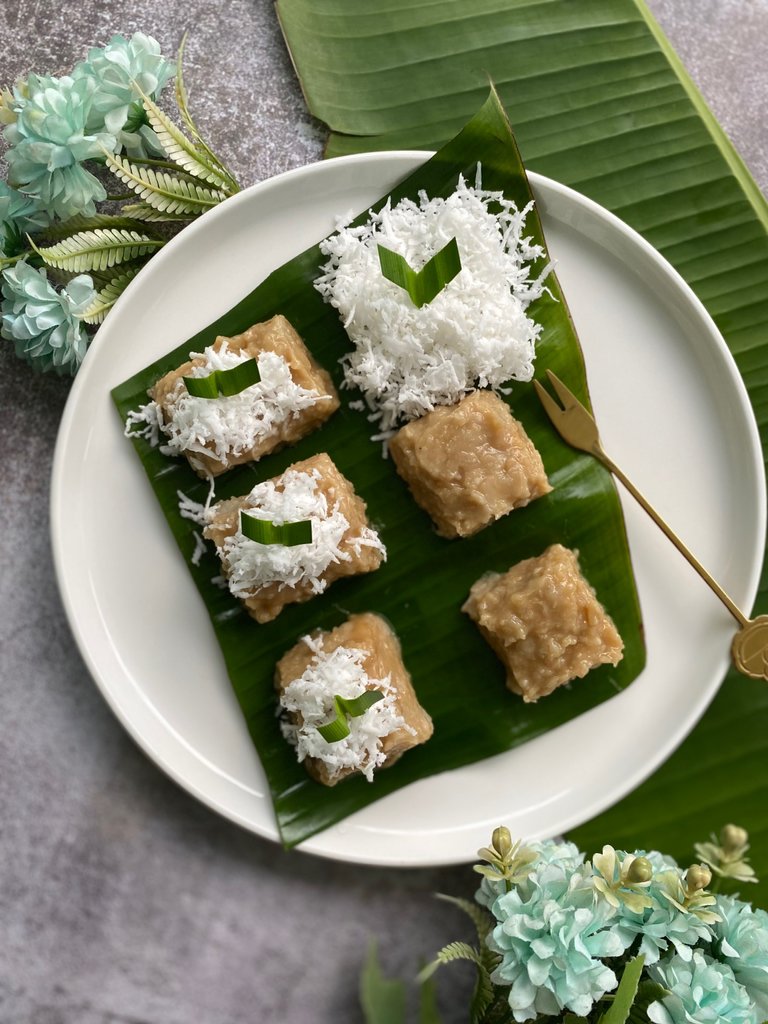
Cut the taro cakes after removing them from the mold. Here, you can see that my cake looks soft. Luckily, I was able to get the cake out of the mold. Although, in the end the cake pieces are not the same size. It takes patience to remove the cakes from the mold. This was also because I was determined not to use banana leaves or plastic at the base of the mold which ultimately made it difficult for me to remove the cakes.
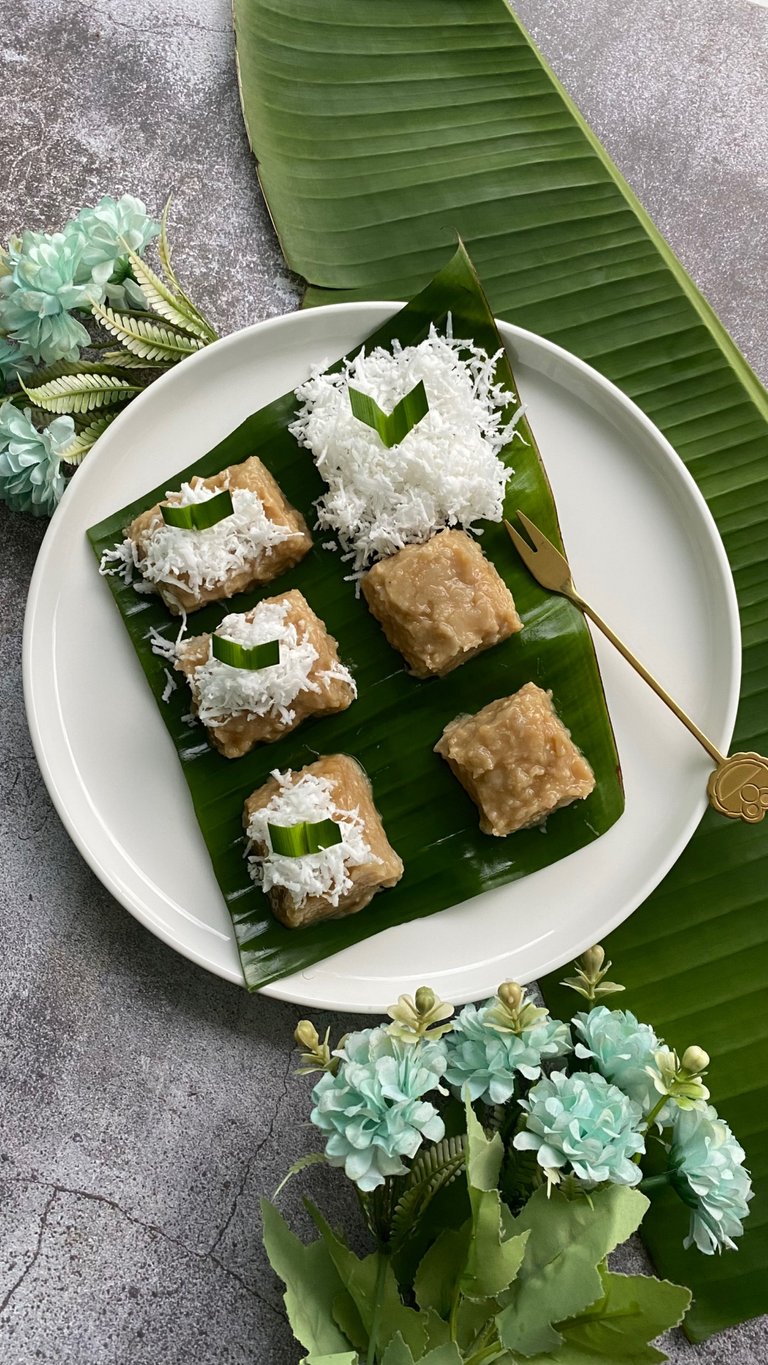
In the end, I'm happy that the first try for this taro cake went well. Sprinkle taro cakes with delicious grated coconut.

The combination of sweet and savory tastes perfect. Don't look at the shape, but the most important thing is that it tastes good! As usual, my creations were approved by my husband and my nephews. Hope you enjoy my cooking show. See you :)
Thank you for reading my blog and reblog if you want my blog this time worthy of reading by others.
Best Regards,
Anggrek Lestari

Anggrek Lestari is an Indonesian fiction writer who has published two major books. Now She is a full-time content creator. She has a goal to share life, poem, and food content that makes others happy and can get inspiration.
Contact Person: authoranggreklestari@gmail.com
Discord: anggreklestari#3009