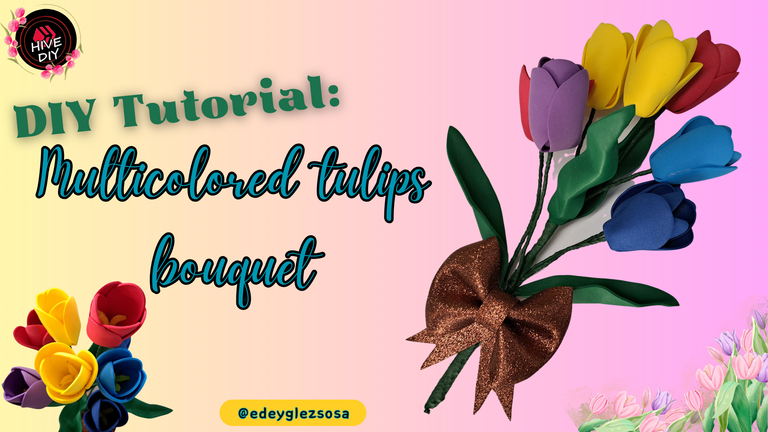
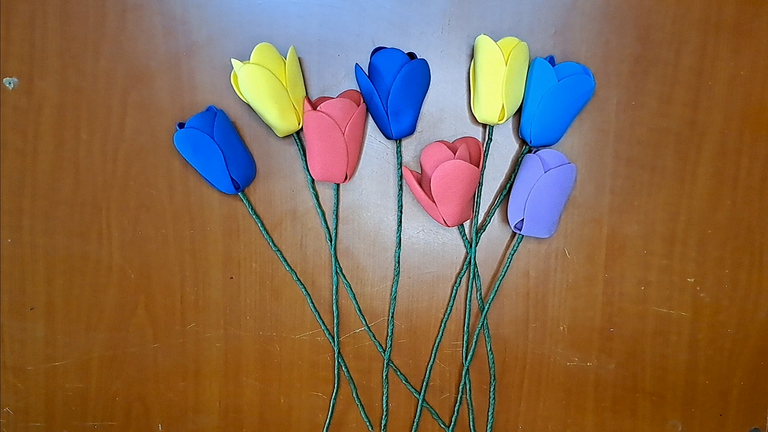
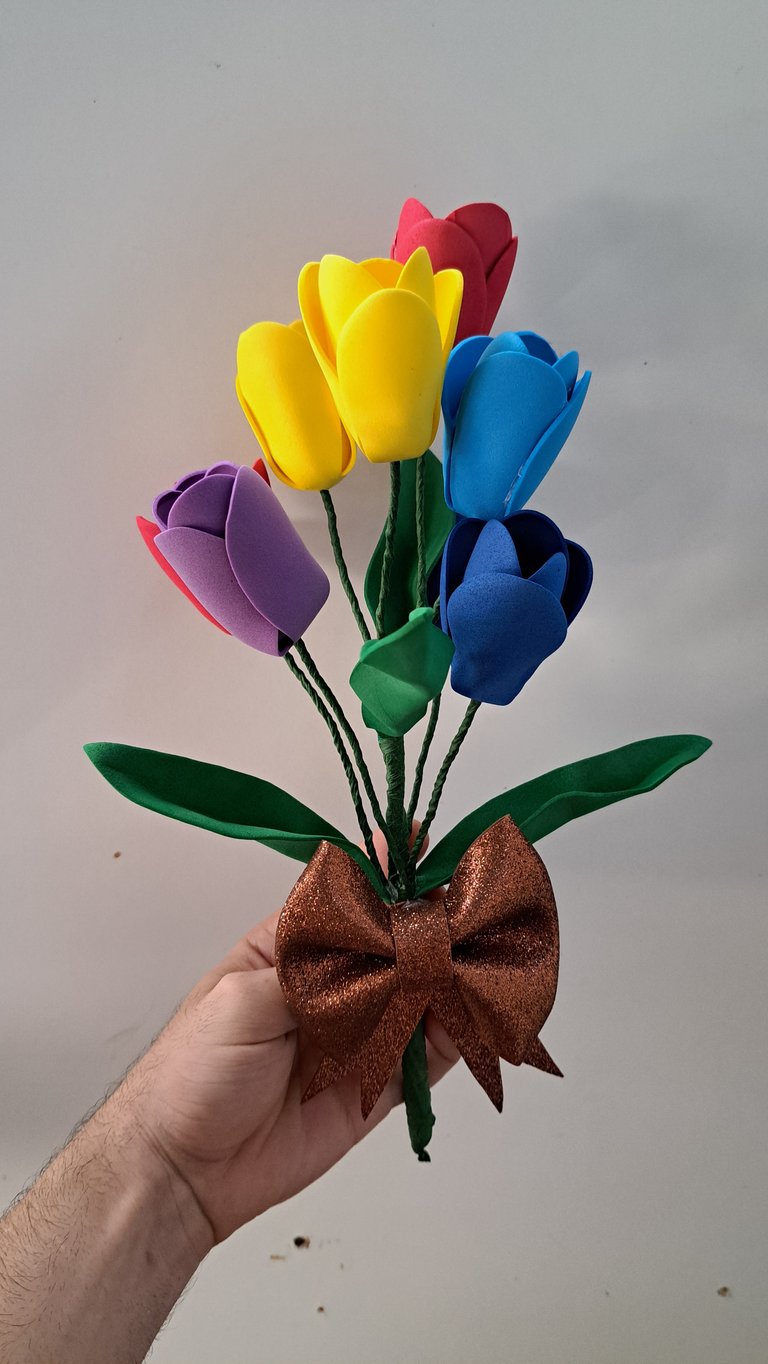
Greetings friends, artisans and craft lovers. Today I bring you a craft that can get more than one of you out of a tight spot, because it can be a very nice gift that we can make at the last minute. As you may have noticed, this time I will show you how to create a beautiful bouquet of multicolored tulips using mainly fomi, except for the stems and pistils.
It turns out that my mom's aunt had a birthday and since I have been doing some floral themed crafts lately, my mom asked me to make her a bouquet of tulips to give to my aunt, since she is a fan of flowers. You can't imagine what a beautiful garden she has.
The truth is that I had not had the opportunity to find out about the colors of tulips, so at the last minute I had the idea of making multicolored tulips using the colors of fomi that I had available. Shortly thereafter, my wife informed me that each color, both in the tulips and in the other flowers, has its meaning. I hope that the colors I used in the bouquet do not have a negative meaning.
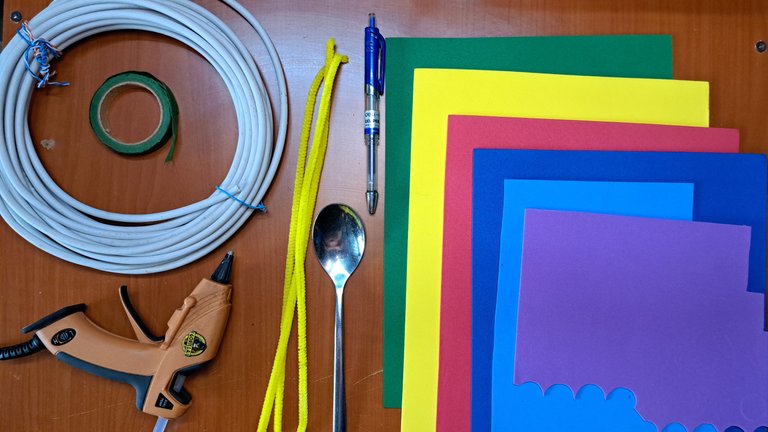
Materials
| ✔️ Foam red, blue, light blue, lilac, yellow, and green |
| ✔️ Spoon and inkless pen |
| ✔️ Yellow pipe cleaners |
| ✔️ Floral ribbon |
| ✔️ Hot glue |
| ✔️ RJ-45 wire (Ethernet cable) |
📋 Step by step 📋
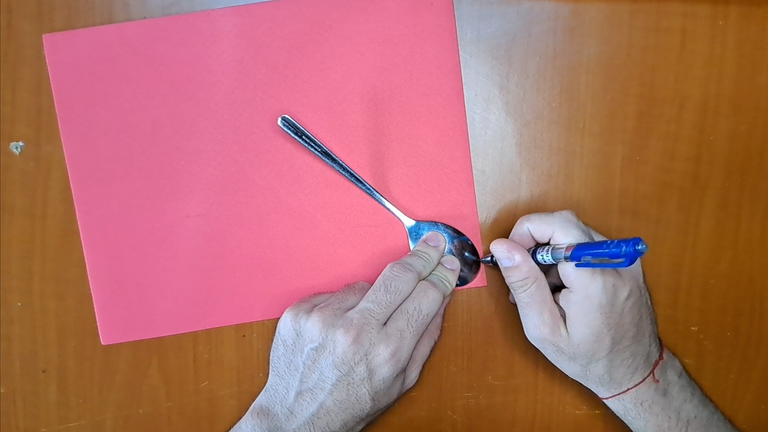
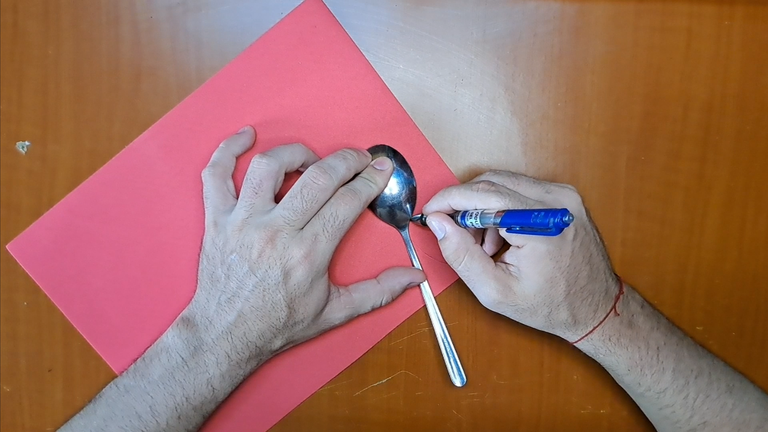
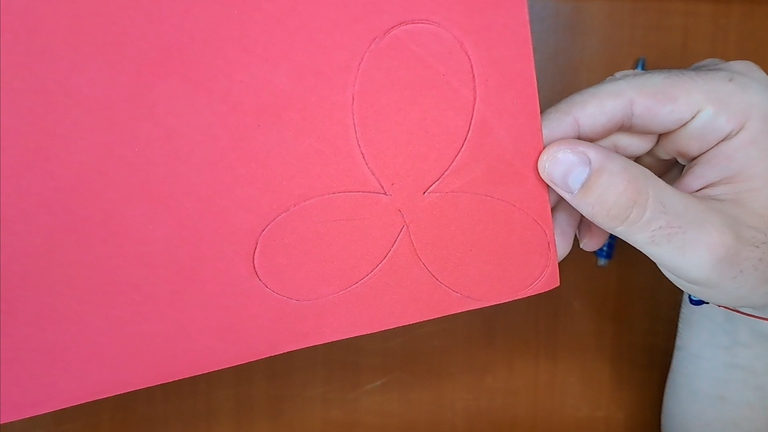
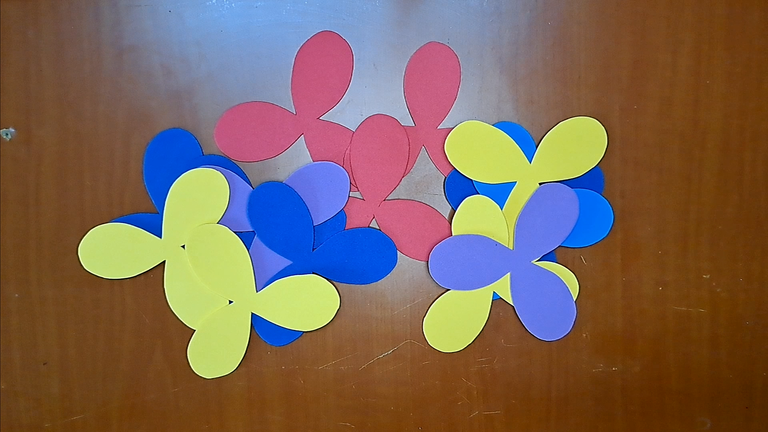
1️⃣ To begin with, the first thing I did was to use a spoon and mark its outline on a sheet of red fomi with the help of a pen without ink. The silhouette I used is formed by a pattern of three petals. After marking the pattern in different colors, I cut them all out.
 |
 |
 |
 |
 |
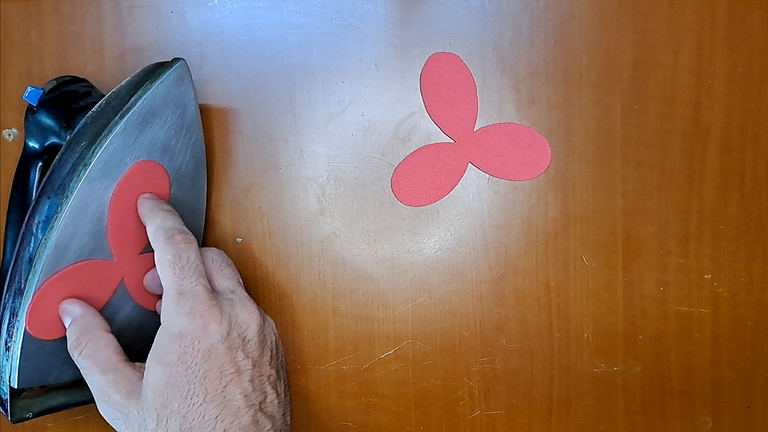
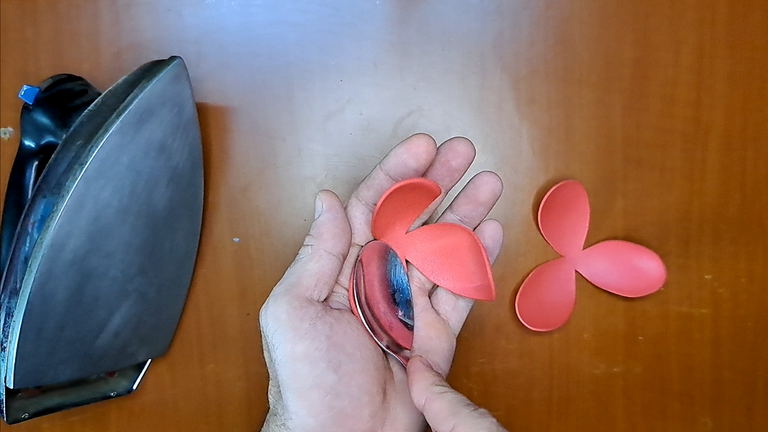
2️⃣ Making use of a thermoforming iron, each of the patterns, after heating the fomi, I pressed it with a spoon to obtain the desired concave shape. In the videotutorial I warn it, but I want to do it here as well. It is necessary to be very careful when thermoforming, as there is a possibility of getting burns.
 |
 |
 |
 |
 |
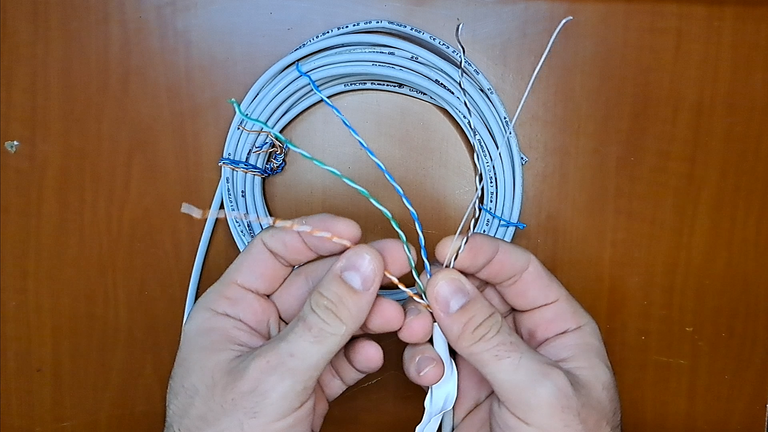
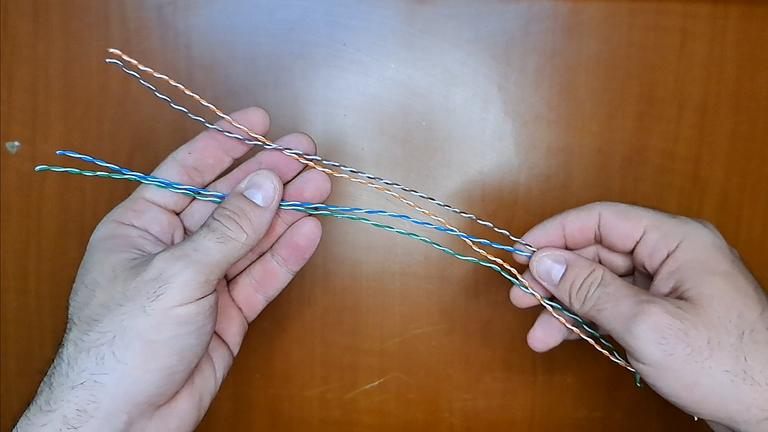
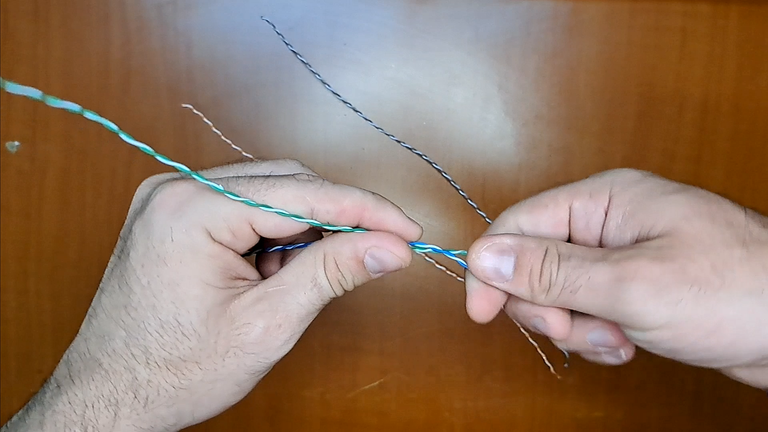
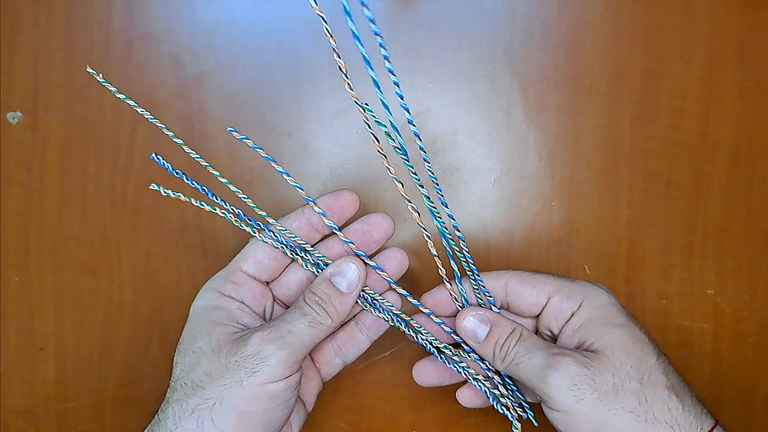
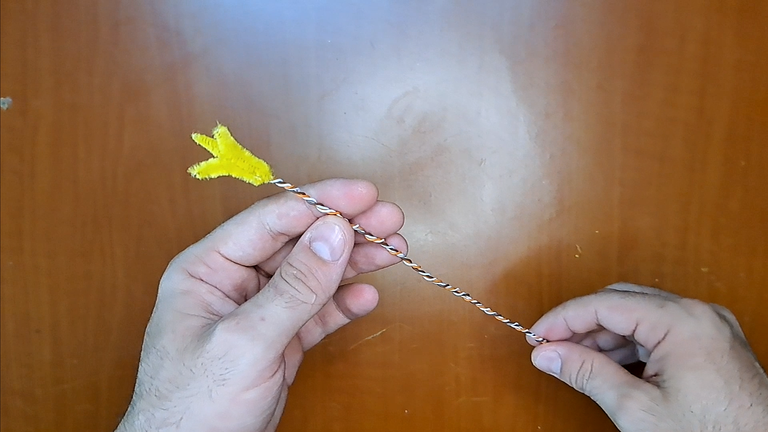
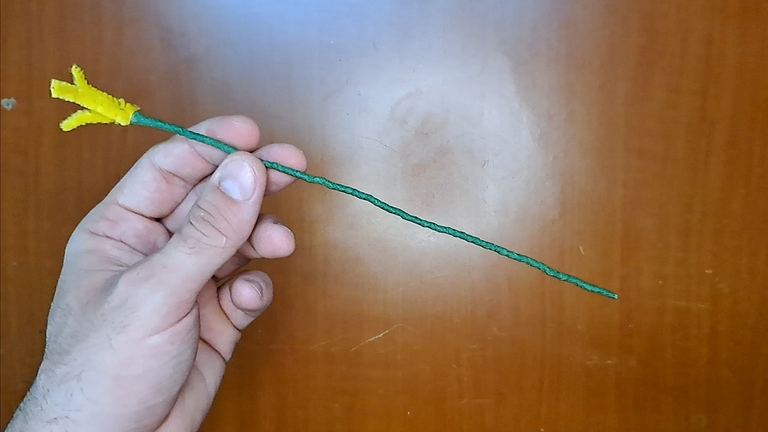
3️⃣ Next, I unwound about a foot of RJ-45 cable to use the wires inside. Each wire comes in pairs, but to increase the thickness, I decided to join two pairs together to form a stronger wire.
 |
 |
 |
 |
 |
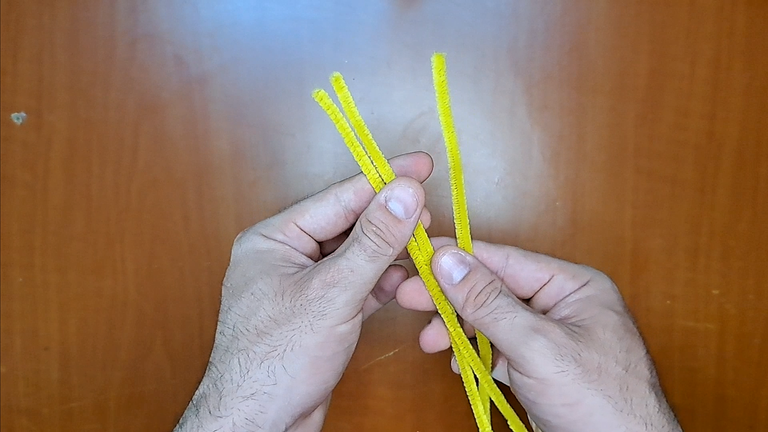
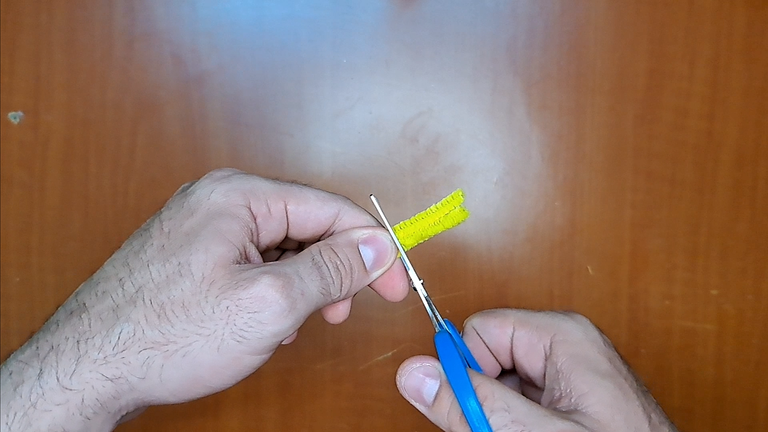
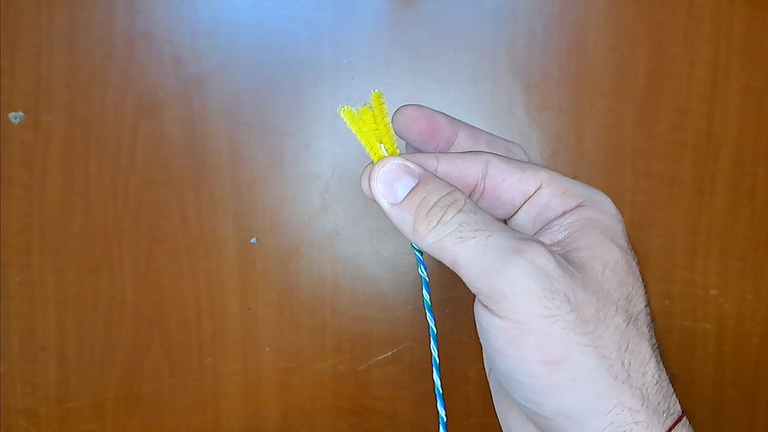
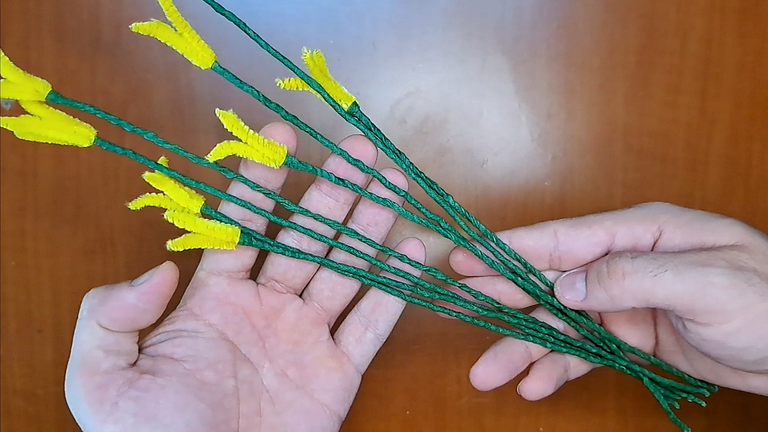
4️⃣ Next, I placed three yellow pipe cleaners side by side and cut them into small pieces. Similarly, I attached three small pieces to one end of the freshly coiled wires. Thus I would give formed the structure of the stem and its pistil.
 |
 |
 |
 |
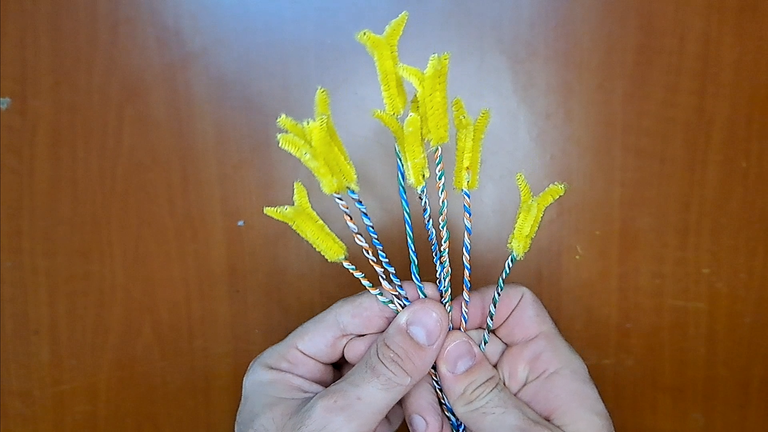 |
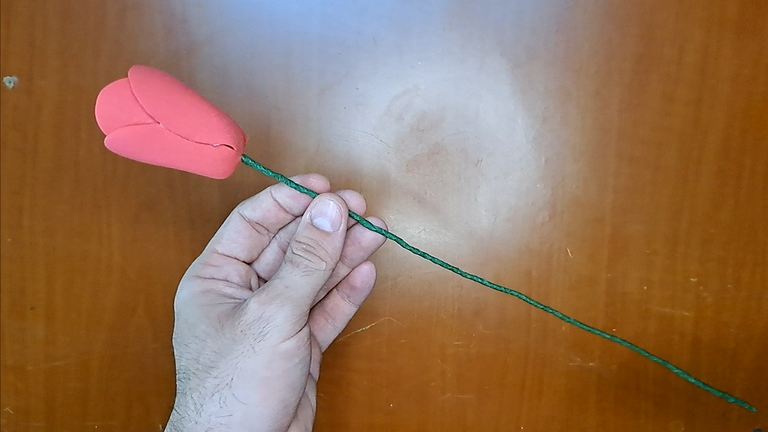
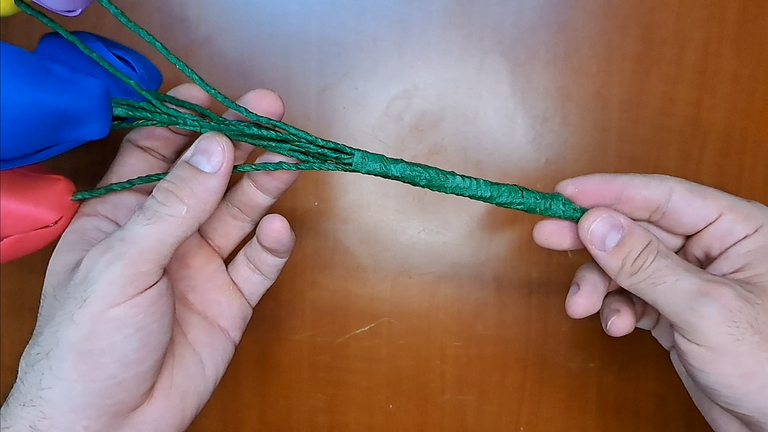
5️⃣ As the stems should be mostly green, I wrapped them all with floral tape and trimmed some of them, as they will not have the same height in the bouquet. You should be careful when trimming the stems so that you don't have some flowers of the same color at the same height, as I did.
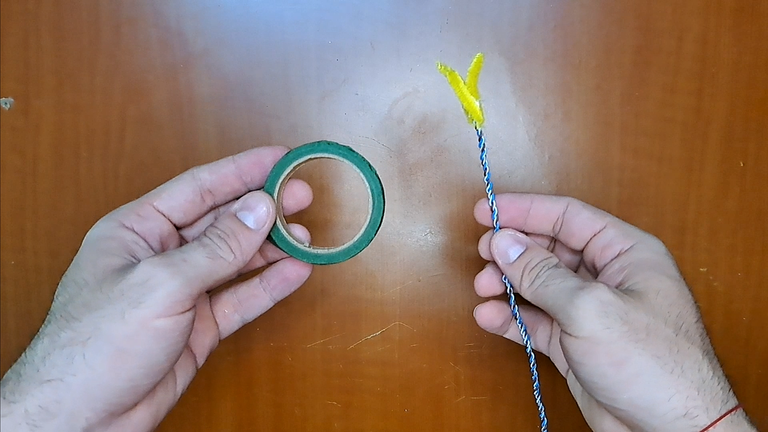 |
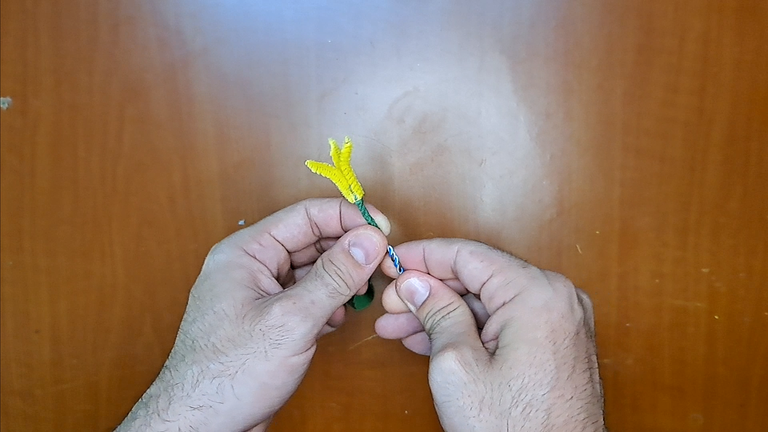 |
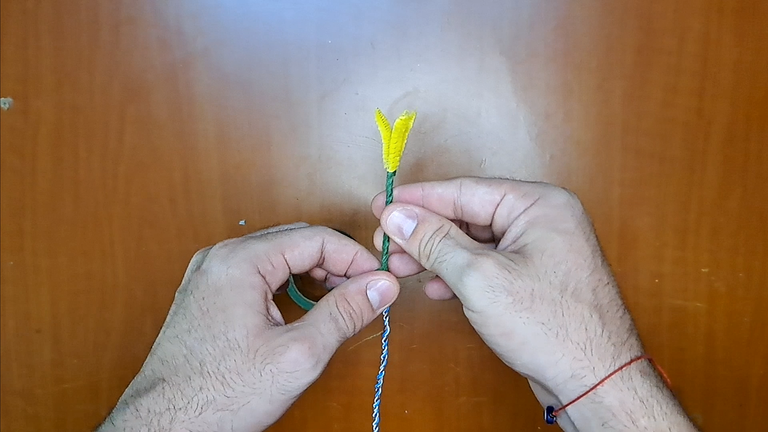 |
 |
 |
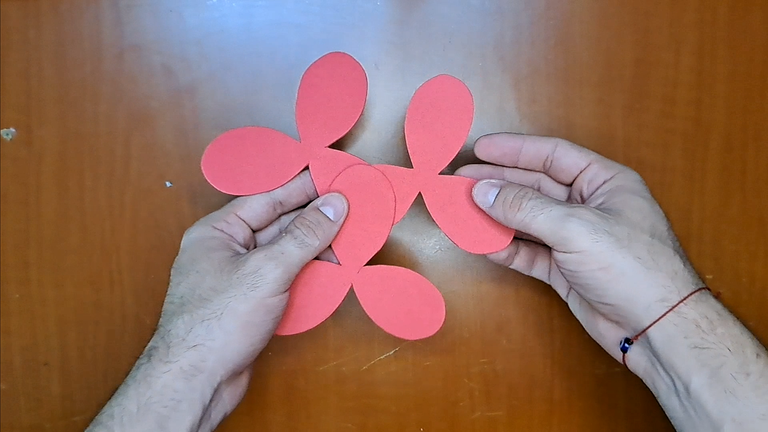
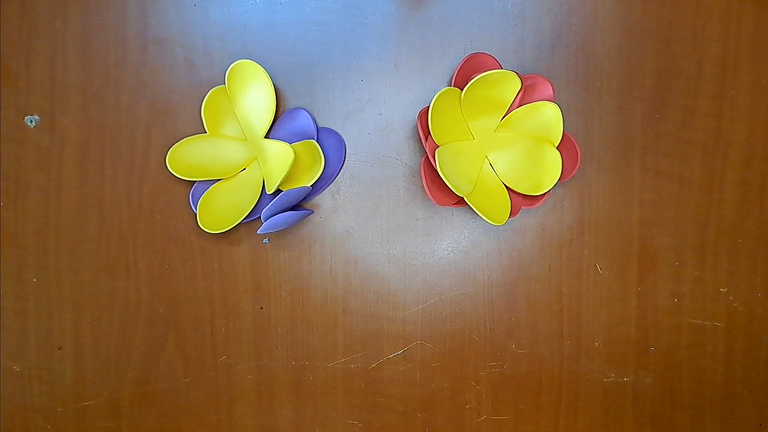
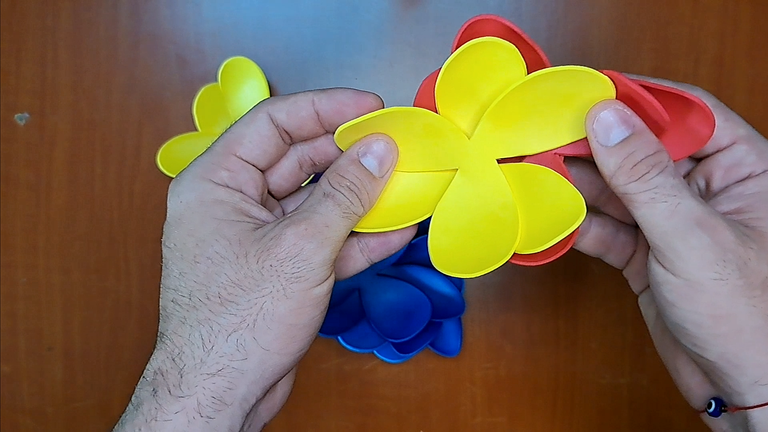
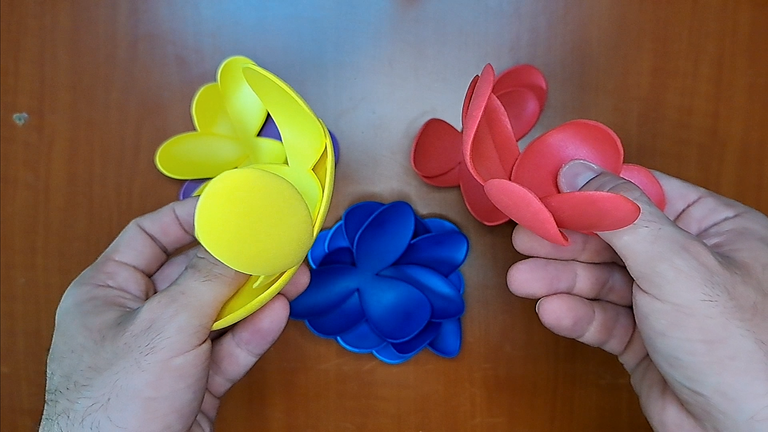
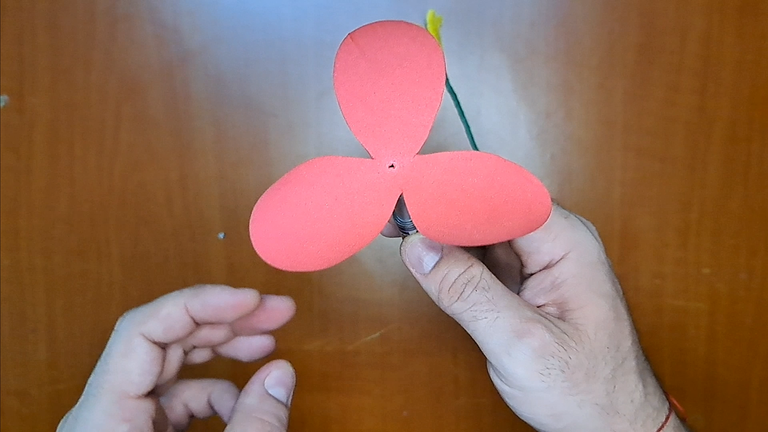
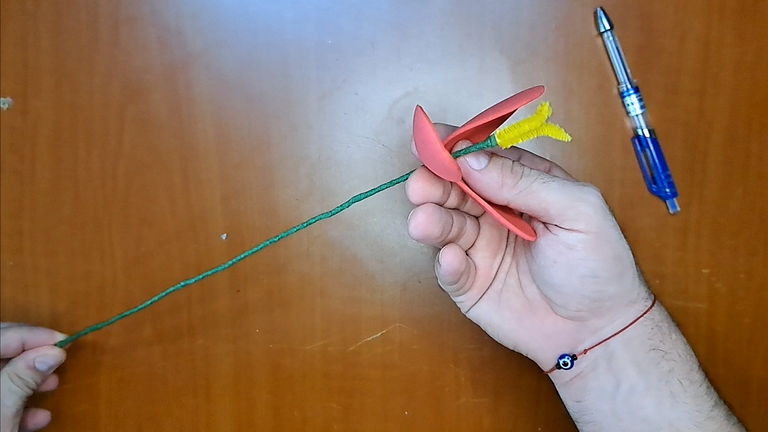
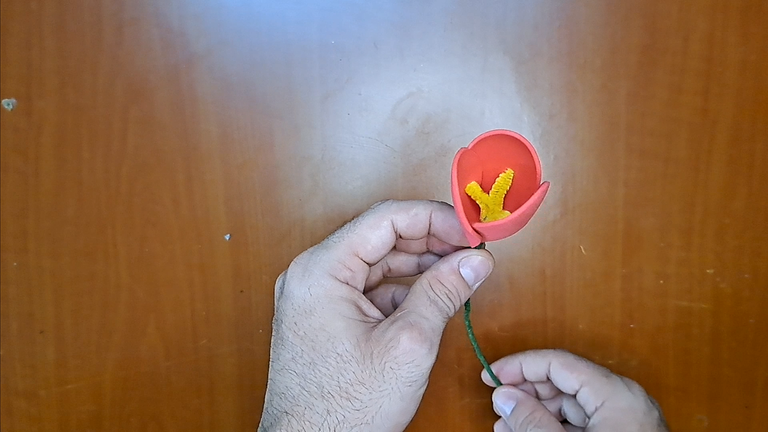
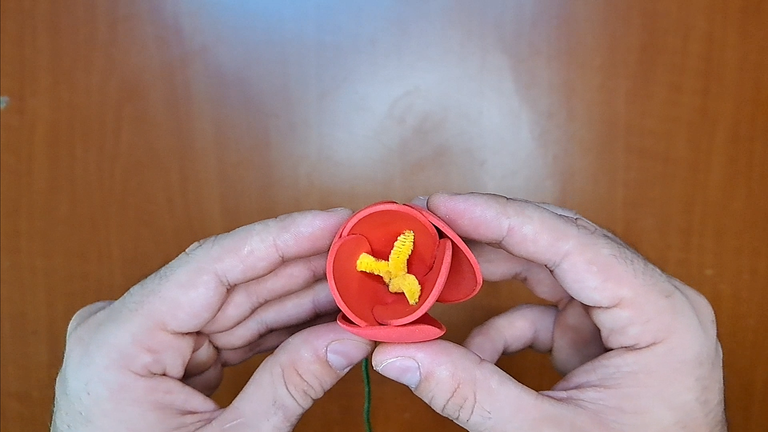
6️⃣ Once the stems are ready, we can begin to assemble the flowers. To do this, we must pierce each of the fomi patterns in the center. Then, we introduce the stems and glue the petals together to form the first part of the tulip. Repeat the process with the first layer and the tulips are ready.
 |
 |
 |
 |
 |
 |
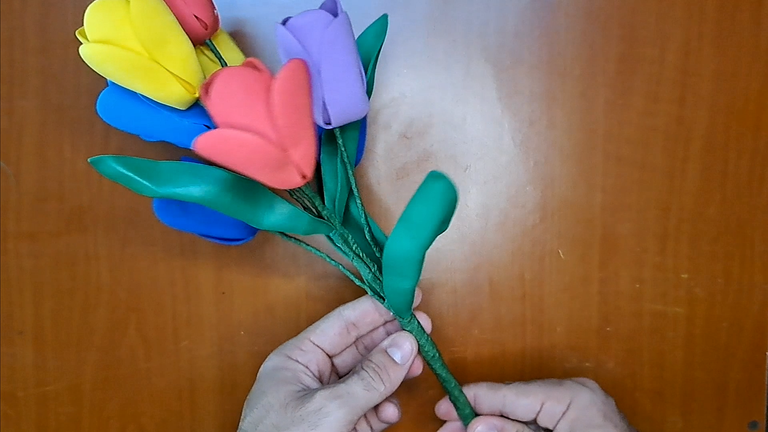
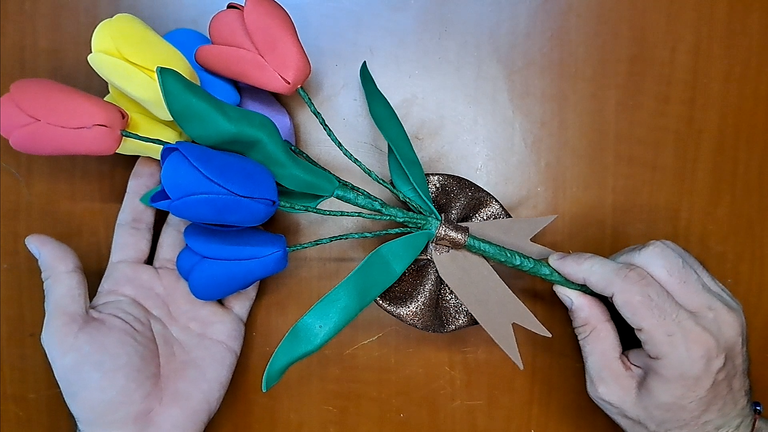
7️⃣ The tulips are ready, but, as the title says, it is a bouquet, so they must be joined together. To join the tulips and form the bouquet, I used floral tape to fix their stems at the base of the bouquet. Not only the base of the bouquet, where the tall tulips are separated from the short ones, but I also applied some floral tape.
 |
 |
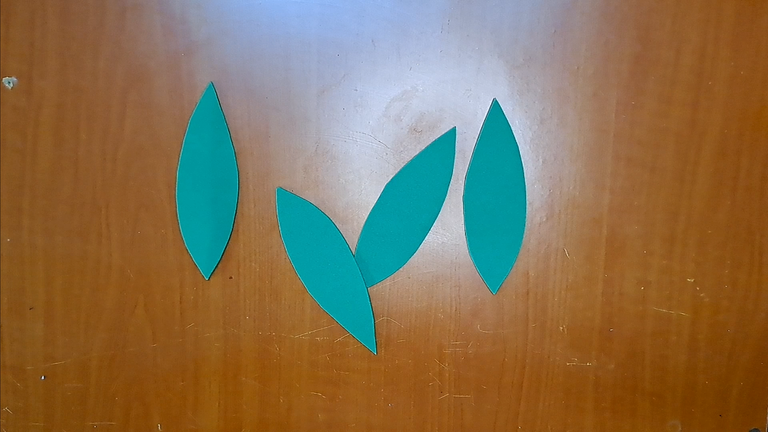
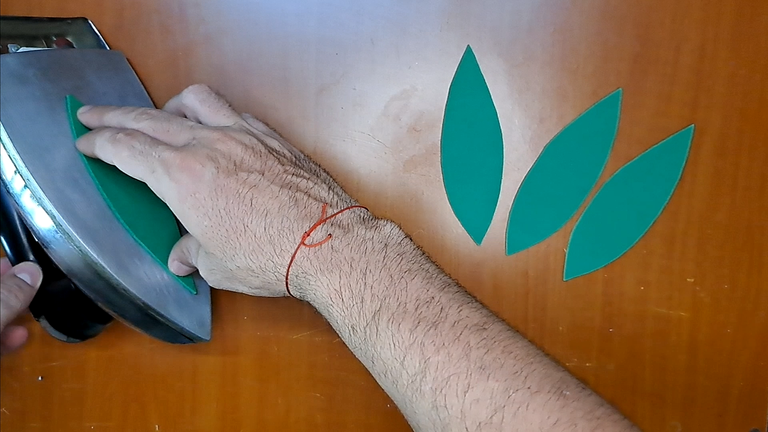
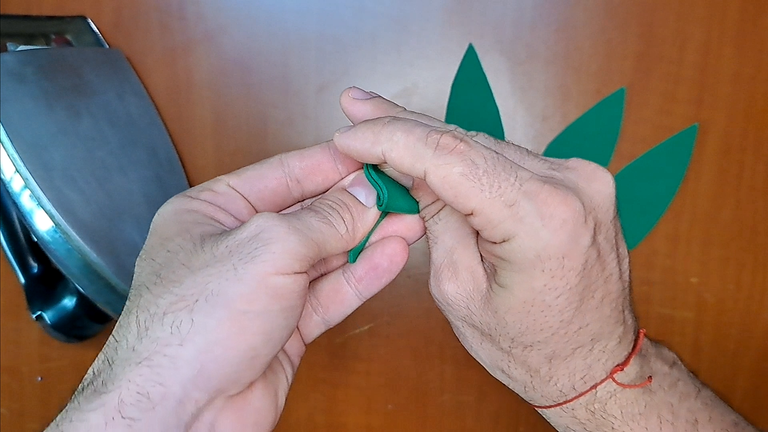
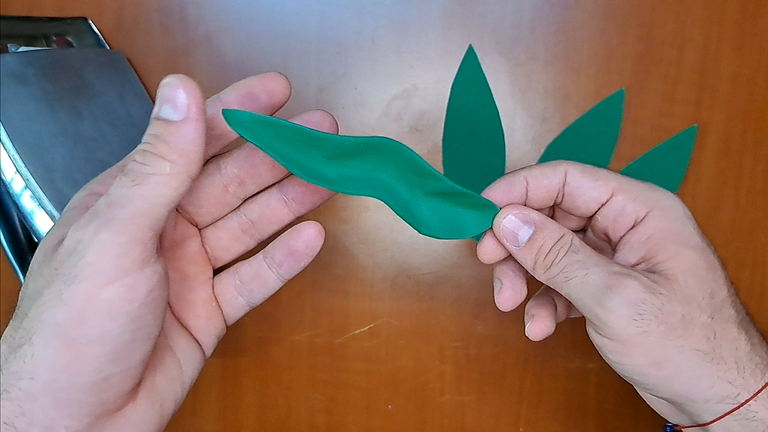
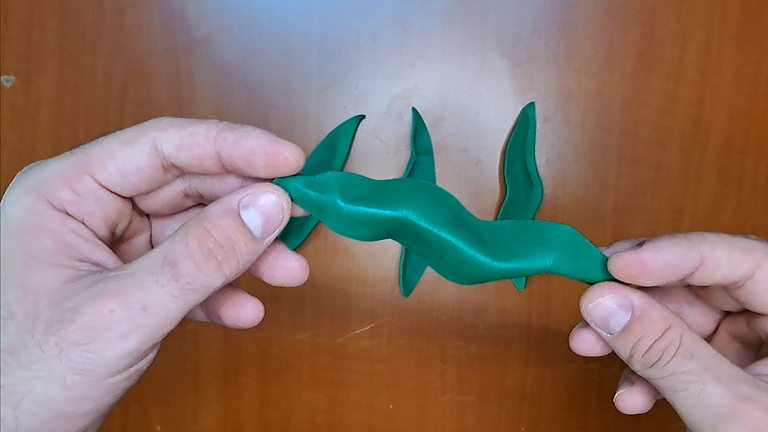
8️⃣ Already the tulip bouquet was taking shape, but it needed leaves. To make the leaves I used an inkless pen and traced the outline of the leaves on a sheet of green fomi. After cutting out the leaves, I thermoformed them and, once hot, folded them in half and scrunched them into the shape shown below.
 |
 |
 |
 |
 |
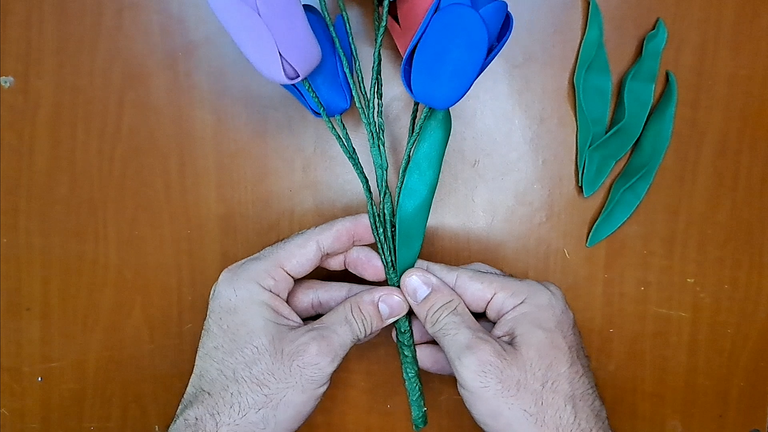
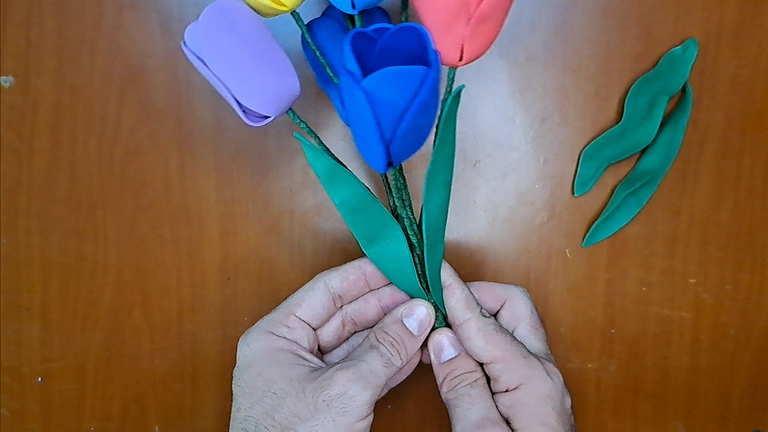
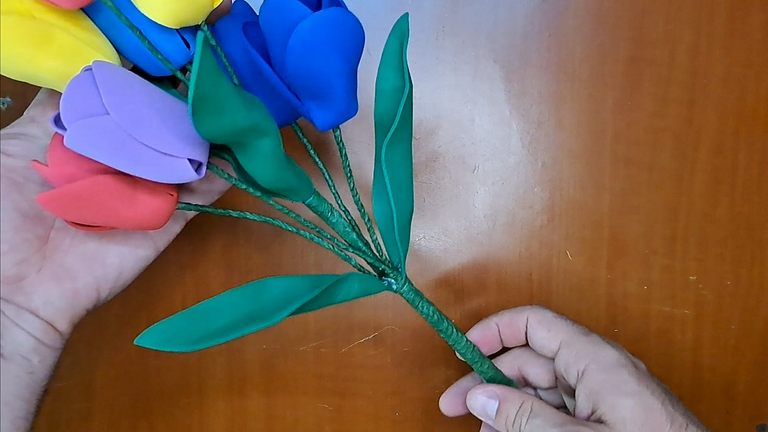
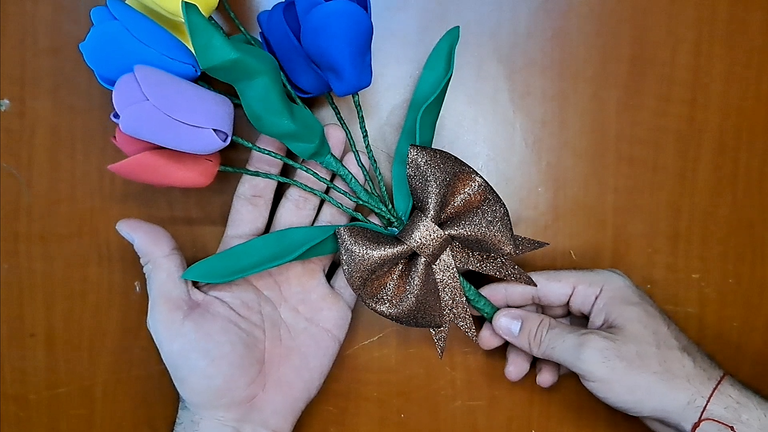
9️⃣ With the leaves ready, I could add them to the bouquet and that's what I did. I started by placing a couple at the base of the bouquet, where the stems begin to separate, and then placed two higher up on the level that separates the tall flowers from the short ones. This way, the tulip bouquet would be ready, but I felt something was missing.
 |
 |
 |
 |
 |
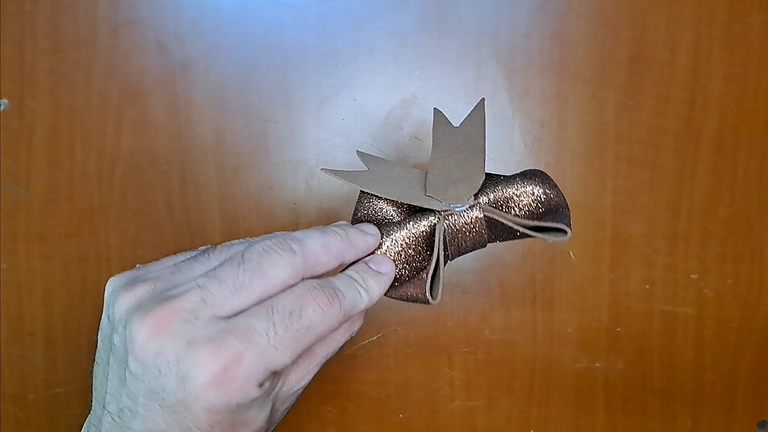
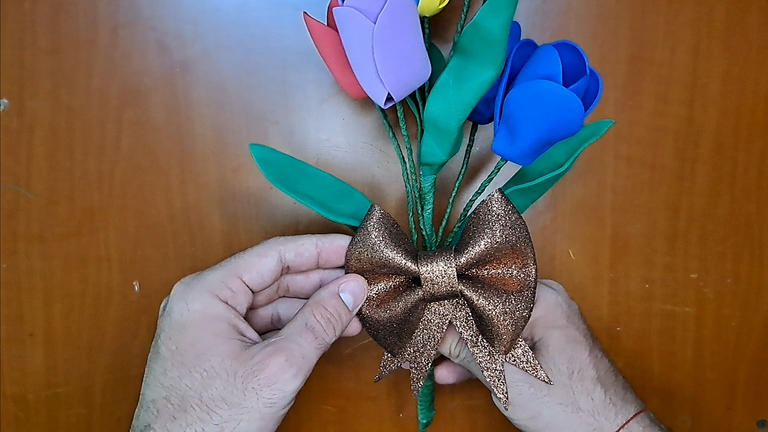
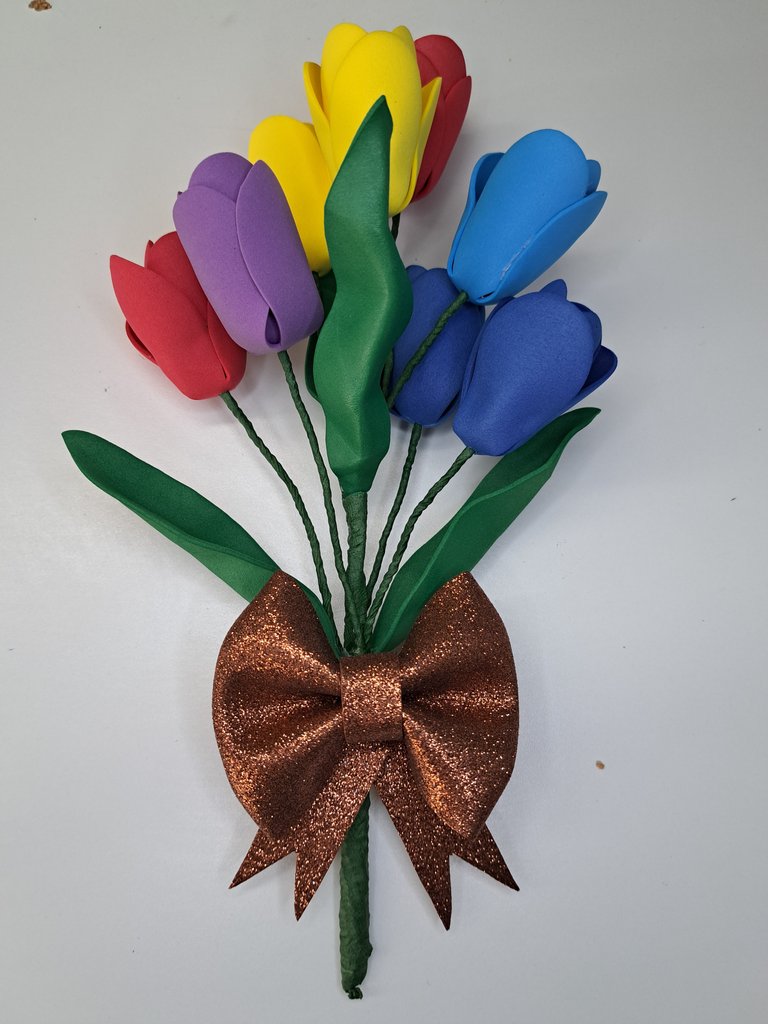
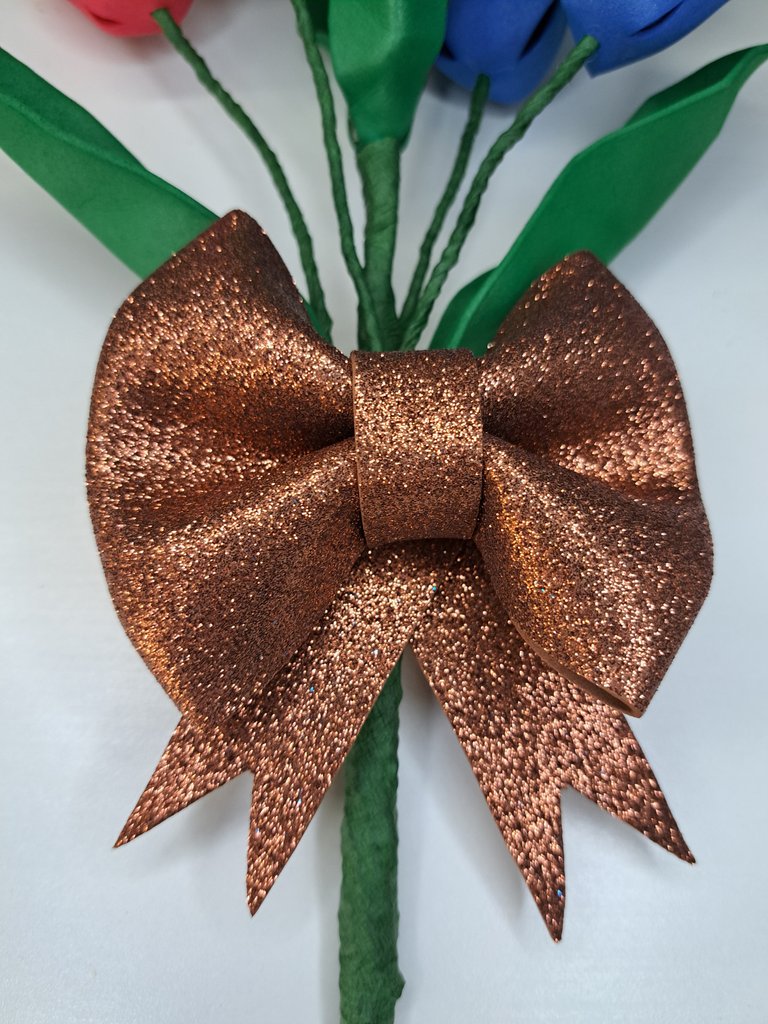
🔟 After placing the leaves, I felt that the bottom of the tulip bouquet was too empty, so I decided to add a bow. Looking through the scraps of fomi, I found a sheet of frosted caramel-colored fomi and decided to make a bow for the bouquet.
To make the bow, I folded the fomi in three parts and squeezed it in the middle. To keep the shape, I added a ribbon around it and then attached it to the bouquet in the place I thought it would be most suitable.
 |
 |
 |
 |
 |
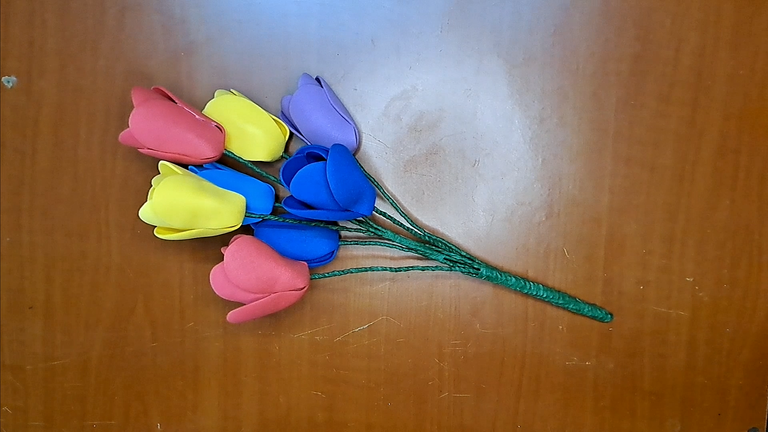
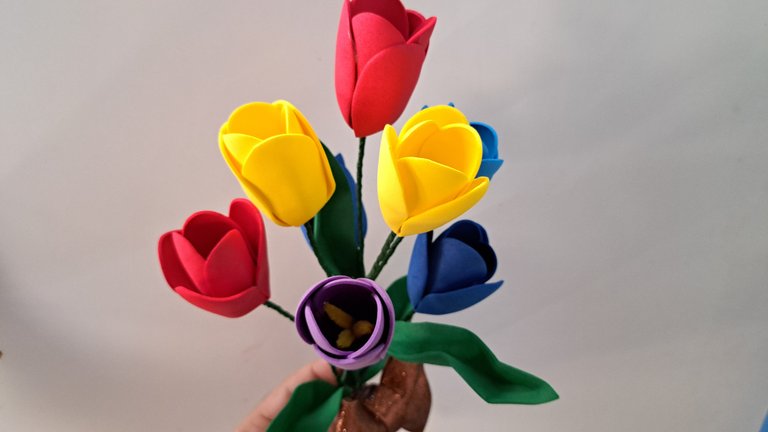
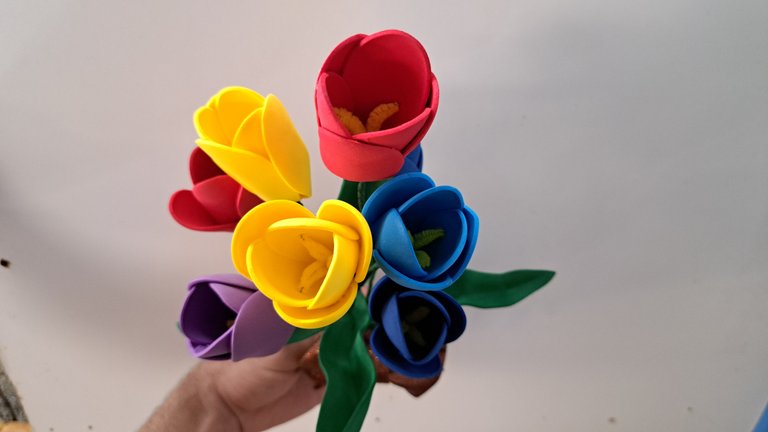
This way the bouquet of multicolored tulips, decorated with a bow and made mostly with fomi, would be ready. I hope you liked this craft and that it will be useful in the future to make your own bouquet of tulips. I must say that my mom's aunt loved the gift and is already looking for a way to place it in a vase.
Without further ado, I bid you farewell, but not before reminding you that I will be back soon to share with you another little piece of my creative world.
⚜️ Finished Work ⚜️
 |  |  |
 |  |

Credits and Resources
Cover page created in Canva
Translated by DeepL
Video and images captured with my Samsung Galaxy A53
Edited in Wondershare Filmora 13
Music by u_oyayh5ybip from Pixabay


▶️ 3Speak