We are in the midst of a heavy snowstorm and freezing temperatures here in western New York. However, that does not stop me from growing some delicious microgreens under lights during these cold winter months.
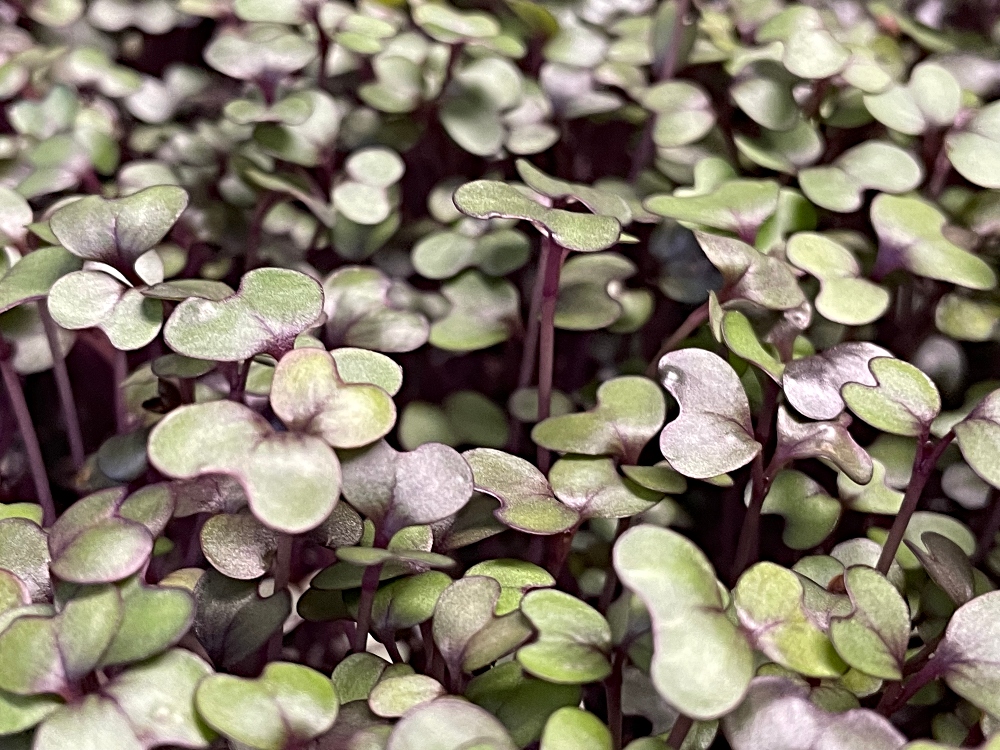
Microgreens provide more nourishment than the full-grown vegetable. They are densely packed with vitamins, minerals, and healthy enzymes to assist you with overall health.
I started growing microgreens three years ago and I must say I really enjoy having rich and nutritious greens when I can't grow outside. If you have not tried growing some for yourself and would like to do so, I will share some simple instructions for you to follow.
successful.
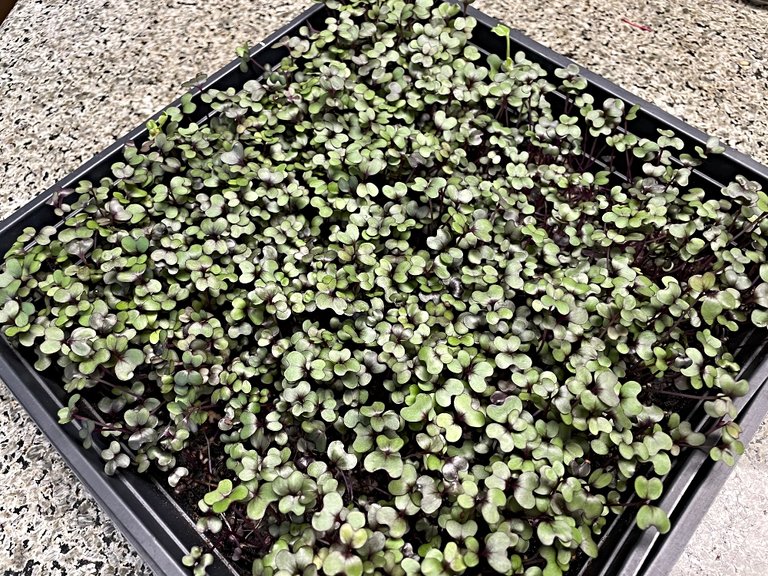
Prepare the trays
It is good to start by having trays specific for growing microgreens which will make it so much easier to be
Put about 1 inch of fine soil into the tray that has the drain holes in it. Spread the soil evenly and gently tamp it flat creating a smooth surface. Dampen the soil with water until it is evenly moist throughout but not soggy.
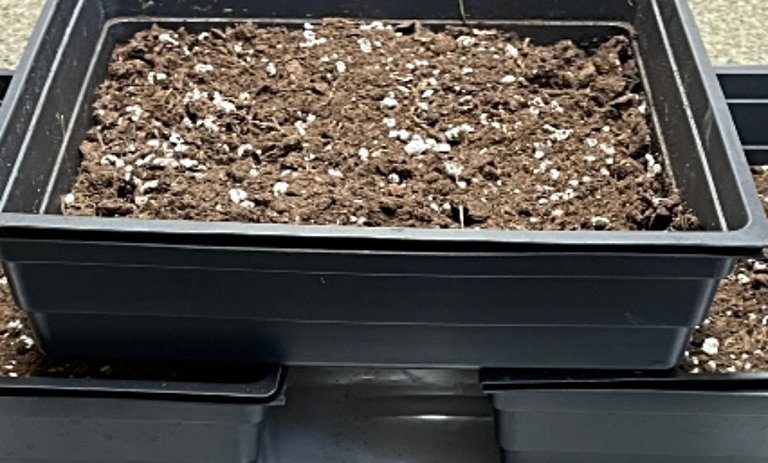
Place the tray with holes into a tray without holes as you will use this bottom tray as a water reservoir once the seeds sprout.
Seeds
It is time to spread a good amount of seeds all over the surface of the soil. You want them close together but not too crowded. Sprinkle a light layer of the soil mix over the seeds and mist with water. This helps increase the humidity surrounding the seeds during the germination period.
Blackout Phase

Place another tray without holes on top of the seeds. Press down firmly and find some object to use as a weight to keep the tray in contact with the seeds.
Set your tray in a place where it will not get too hot or too cold; 65° to 75° F is ideal.
Every day you will lift the weight off the tray and mist your seeds lightly. Because microgreens are so delicate, allowing your tray to dry out will cause the stems to lose structure very quickly. I check my trays morning and night to see if they need any misting. If they look damp enough I skip misting until needed. Continue to leave the tray and weight on top of them for at least two more days.
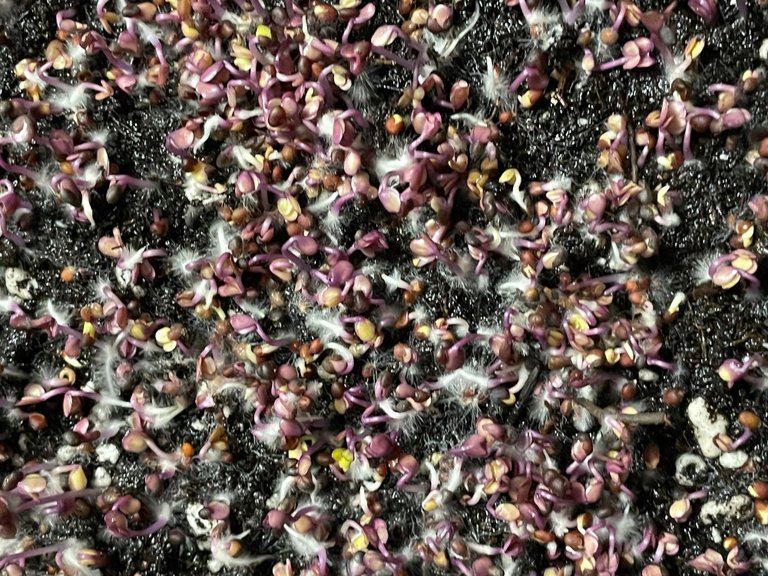
Once the seeds have put out roots it is time to turn the lid upside down on top of the tray.
.jpg)
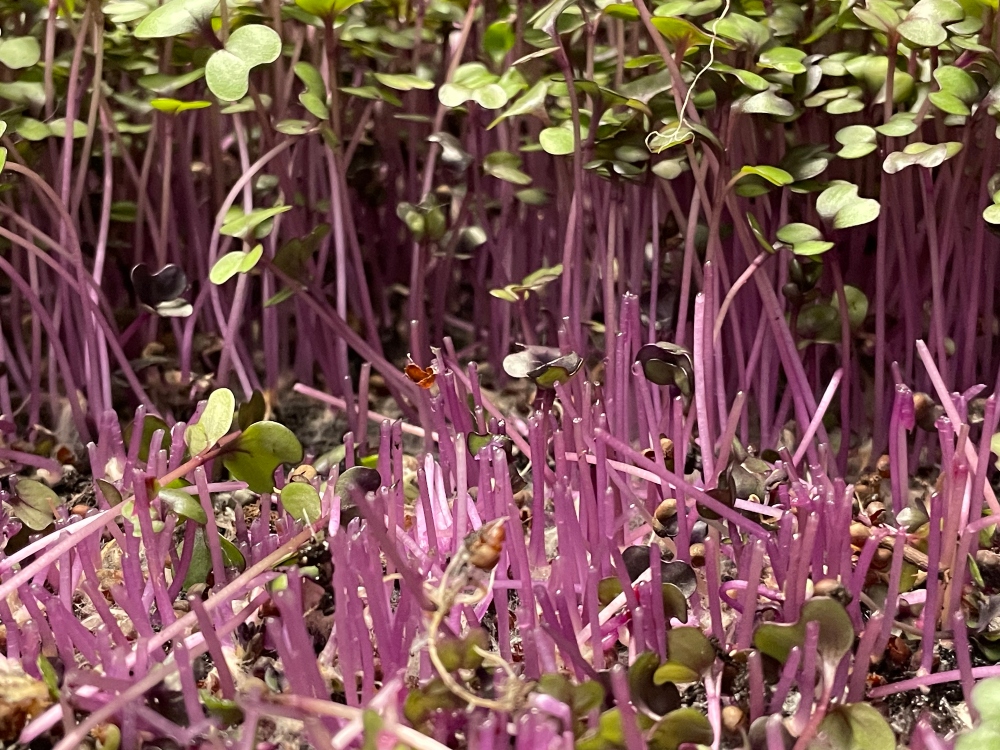
Keeping the seeds in the blackout phase like this will cause the seeds to stretch to find light. Depending on the type of seed, you will begin to see them forming baby leaves (cotyledons) within 3-5 days, then you will wait one more day before removing the tray completely.
This is when you will start putting a small amount of water in the bottom tray. Simply lift the seeding tray up a bit and pour a small amount of water into the tray. Just enough to cover the bottom. The roots will reach for the water and allow the shoots to grow tall and strong. You will no longer be using a misting bottle once you start bottom watering.
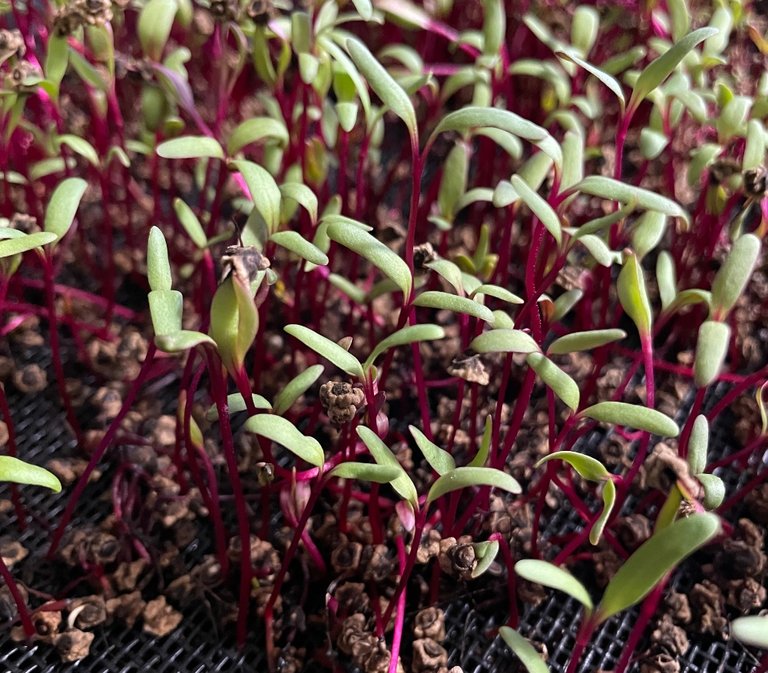
The Light Phase
Every crop needs plenty of light to thrive and microgreens are no different. I highly recommend using full-spectrum LED grow lights for growing microgreens or any other seeds you may want to start. I have had great success with the Barrina LED Lights from Amazon.
Turn your lights on in the morning and keep them on for twelve hours. After checking if they need bottom watering at night, you can turn them off until the next day.
Also, I use a rotating fan during the day to circulate the air and help to create strong seedlings. Many types of microgreens will be ready to harvest within 9-12 days from seeding. It is amazing how quickly they grow.
Harvesting
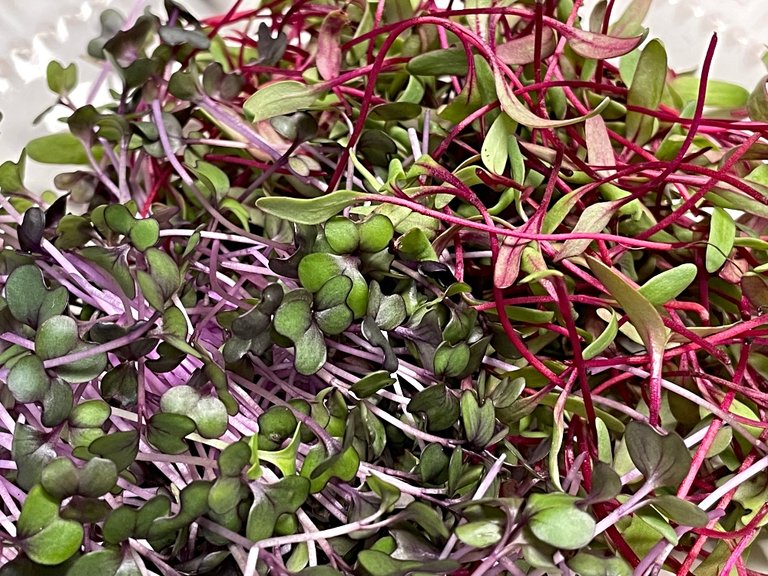
When you feel your microgreens are ready to be harvested, grab a few with one hand and simply take a pair of kitchen sheers and cut the greens slightly above the surface of the soil.
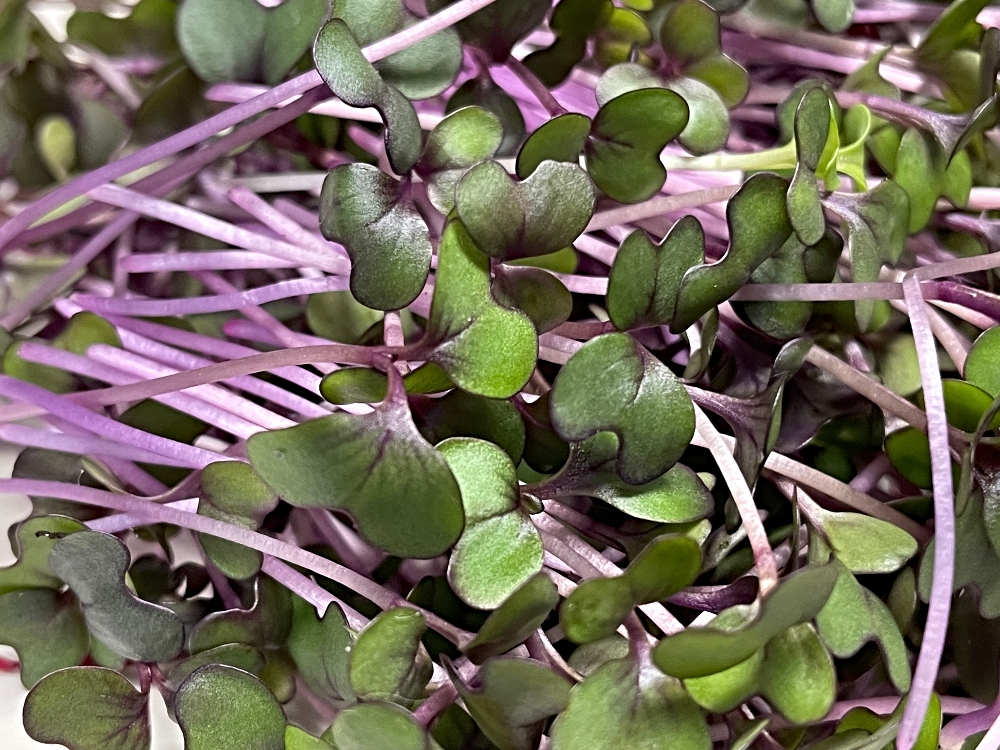
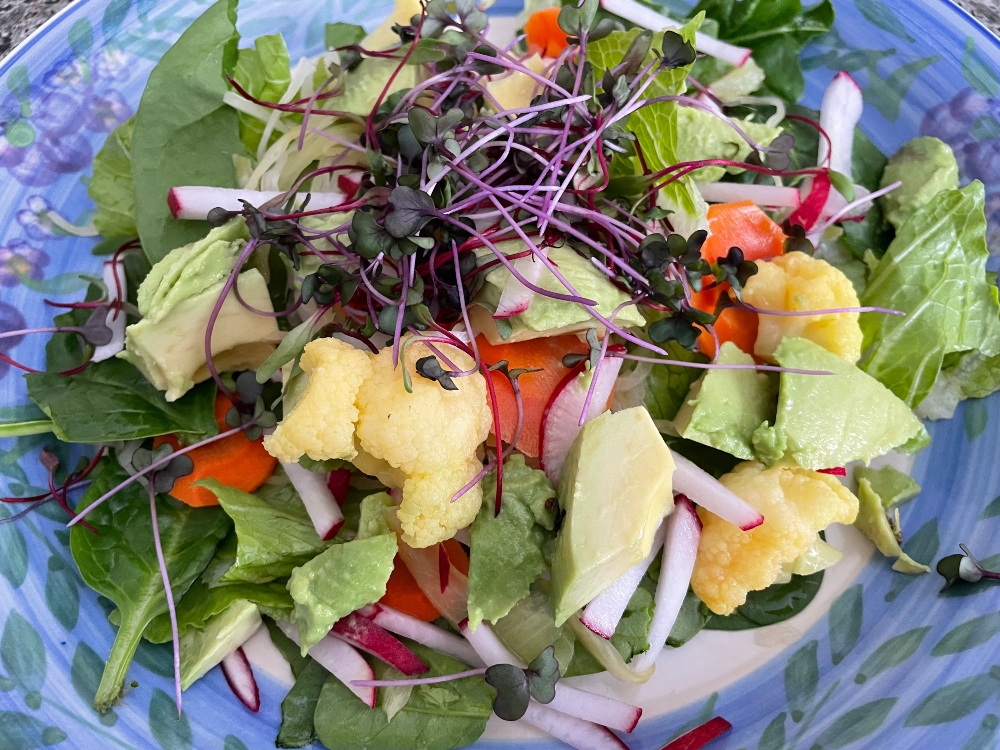
Continue cutting them carefully so as not to get any of the soil on them. Place them in an airtight container to enjoy them with your preferred meal. For this round, I grew beets and radish greens to enjoy with my daily salad.
Nutritional Information
Radish
Vitamins A, B, C, E, K, Calcium, Iron, Magnesium, Phosphorus, Potassium, Zinc, Amino Acids, Carotene, Chlorophyll, Antioxidants, Protein: 30%
Beet - Detroit Dark Red
Vitamins A, B, C, E, and K, Calcium, Magnesium, Potassium, Iron, Zinc, Antioxidants, and Protein
Source
I like putting them in a variety of dishes, sandwiches, and salads as often as I can. Being an avid organic gardener, growing microgreens was an easy choice for me. Many wonderful sites show you how to grow "Microgreens". It is not difficult at all and the benefits are so worth it!
.jpg)
Until next time, this is Sunscape
Sun. Scape. Ing Your Day

