Hello little bees of the kitchen, stove, griddle, oven, rice cooker.... In short, whatever you use to cook such delicious recipes.
As the title says, from the tree to the table. How nice to be able to take advantage of the bounty of the seasons to prepare exquisite delicacies, sweet or savory. Today I am going for the sweet side of life with a guava jam.
Guavas that I waited for with desperation 😅. Because nothing that rained and just watering with tap water was not enough to make our tree sprout. I say our, although the truth is that my husband's grandfather planted it. Thanks to Mr. Chico, we have enjoyed juice and jam, infusions and fruit to give to friends.
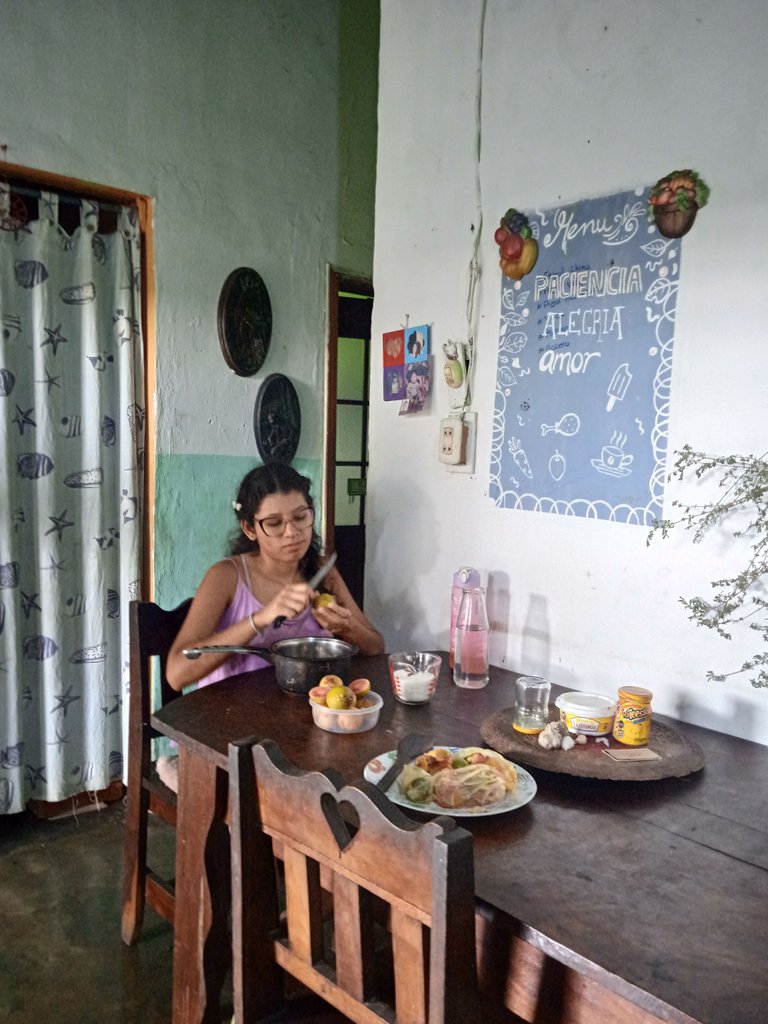
This month I came to Portuguesa to celebrate my mom's patronal feast (her birthday 🤭) I brought a good amount of guavas to have a delicious snack, I brought them for two reasons: the first is that I really wanted to make this jam since the tree began to bloom and also wanted to share it with you, the second reason is that the guavas at home are sweeter than the ones from Portuguesa.
The ones from Portuguesa are bigger and pear shaped and I think they are more bitter.
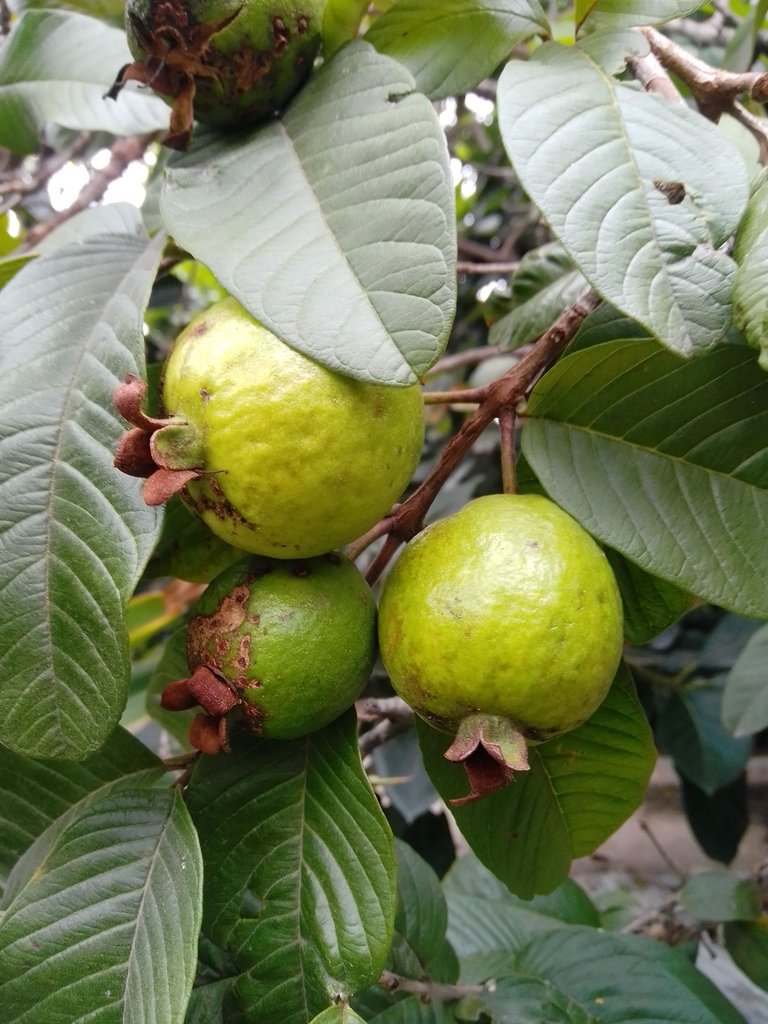
Here you can see the guavas still in the tree of life. I picked some of them colorful and some yellowish, but the funny thing is that some of them were crushed in the bus. The ones in the photos were the ones that remained intact. It turned into a guava puree, haha!
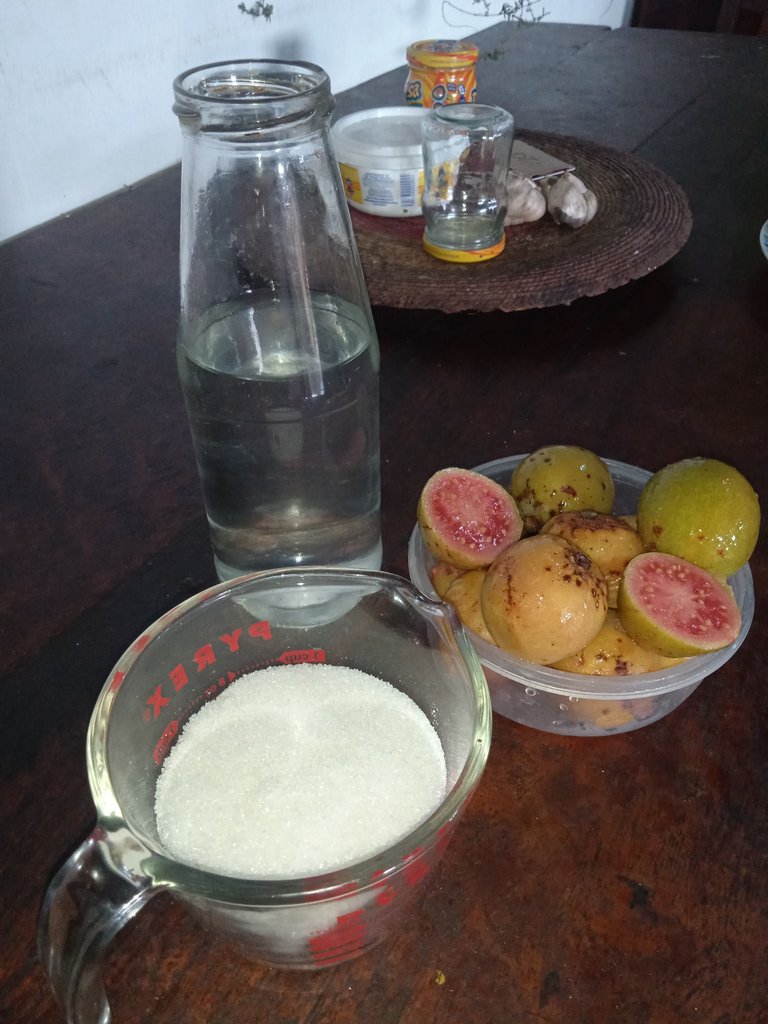
Well, it's time for action and here's what you need to make a tasty jam:
- 1 kilo of guavas.
- 500 grams of sugar.
- Cinnamon and cloves.
- 600 ml of water.
- Glass container with lid.

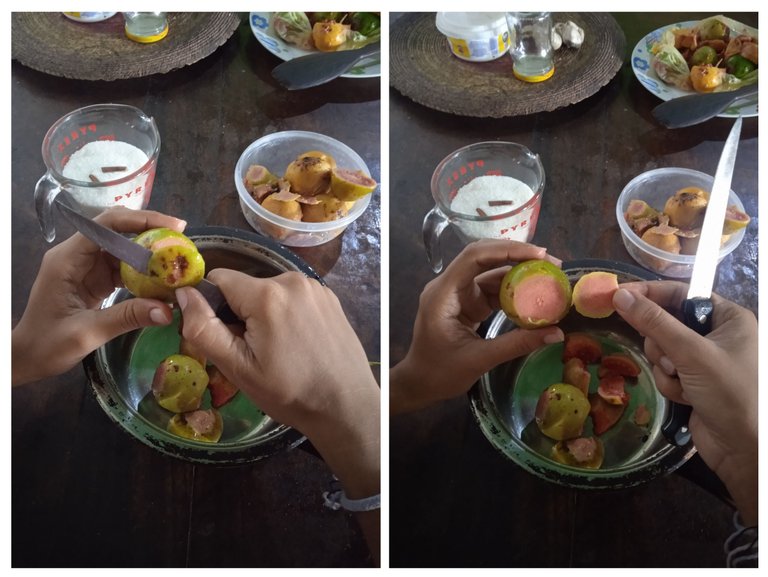
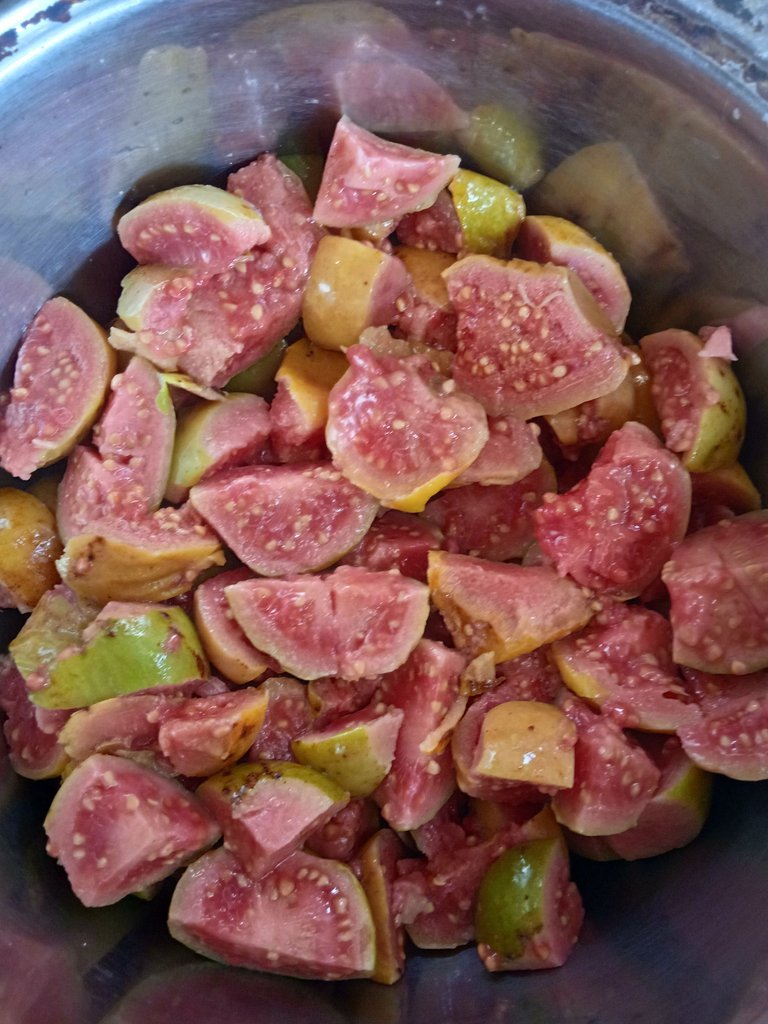
Step 1
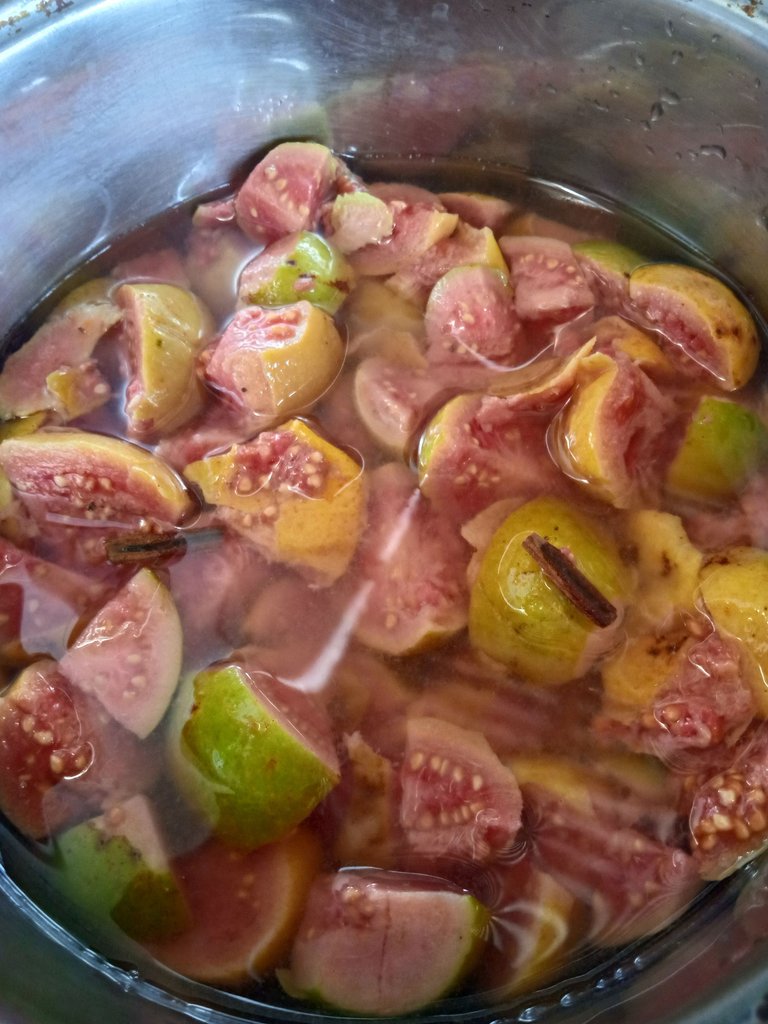
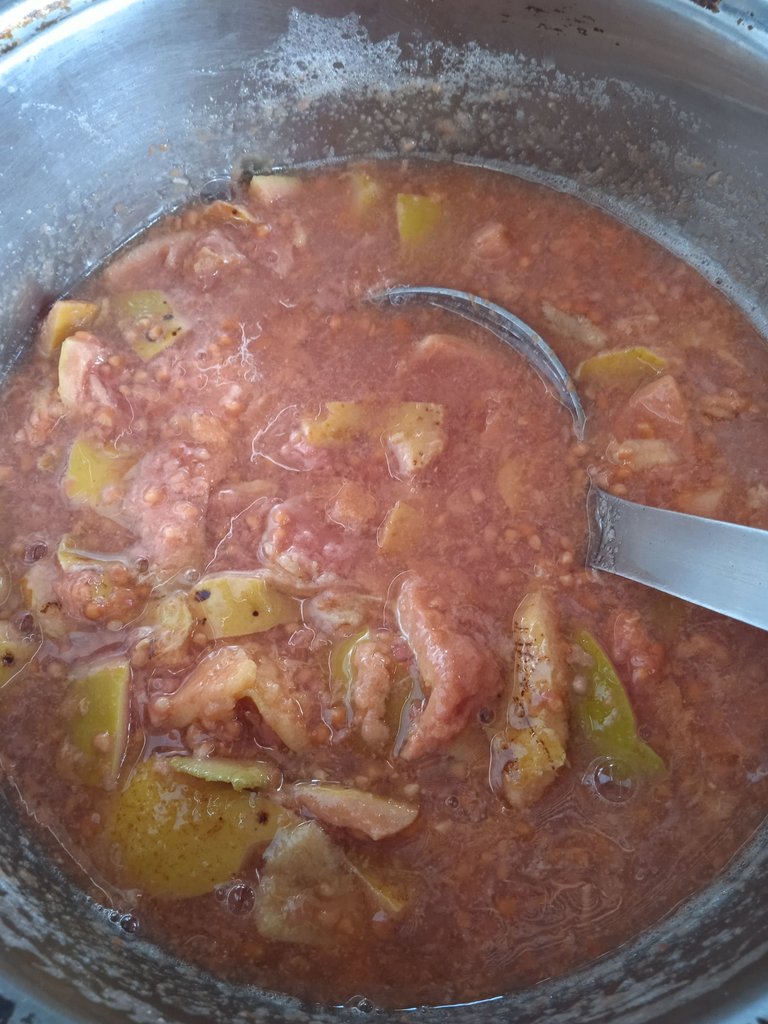
Wash the guavas and cut the stem part to boil them for 10 minutes. The amount of water has to cover the guavas; add the cinnamon and some cloves; then take them out.
Step 2
Before blending, let it cool a little. I will be blending it in two parts as a precaution and so that the blender lasts much longer running. 😁

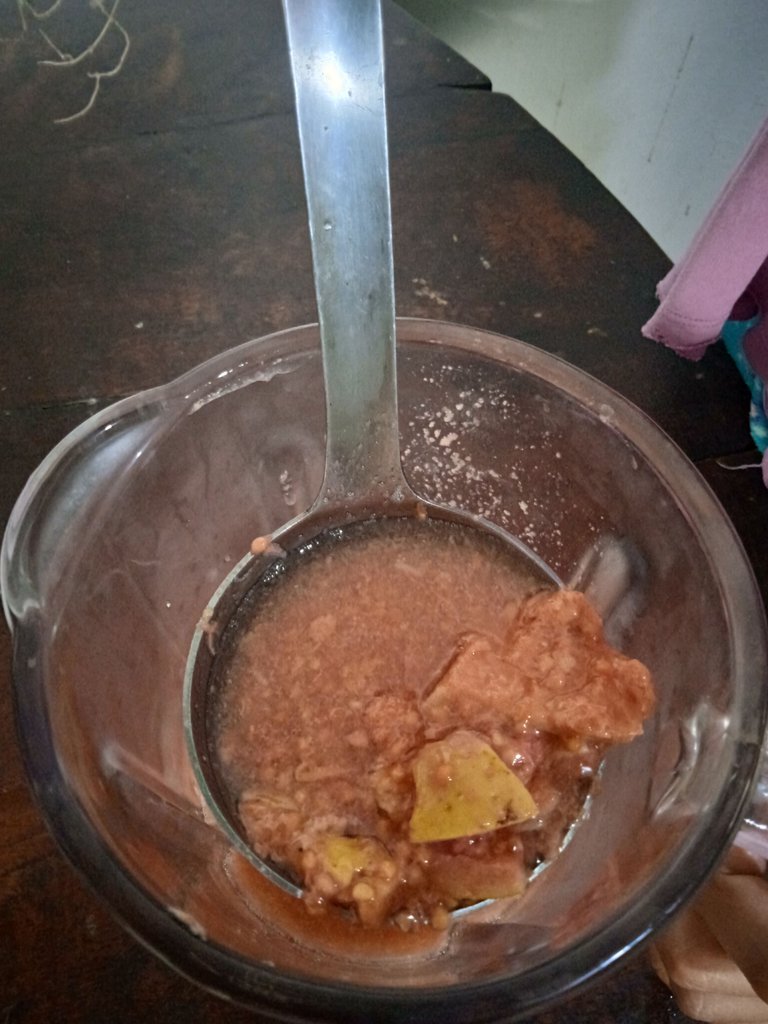
Step 3
Some people prefer to leave the seeds in the jam, but out of habit, I'm going to strain it out. Mind you, it'll take a while.... This is the meditative part 🤭 of making this type of elaborations.
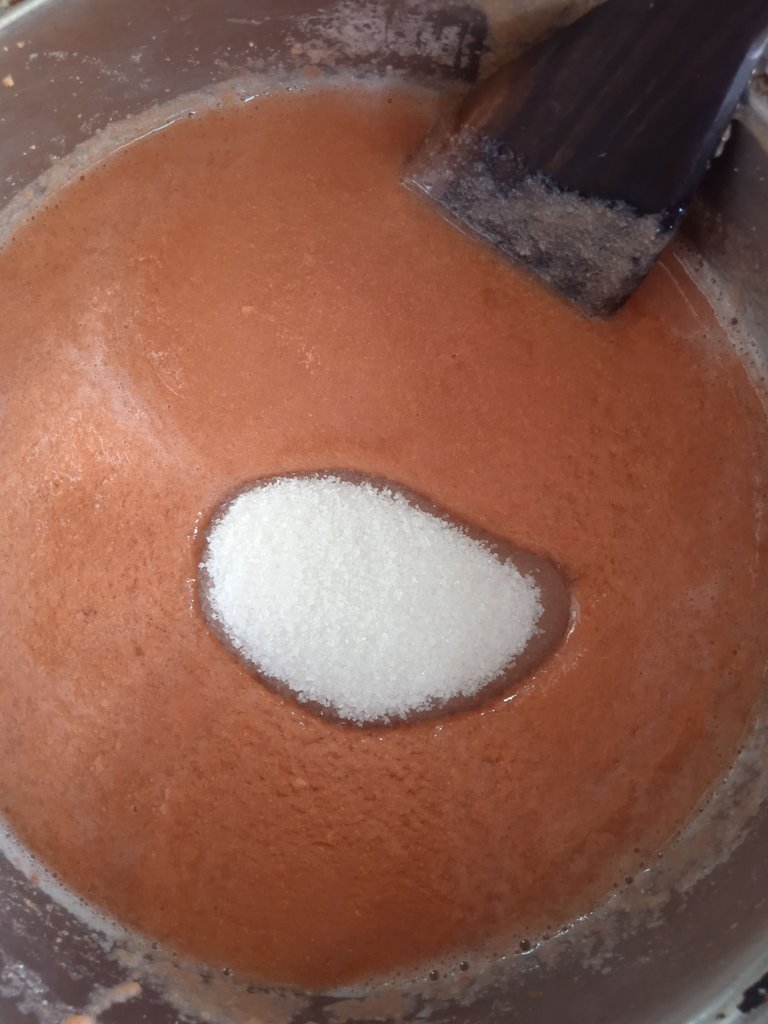
Now we're back to what we came for! We will cook this mixture with the amount of sugar indicated in the ingredients. This amount is used so that it lasts much longer in the pantry.
But you can adjust the recipe to your liking, subtracting 100 grams or also using half a panela of papelón instead of sugar.
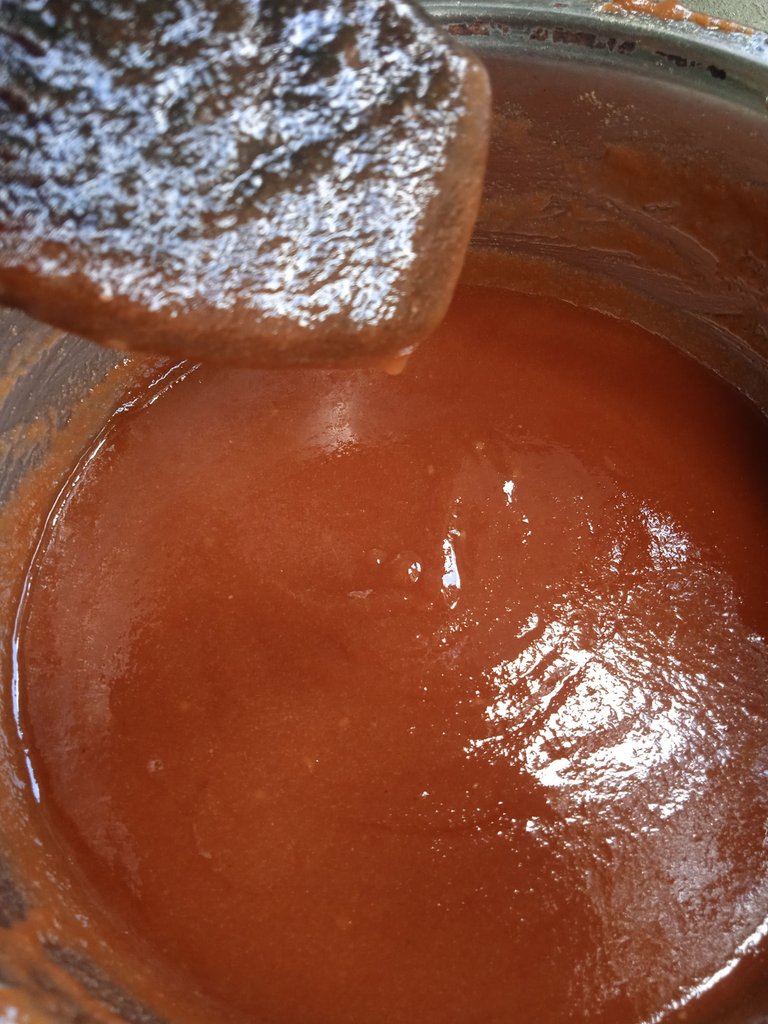
Ok, this part requires strength, because we must cook at medium heat and then low, for 50 minutes without stopping stirring.... That is the time I always use.
What if I cook it for 20 minutes?
It would be very runny jam, if you add it to a cookie it would run off 😅. And that's not what we're looking for. That's why 40 to 50 minutes is best.
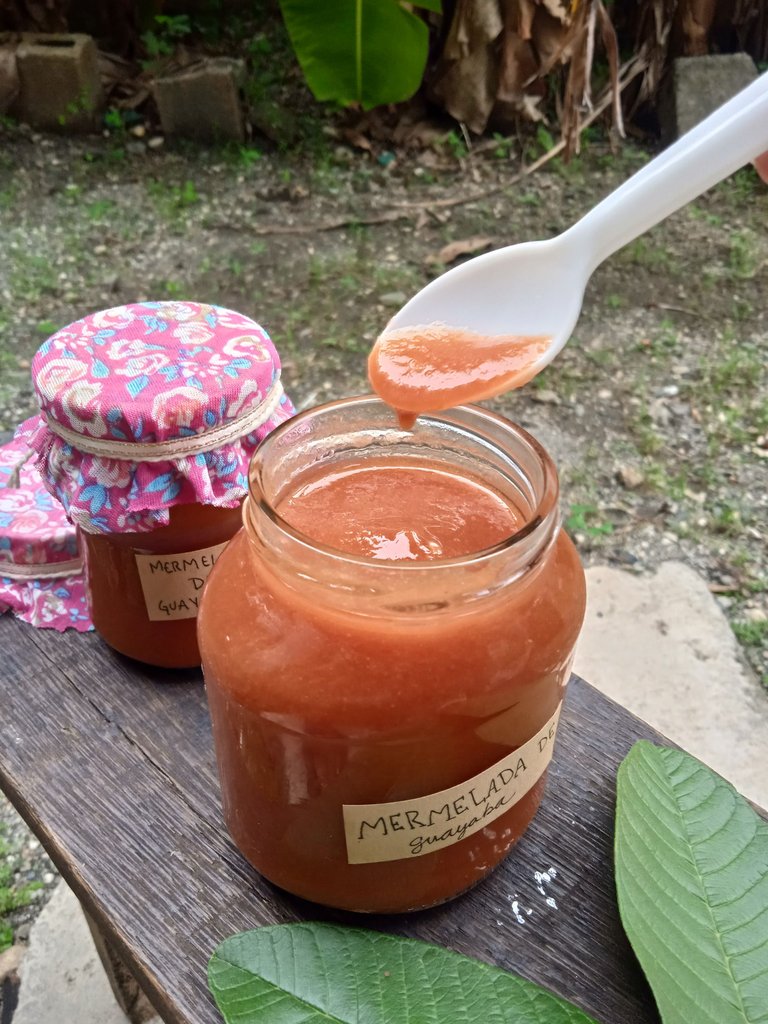
After the cooking time has passed, we lower the pot on the stove and when it stops bubbling, we fill the chosen containers.

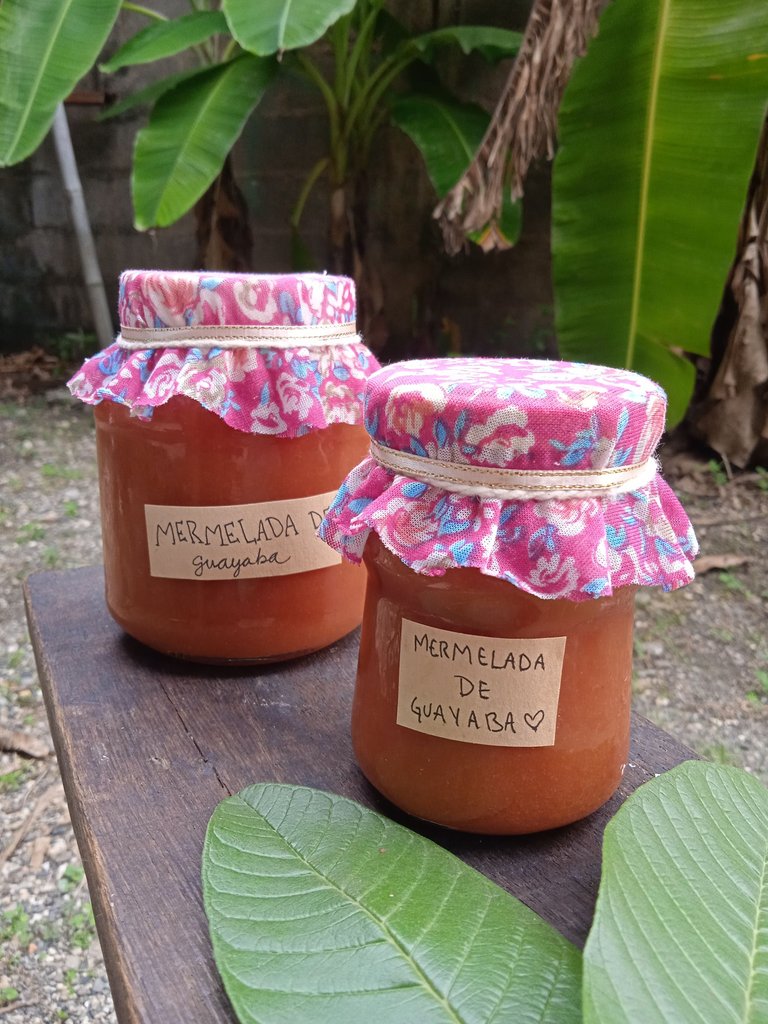
These containers must be previously sterilized. We fill them, cover them and turn them upside down the next day.
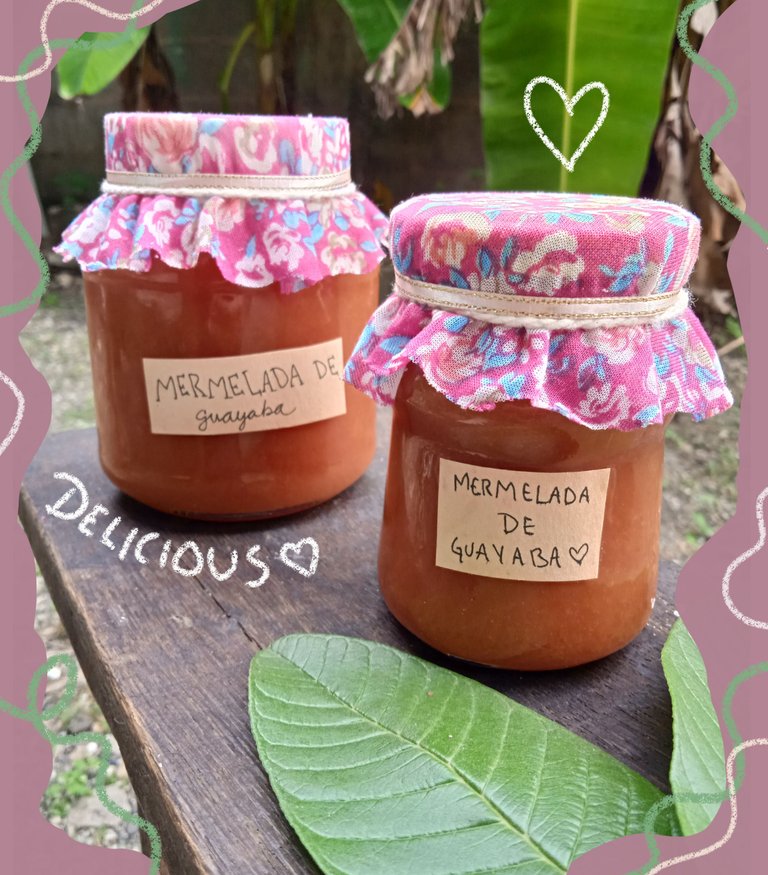
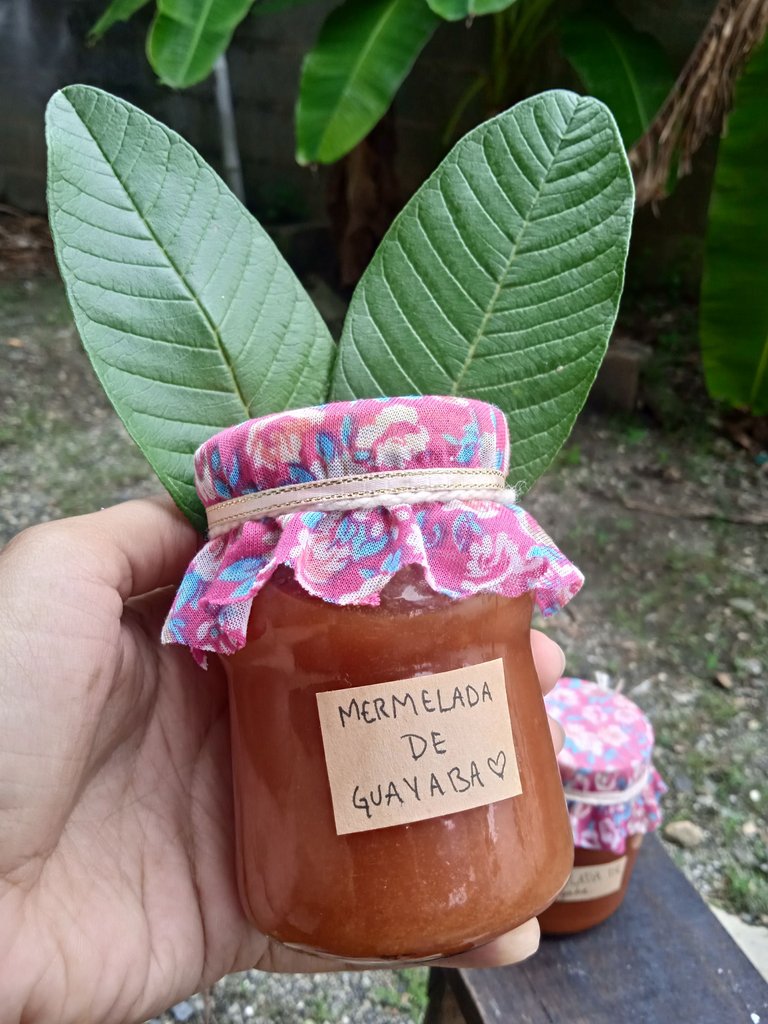
A self-made delight! To fill breads, cookies, cake, even to eat with cheese 😁 it combines very well 👌🏻
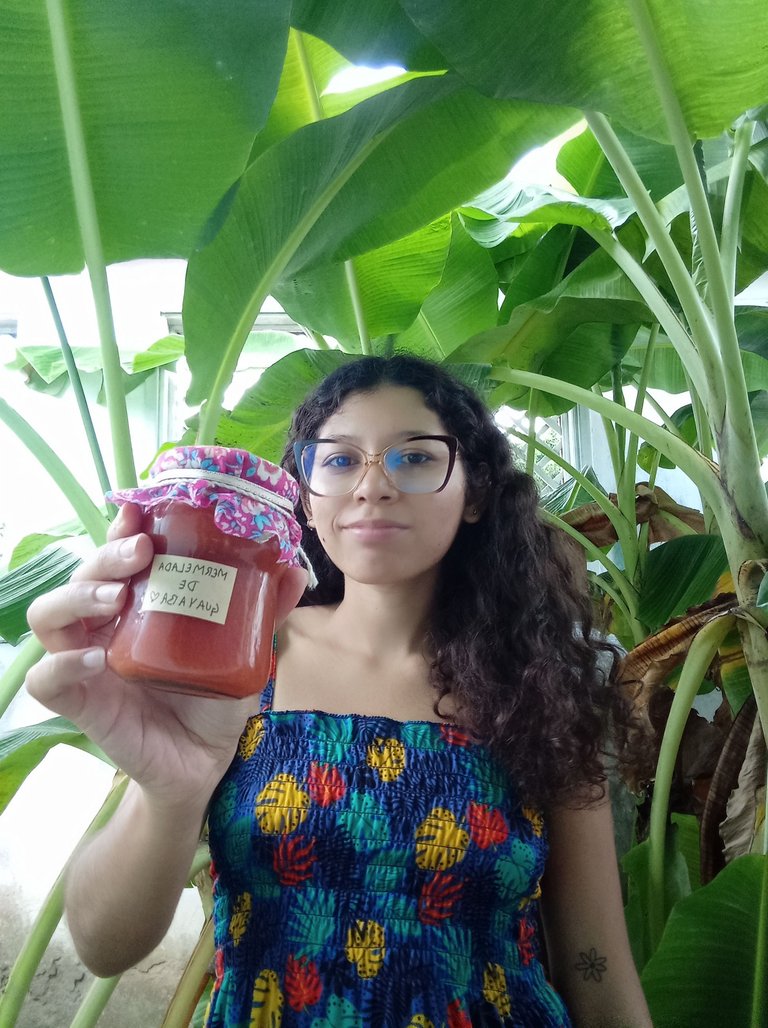
See you in a future post with another tasty recipe. Happy days!🐝
Credits
- Translated at DeepL.
- Photos edited in IbisPaint X.
Español
Hola abejitas de la cocina, fogón, plancha, horno, arrocera... En fin, lo que ustedes utilizan para cocinar tan ricas recetas.
Como el título lo dice, del árbol a la mesa. Que rico poder aprovechar la bonanza de las estaciones para preparar exquisitos manjares, dulces o salados. Hoy me voy por el lado dulce de la vida con una mermelada de guayaba.
Guayabas que esperé con desespero 😅. Porque nada que llovía y solo regar con agua de la llave no era suficiente para hacer retoñar nuestro árbol. Digo nuestro, aunque la verdad lo sembró el abuelo de mi esposo. Gracias al señor Chico, hemos disfrutado de jugito y mermelada, infusiones y fruta para regalar a los amigos.
Este mes vine a Portuguesa a festejar las fiestas patronales de mi mamá (su cumpleaños 🤭) me traje una buena cantidad de guayabas para tener una rica merienda, me las traje por dos razones: la primera es que anhelaba mucho hacer esta mermelada desde que comenzó a florecer el árbol y además quería compartirla con ustedes, la segunda razón es que las guayabas de la casa son más dulces que las de Portuguesa.
Las que se encuentran en Portuguesa son más grandes con forma de pera y creo que son más amargas.
Aquí puedes ver las guayabas aún en el árbol de la vida. Las recogí pintonas y otras amarillitas, pero lo chistoso es que en el bus se aplastaron varias. Las de las fotos fueron las que quedaron intactas. Se volvió un puré de guayaba, ¡jaja!
Bueno, es momento de la acción y esto es lo que necesitas para hacer una rica mermelada:
- 1 kilo de guayabas.
- 500 gramos de azúcar.
- Canela y clavos de olor.
- 600 ml de agua.
- Envase de vidrio con tapa.
Paso 1
Lavamos las guayabas y cortamos la parte del tallo para ponerlas a hervir 10 minutos. La cantidad de agua tiene que cubrir las guayabas; agregamos la canela y algunos clavos de olor; después se sacarán.
Paso 2
Antes de licuarlas, se dejan enfriar un poco. Yo lo estaré licuando en dos partes por precaución y para que la licuadora dure mucho tiempo más funcionando. 😁
Paso 3
Hay quienes prefieren dejar las semillas en la mermelada, pero por costumbre, lo voy a colar. Eso sí, tardaremos un rato... Esta es la parte meditativa 🤭 de hacer este tipo de elaboraciones.
¡Ahora sí, a lo que vinimos! Cocinaremos esta mezcla con la cantidad de azúcar indicada en los ingredientes. Se usa esa cantidad para que dure mucho más tiempo en la despensa.
Pero puedes ajustar la receta a tu gusto, restando 100 gramos o también usando media panela de papelón en lugar de azúcar.
Ok, esta parte requiere fuerza, porque debemos cocinar a fuego medio y después bajo, por 50 minutos sin dejar de revolver... Ese es el tiempo que siempre uso.
¿Y si la cocino 20 minutos?
Quedaría muy líquida la mermelada, si la agregaras a una galleta se escurríria 😅. Y no es eso lo que buscamos. Por eso lo mejor es de 40 a 50 minutos.
Pasado el tiempo de cocción, bajamos la olla de la cocina y cuando deje de hacer burbujas, llenamos los envases elegidos.
Estos envases deberán estar previamente esterilizados. Los llenamos, tapamos y los volteamos al día siguiente.
¡Una delicia hecha por nosotros mismos! Para rellenar panes, galletas, torta, hasta para comer con queso 😁 que combina muy bien 👌🏻
Nos vemos en un próximo post con otra rica receta. ¡Felices días!🐝
Créditos
- Traducido en DeepL.
- Fotos editadas en IbisPaint X.
Posted Using InLeo Alpha