
Hello everyone! I introduce myself to this nice community with some delicious butter biscuits, also known as dry shortbread 😁.
I like to make butter biscuits for snacks, gifts and also to sell. This time I wanted to make biscuits using the piping bag, to give them a nicer shape, normally I shape them with cutters and other times with the spoon to give them a more homemade presentation.
As I had an order of cupcakes and biscuits for a birthday, I took advantage of the moment and the oven to make some biscuits and have them for a snack. ☕
Before making the biscuits, I made a small amount of strawberry jam. For this one I used 150 gr of strawberry and 65 gr of sugar, I made very little because it is only used to decorate the biscuit.
In another recipe I plan to make some filled with jam like the newton biscuits or reinitas, in these biscuits it is necessary to have more jam 🤭👏🏻
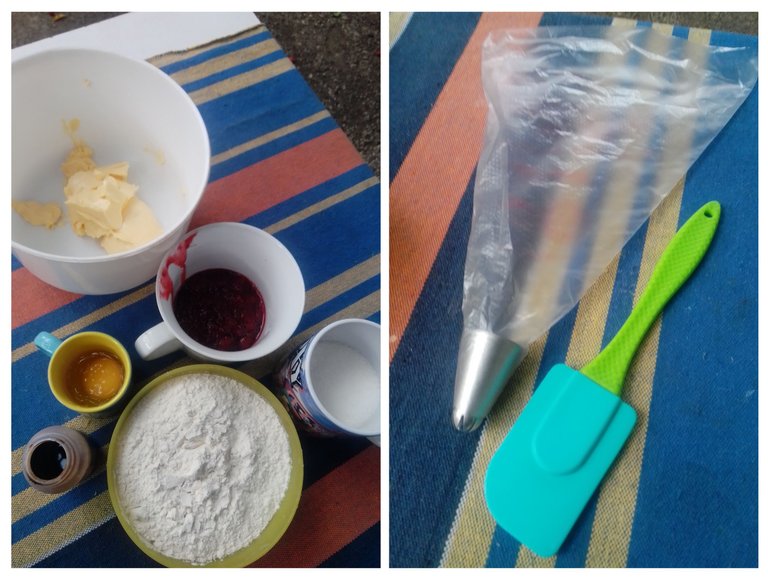
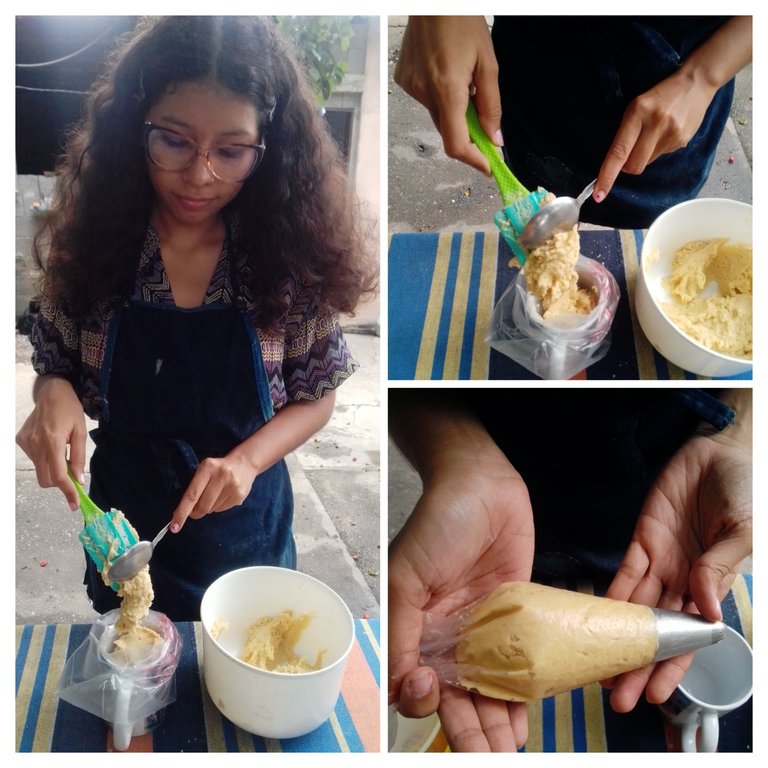
I used a piping bag and a closed star duya for these biscuits.
Ingredients:
250 grams of wheat flour.
120 grams of sugar.
120 grams of butter.
1 egg.
Vanilla.
Strawberry jam.

Preparation:
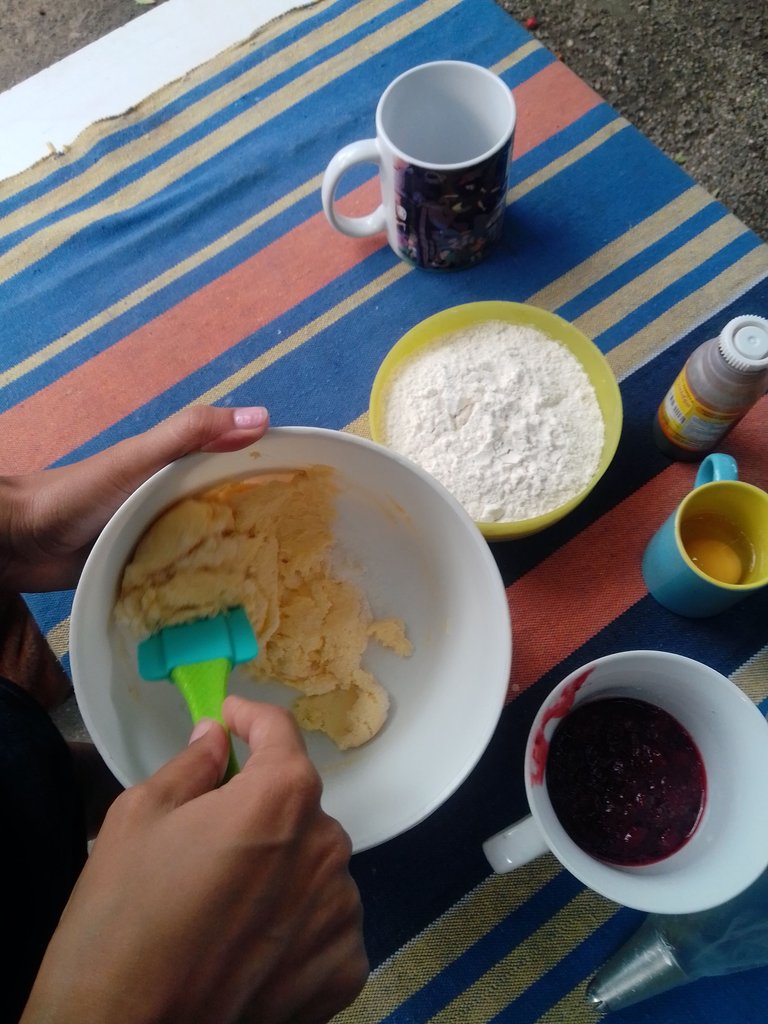
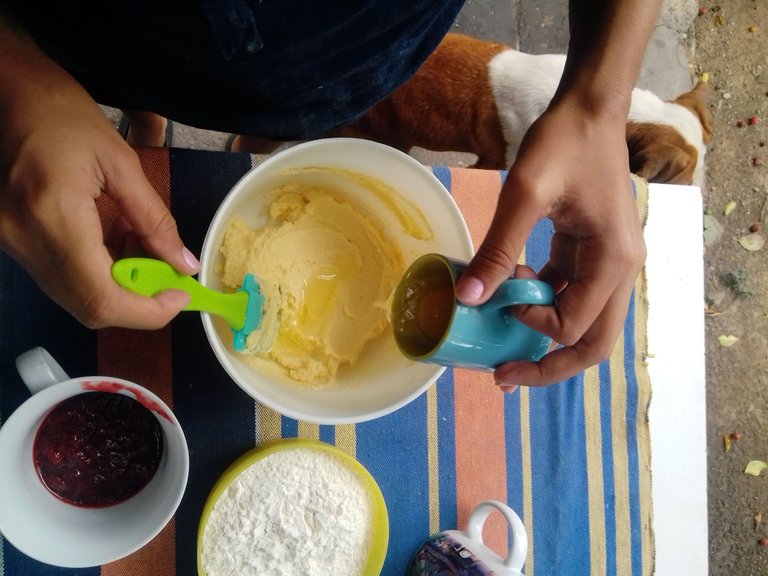
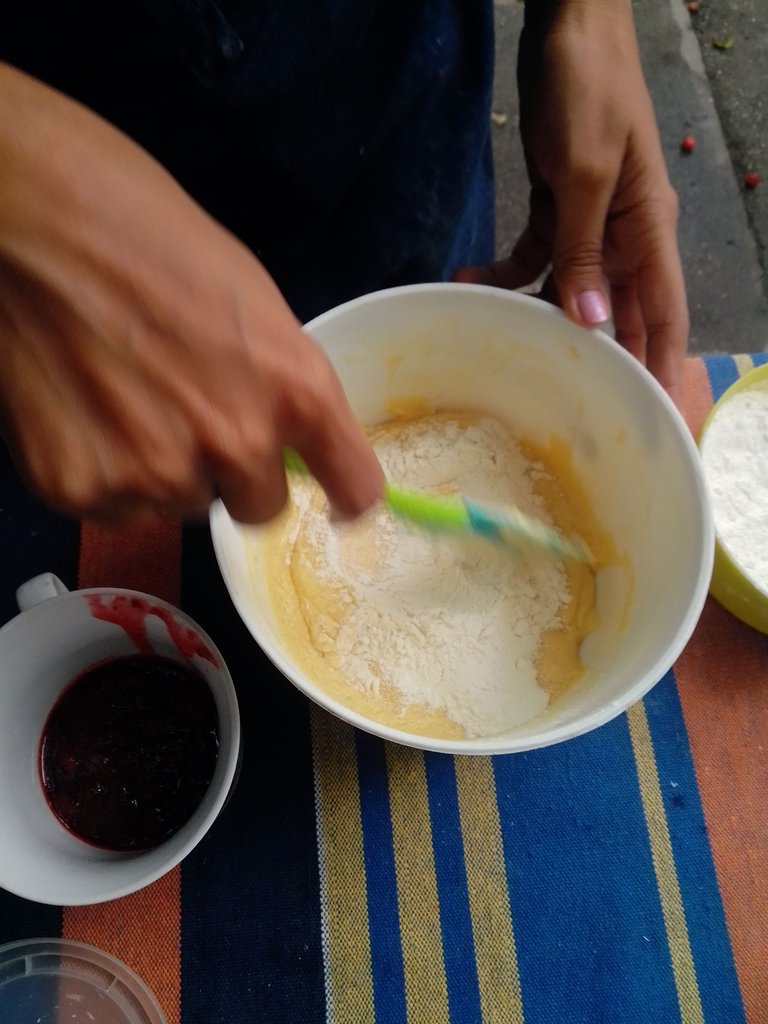
The first step is to beat the butter with the sugar and then add the egg and vanilla. Beat a little so that it integrates well and the smell of egg disappears.

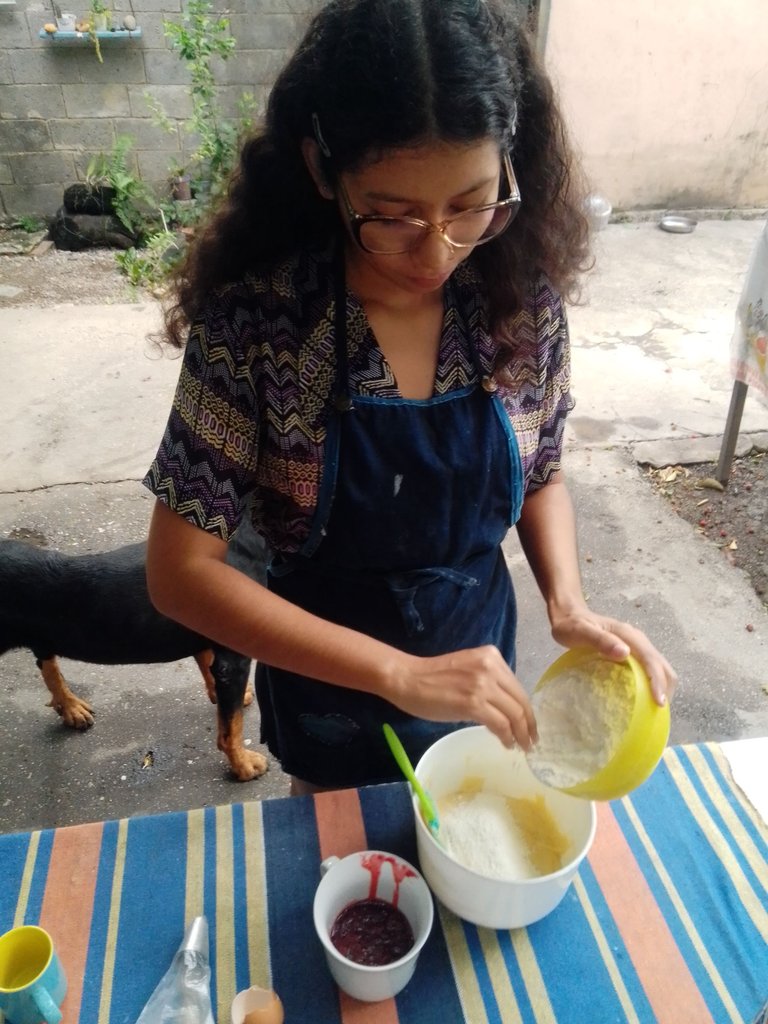
The next step is to add the flour slowly and without making too many sudden movements so as not to activate the gluten in our mixture. When all the flour is integrated, we transfer some of it to our piping bag with the help of the spatula. But first we do a practice exercise to make them look nice 😁.

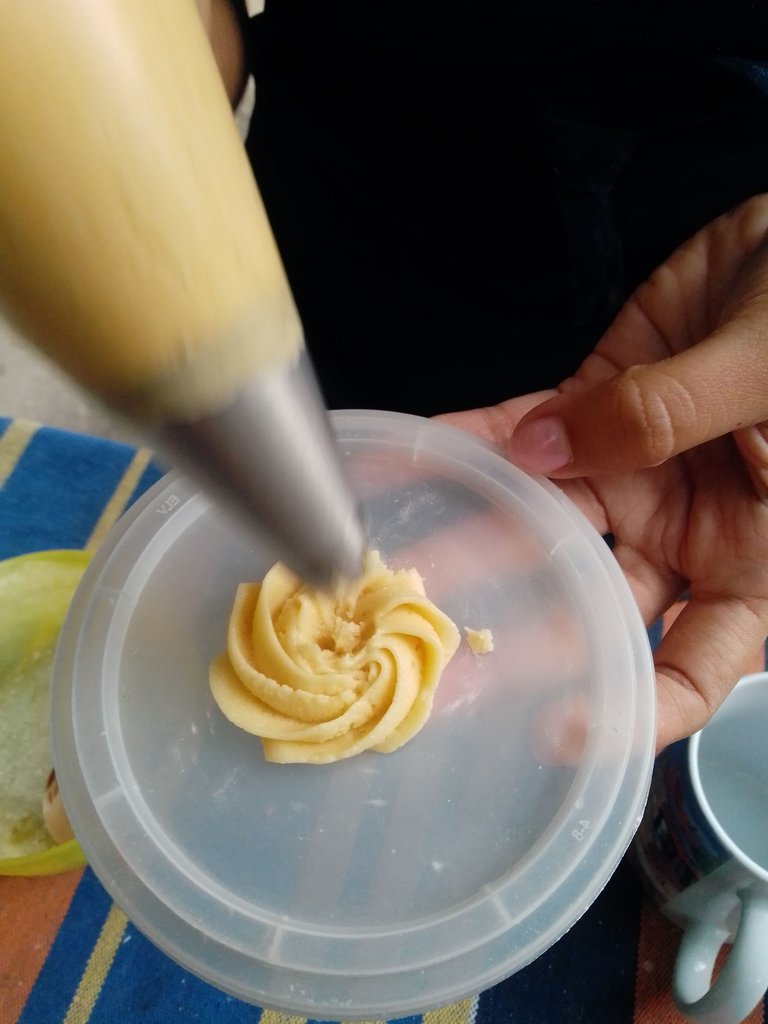
I will use this tray that I have only for the biscuits, as you can see I don't put anything underneath because the amount of butter that the biscuits have prevents them from sticking and also because the tray is cured 🤭.
This is what we say in Venezuela, when a pan or tray has been used many times and the food no longer sticks to it when it is time to use it.

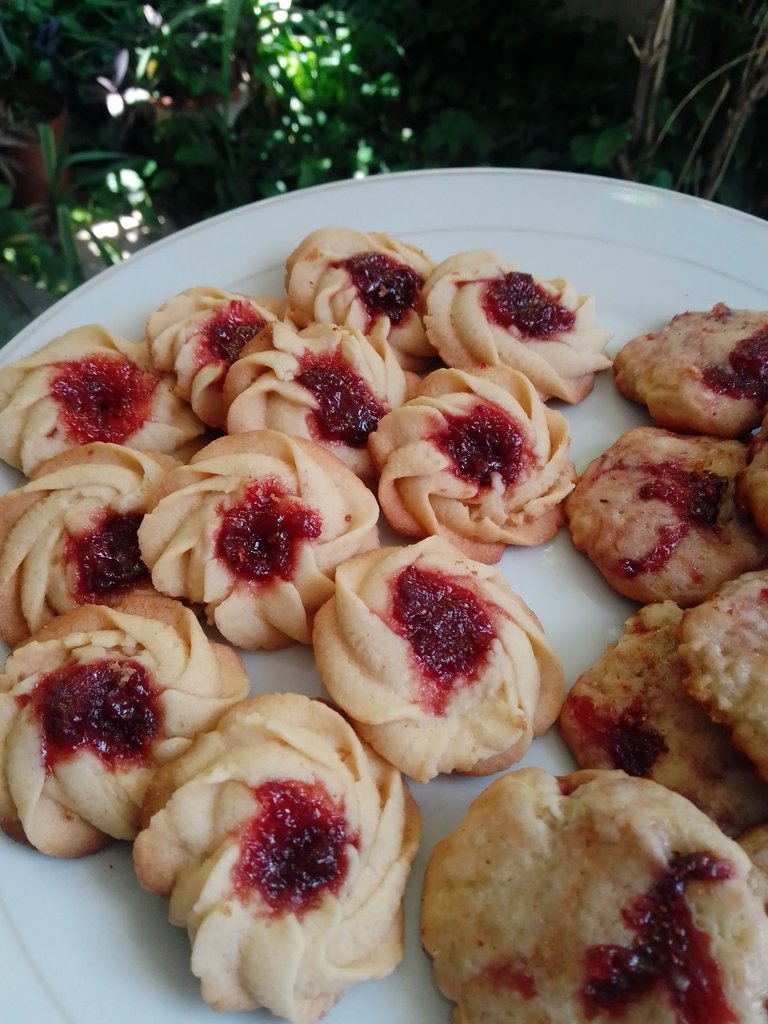
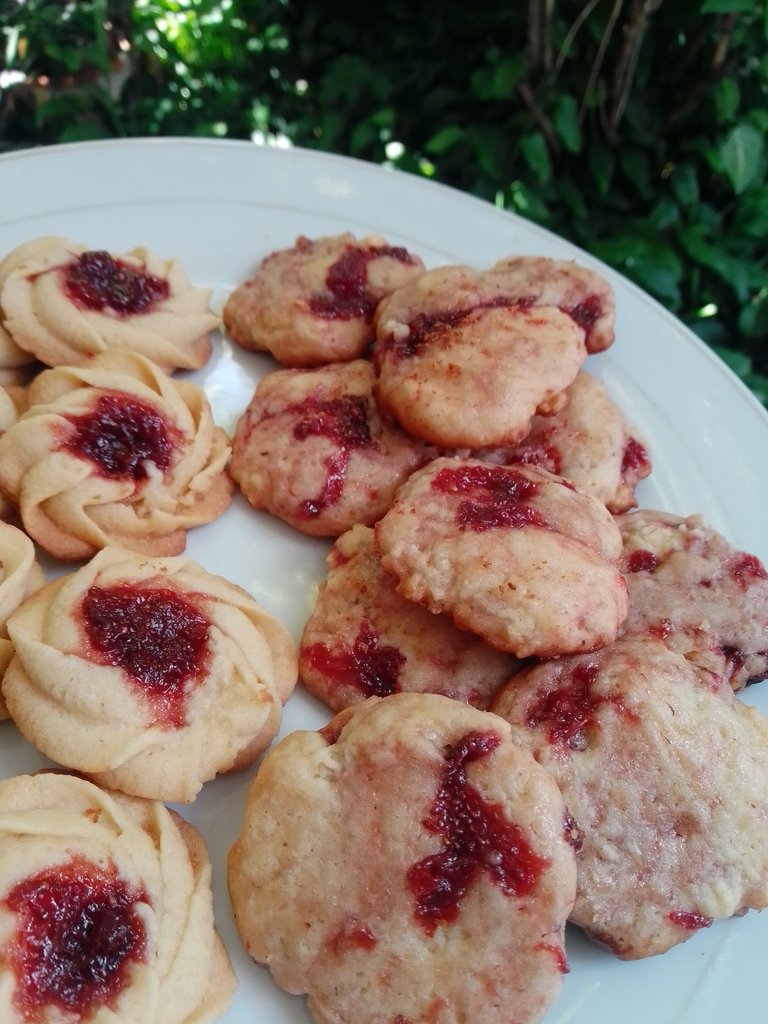
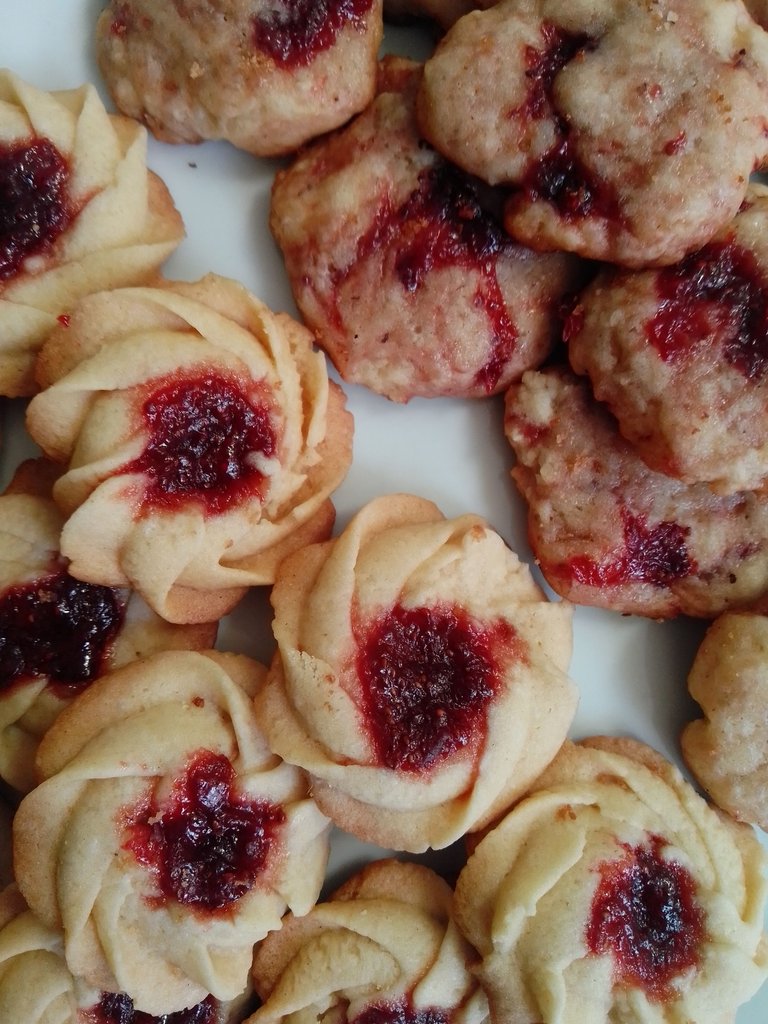
In the centre of each biscuit I put a button of jam to decorate them, you can also use guava jam 😁 We put them in the fridge for 20 minutes, so they keep their shape while baking. To the other part of the mixture I added the leftover jam and made it with a more homemade shape, I just used the spoon, these won't go in the fridge.

The oven is preheated for 10 minutes and now it's time to bake our biscuits at 180 °C for 12 to 14 minutes 🌟.
I only bake them for 14 minutes and they are perfect, but as every oven is different, you will know when they are ready, when they start to brown underneath and smell really nice 🤗.
And that's how both biscuits turned out, both delicious 🍓

Long live homemade biscuits! 😁 Thank you for reading and happy Tuesday 🌷
Credits:
Translated at DeepL.
Photo edited in IbisPaint X.
Español
¡Hola a todos! Me presento en esta bonita comunidad con unas ricas galletas de mantequilla, también conocidas como pasta seca 😁
Me gusta hacer galletas de mantequilla para merendar, obsequiar y también vender. En esta ocasión quise hacer galletas usando la manga pastelera, para darles una forma más bonita, normalmente les doy forma con cortadores y otras veces con la cuchara para que tengan una presentación más casera.
Como tenía un encargo de cupcakes y galletas para un cumpleaños, aproveché el momento y el horno para hacer unas galletas y tener para merendar. ☕
Antes de hacer las galletas, hice una pequeña cantidad de mermelada de fresa. Para esta usé 150 gr de fresa y 65 gr de azúcar, hice muy poca porque solo se usa para decorar la galleta.
En otra receta tengo planeado hacer unas rellenas de mermelada como las galletas newton o reinitas, en estas galletas es necesario tener más cantidad de mermelada 🤭👏🏻
Usé una manga pastelera y una duya de estrella cerrada para estas galletas.
Ingredientes:
250 gramos de harina de trigo.
120 gramos de azúcar.
120 gramos de mantequilla.
1 huevo.
Vainilla.
Mermelada.
Preparación:
El primer paso es batir la mantequilla con el azúcar para luego agregar el huevo y la vainilla. Se bate un poco para que se integre bien y el olor a huevo desaparezca.
Lo siguiente es agregar la harina lentamente y sin hacer muchos movimientos bruscos para no activar el gluten en nuestra mezcla. Cuando esté integrada toda nuestra harina pasamos una parte a nuestra manga pastelera con ayuda de la espátula. Pero primero hacemos un ejercicio de práctica para que nos queden bonitas 😁
Usaré esta bandeja que tengo únicamente para las galletas, como puedes ver no coloco nada debajo porque la cantidad de mantequilla que llevan las galletas evita que se peguen y también porque la bandeja está curada 🤭
Así decimos en Venezuela, cuando un sartén o bandeja se ha usado muchas veces y los alimentos ya no se pegan en ella a la hora de usarlos.
En el centro de cada galleta pongo un botón de mermelada para decorarlas, también puedes usar mermelada de guayaba 😁 Las llevamos al refrigerador 20 minutos, para que conserven su forma mientras se hornean. A la otra parte de la mezcla le agregué la mermelada que sobró y la hice con una forma más casera, solo usé la cuchara, estas no irán al refrigerador.
El horno se precalienta por 10 minutos y ahora toca hornear nuestras galletas a 180 °C de 12 a 14 minutos 🌟
Yo las horneo solo por 14 minutos y quedan perfectas, pero como cada horno es diferente, sabrás cuando estén listas, cuando comiencen a dorarse por abajo y huela muy rico 🤗.
Y así quedaron ambas galletas, las dos riquísimas 🍓
¡Que vivan las galletas hechas en casa! 😁 Gracias por leer y feliz martes 🌷
Créditos:
Traducido en DeepL.
Foto editada en IbisPaint X.
Posted Using InLeo Alpha

