¡Bienvenidos a mi rinconcito en Hive!
Antes que nada, les cuento que sigo un poco ausente porque estoy vendiendo a mis vecinos mi Pan de Molde de Masa Madre , el cual ya lo tengo publicado en la plataforma, y bueno, la verdad es que no esperaba tan buena recepción con los pedidos, cosa que agradezco infinitamente a Dios que este producto haya gustado tanto. Tal vez en otra publicación les cuente con más detalles al respecto.
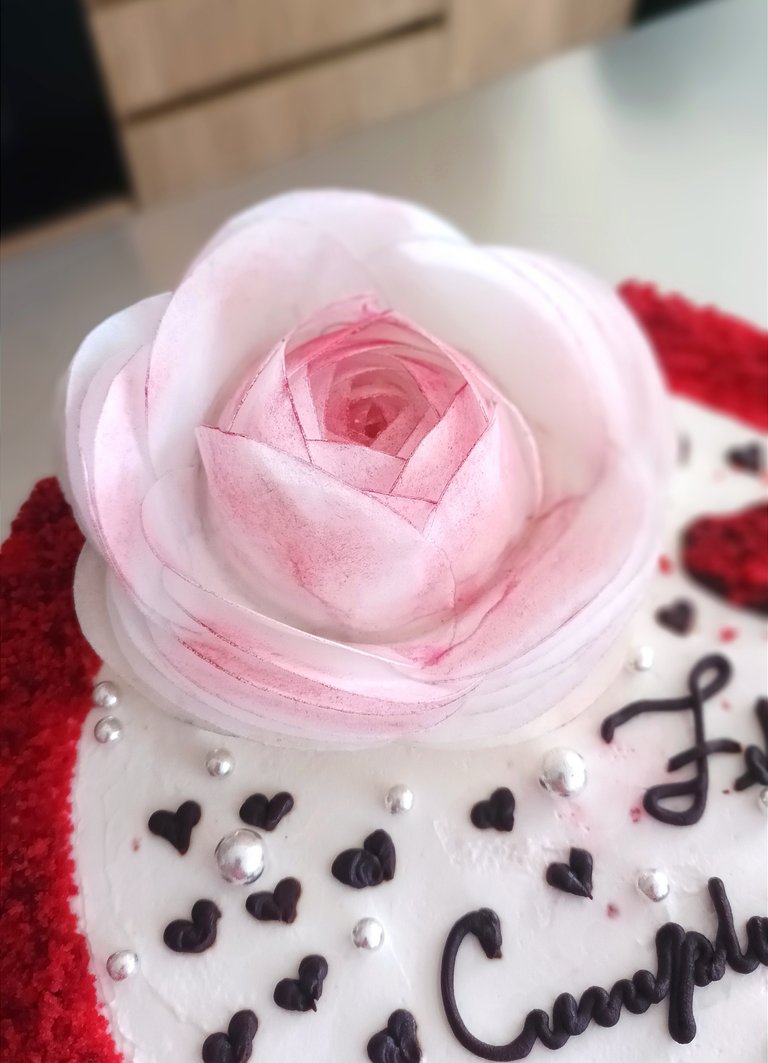
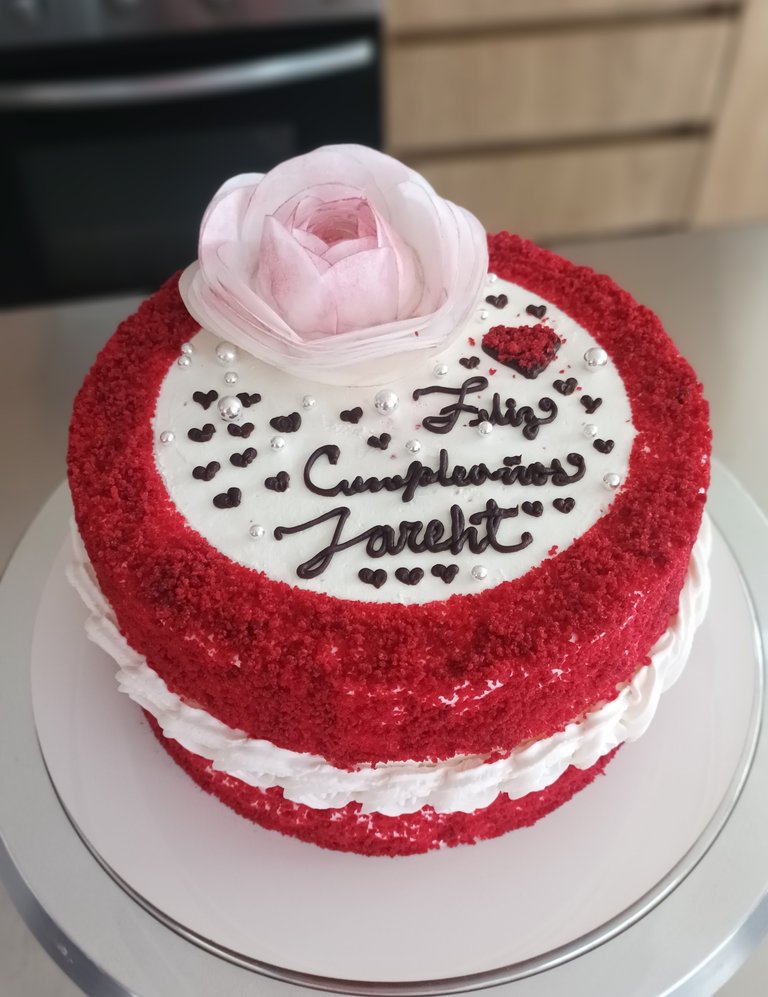
Ahora bien, en mi última publicación les mostré cómo decorar una torta con papel de oblea. Este tipo de materia prima es sumamente versátil en la repostería, ya que si activamos un poco nuestra creatividad o buscamos en las redes sociales, encontraremos una infinidad de ideas para usar este papel comestible en las decoraciones de nuestras tortas. En este sentido, el día de hoy te mostraré cómo hice una rosa con papel de oblea que harán que tus tortas se vean hermosas y a otro nivel usando solo este maravilloso papel de oblea.
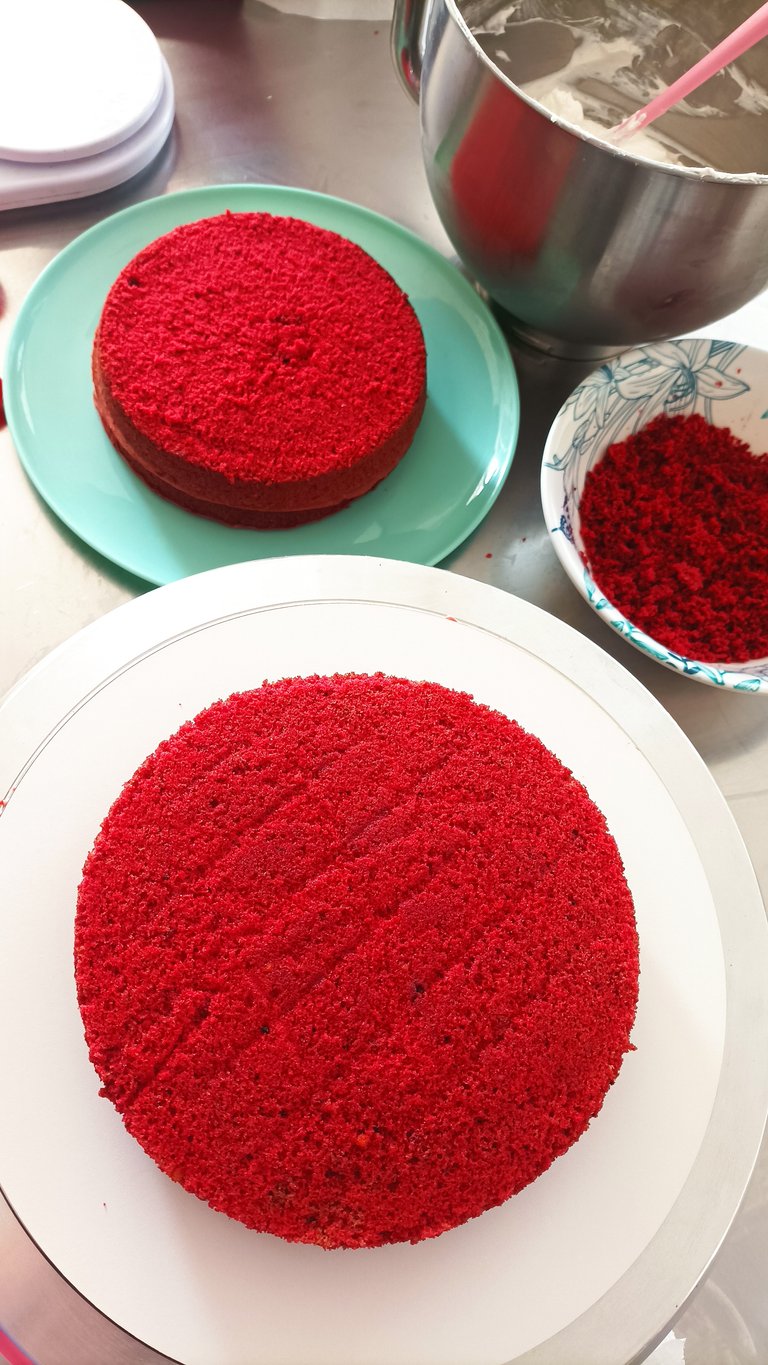
La torta que decoré con esta rosa comestible, fue otra red velvet, ya que está es la torta favorita de la cumpleañera. Quiero aclarar que está vez usé otra marca de colorante comestible que no contiene el color rojo número 3 E127 que según estudios de la FDA (Food and Drug Administration) es dañino para la salud.
Hecha está aclaratoria les dejaré los links de mi receta de Bizcocho red velvet Perfecta y el Frosting de queso crema que es una locura deliciosa.
¡Ahora a lo que vinimos, a crear en la cocina!
Vas a necesitar los siguientes materiales:
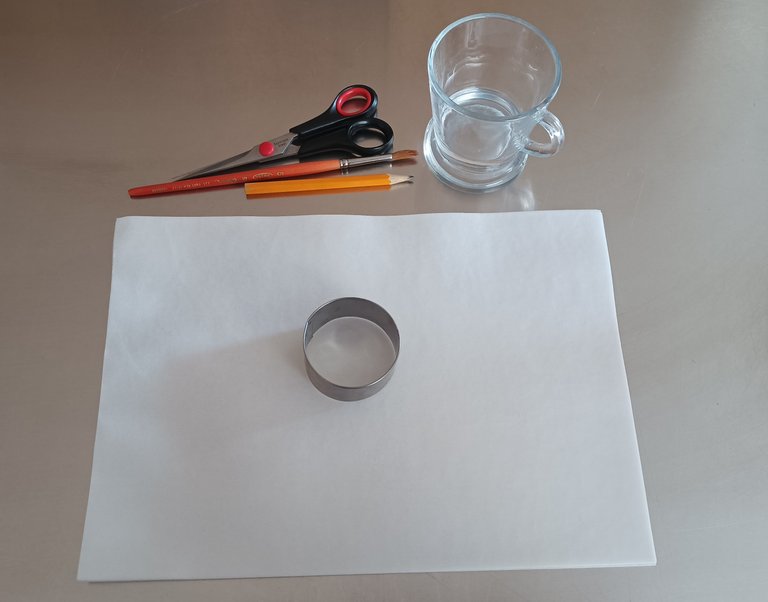
• 3 hojas de papel de oblea. La cantidad de hojas depende de cuantas rosas quieras hacer. Yo hice una grande.
• Un lápiz de grafito.
• Un aro de 5, 5 cm de diámetro aproximadamente. Puedes usar una medida más pequeña o más grande, según el tamaño que desees.
• Tijera o perforador grande de tarjetas.
• Un pincel de cerdas suaves.
• Agua.
Elaboración:
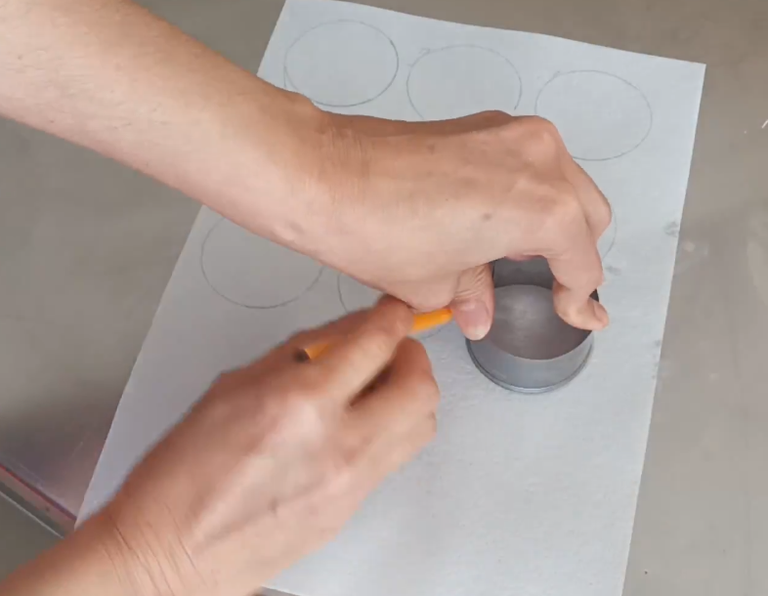
Marcar sobre el papel de oblea, círculos con el aro.
Recortar los círculos con una tijera o un perforador grande de tarjetas.
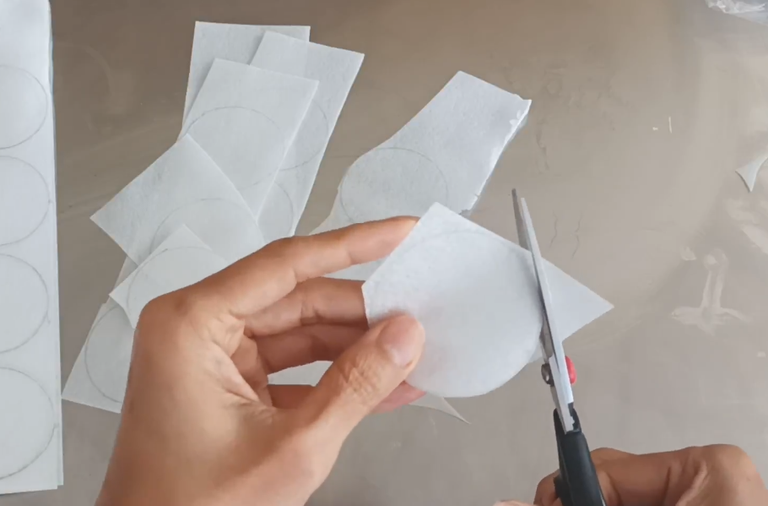
Otra forma de hacerlo más rápido es marcar un solo círculo, cortarlo y usar ese para cortar los demás, colocándolo encima de varios cuadrados de papel con un ancho considerado y cortar varios con un solo corte. Así como se muestra en el gif. Hazlo con cuidado para que las orillas te queden prolijas.
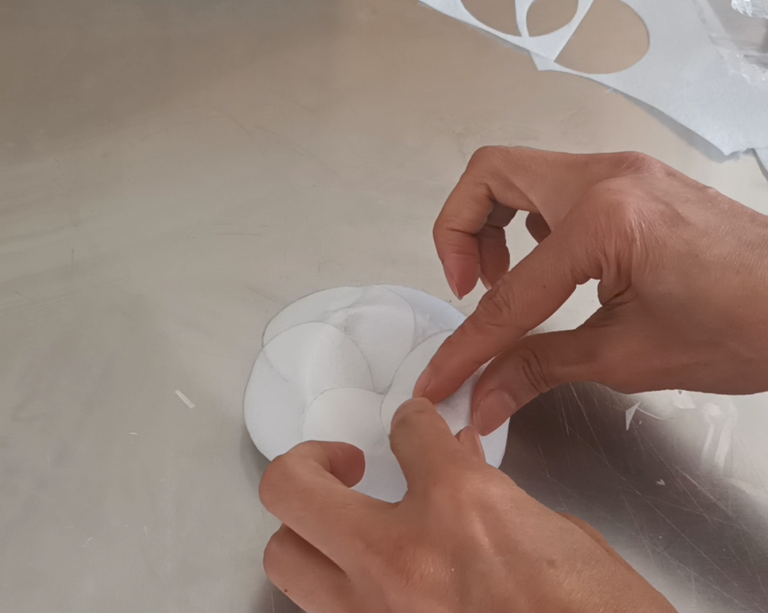
Cuando hayas cortado todos los círculos, ponerle un poquito de agua en el centro con el pincel y luego colocarlo en el aro doblando en la parte que está húmeda y presionando un poco. Este proceso lo vas a repetir hasta que se cierre el aro.
Cuando cierres el círculo, saca del aro con sumo cuidado, moviéndolo muy despacio hasta que salga.
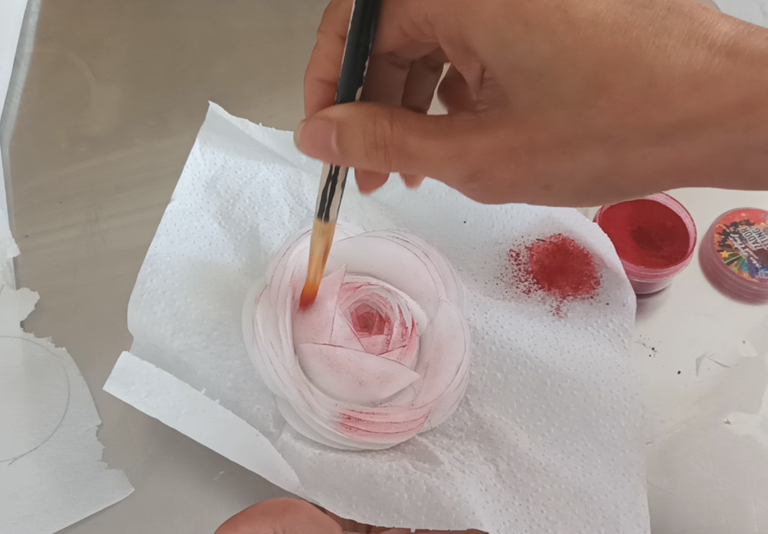
Cuando lo hayas sacado del aro puedes ponerle un poco de matizador del color de tu preferencia o simplemente dejarla tal cual que también se vé muy bella y elegante. Y así ya tendrás lista tu rosa hecha con papel de oblea para decorar cualquier torta.
Recomendación:
En caso de querer colocar esta rosa sobre crema Chantilly, frosting de queso crema o merengue Italiano, es recomendable pincelar por la parte de abajo con manteca de cacao o chocolate blanco para que la humedad de estas cremas no dañen la rosa.
Como pudieron ver está es una decoración muy fácil y rápida de hacer y aunque es bastante sencilla, le aporta elegancia y estilo a cualquier decoración de tortas. ¡A veces menos es más! Así que espero te animes a hacer una hermosa rosa comestible y espero este pequeño tutorial te haya sido de utilidad.
¡Gracias por acompañarme en este momento de creatividad y por todo el apoyo!
¡Tu amiga, Zuuu!
ENGLISH

Welcome to my little corner on Hive!
First of all, I am still a little absent because I am selling my Sourdough Molded Bread to my neighbors, which I have already published on the platform, and well, the truth is that I did not expect such a good reception with the orders, I am infinitely grateful to God that this product has been so well liked. Maybe in another publication I will tell you more details about it.
Now, in my last post I showed you how to decorate a cake with wafer paper. This type of raw material is extremely versatile in baking, because if we activate a little of our creativity or search on social networks, we will find an infinite number of ideas to use this edible paper in the decorations of our cakes. In this sense, today I will show you how I made a rose with wafer paper that will make your cakes look beautiful and at another level using only this wonderful wafer paper.
The cake I decorated with this edible rose, was another red velvet, since this is the birthday girl's favorite cake. I want to clarify that this time I used another brand of edible coloring that does not contain the red color number 3 E127 that according to FDA (Food and Drug Administration) studies is harmful to health.
With that said, I'll leave you with the links to my recipe for Perfect red velvet cake and Cream cheese frosting which is crazy delicious.
Now to what we came for, to create in the kitchen.
You will need the following materials:
• 3 sheets of wafer paper. The amount of sheets depends on how many roses you want to make. I made one large one.
• A graphite pencil.
• A ring of approximately 5, 5 cm in diameter. You can use a smaller or larger size, depending on the size you want.
• Scissors or large card punch.
• A soft bristle brush.
• Water.
Elaboration:
Mark circles on the wafer paper with the hoop.
Cut out the circles with a scissors or a large card punch.
Another way to do it faster is to mark a single circle, cut it out and use that one to cut the others, placing it on top of several squares of paper with a considered width and cut several with a single cut. Just as shown in the gif. Do this carefully so that the edges are neat.
When you have cut all the circles, put a little bit of water in the center with the brush and then place it in the hoop by folding the part that is wet and pressing a little bit. Repeat this process until the ring is closed.
When you close the circle, take it out of the ring very carefully, moving it very slowly until it comes out.
When you have taken it out of the hoop you can put a little bit of the color of your preference or simply leave it as it is, which also looks very beautiful and elegant. And so you will have your rose made with wafer paper ready to decorate any cake.
Recommendation:
In case you want to place this rose on Chantilly cream, cream cheese frosting or Italian meringue, it is advisable to brush the bottom with cocoa butter or white chocolate so that the moisture of these creams does not damage the rose.
As you could see this is a very easy and quick decoration to make and although it is quite simple, it brings elegance and style to any cake decoration. Sometimes less is more! So I hope you are encouraged to make a beautiful edible rose and I hope this little tutorial has been useful.
Thank you for joining me in this moment of creativity and for all the support!
Your friend, Zuuu!

All photos and videos in this post were taken with my Xiaomi Redmi 10 cell phone.
Resources: DeepL Translator, Capcut and Gifty (Free Versions).